How to Repair a Glass Table
A cracked or chipped glass table doesn’t always mean replacement. With the right tools and techniques, many types of damage can be repaired, reinforced, or hidden effectively. Whether it’s a hairline crack near the edge or a loose leg joint, how to repair a glass table safely and affordably is a valuable skill for homeowners. This guide covers DIY fixes for minor damage, structural reinforcement methods, aesthetic workarounds, and when to opt for professional replacement.
If the glass is shattered or the damage is central and deep, replacement with tempered glass is the best option. But for most surface-level issues, repair is not only possible, it’s often invisible once completed.
Assessing Damage and Repair Feasibility
Before grabbing tools, determine whether your glass table can be safely repaired or if replacement is necessary. Not all damage is equal, and misjudging severity can lead to unsafe use.
Identify the Type of Damage
Different flaws require different solutions. Hairline cracks and edge chips are ideal for epoxy repair if they haven’t spread. Superficial scratches can be polished, while deep ones may need concealment. Cloudy stains or etching are often permanent if caused by chemical exposure and may require replacement. Center fractures or deep breaks significantly compromise structural integrity, making replacement recommended.
Pro Tip: Run your fingernail across the crack. If it catches, the gap is wide enough for epoxy penetration. If it’s smooth, the crack may be too fine. Consider sealing anyway to prevent spreading.
When to Repair vs. Replace
Use this quick decision guide. Repairable damage includes small chips, edge cracks under three inches, loose legs, and non-tempered glass still intact. Professional repair only is needed for antiques, custom-cut glass, or rare designs where matching is impossible. Replace immediately if you have shattered tempered glass, large central cracks, double-paned tables with inner damage, or any sign of spontaneous breakage.
Safety Alert: If your table broke into large, jagged shards, it was not tempered. Always replace with tempered glass in homes with kids or high traffic areas.
Fixing Cracks and Chips with Epoxy
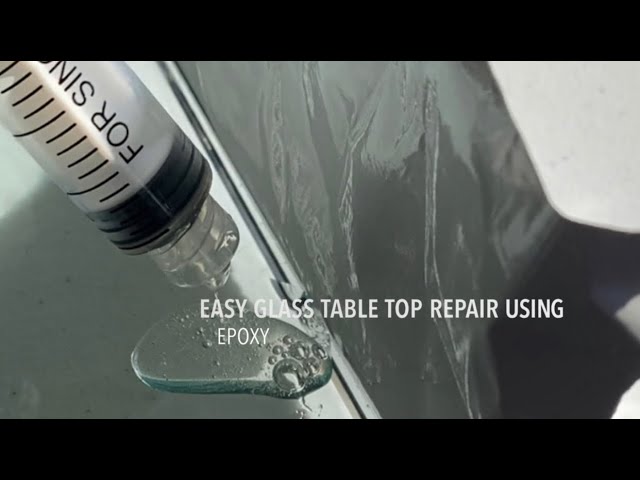
For minor damage, a two-part epoxy repair restores strength and clarity. This method works on single-pane tabletops, side tables, and glass shelves.
Gather Repair Supplies
You will need two-part epoxy specifically designed for glass or general-purpose variants. Gather a three-millimeter syringe or putty knife for application. Have acetone and clean rags ready for cleanup. Keep a razor blade or flexible spatula for removal. You also need mixing sticks and a disposable plate. Optional items include metal tape for containment. Don’t forget gloves and safety goggles for protection.
Cost: $5 to $30
Time: 25-minute active work plus 24-hour cure
Clean and Prepare the Surface
Dirt or oil prevents proper bonding, so cleaning is critical. Wash the area with mild dish soap and water. Rinse thoroughly and dry completely. Wipe with acetone to remove grease and residues. Let air dry with no moisture remaining.
For chips or isolated cracks, apply metal tape around the damage to contain overflow and create clean edges.
Mix and Apply the Epoxy
Work fast because epoxy thickens within minutes. Mix equal parts resin and hardener on a disposable surface. Stir for 20 seconds until fully blended. Draw the mixture into a three-millimeter syringe for precision. Inject slowly into the crack, starting at one end. For wider damage, use a putty knife to press epoxy into the gap. Let sit for five minutes to begin setting before cleanup.
Remove Excess and Cure
Scrape off excess with a razor blade or flexible spatula. Wipe haze with an acetone-dampened rag. Leave undisturbed for 24 hours with no use during cure. After curing, polish with glass cleaner for shine.
Result: Cracks become nearly invisible, especially in low light. The bond resists daily use, but avoid extreme temperature changes.
Reinforce Loose Table Legs with JB Weld
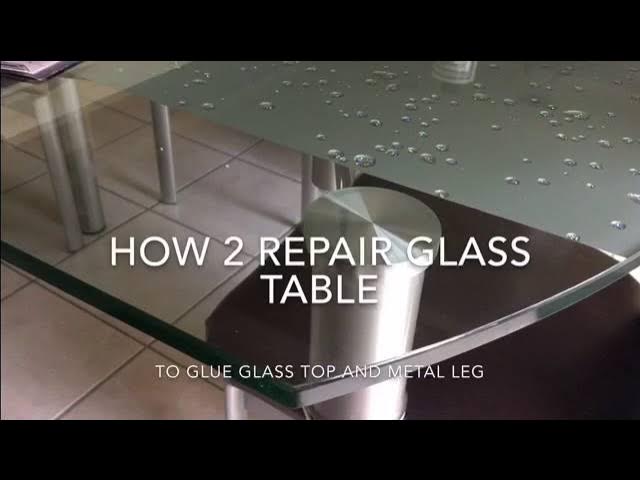
A wobbly leg can lead to catastrophic failure. Reinforcing the joint prevents shear stress and extends the table’s life.
Diagnose Joint Failure
Common signs include the table tilting when pressed on one side. Look for visible gaps between the metal stud and glass. Listen for audible creaking during use. These indicate failed adhesive, often UV-cured epoxy that degraded over time.
Remove Old Adhesive
Apply acetone to the metal stud and glass contact point. Wait one to two minutes for the old glue to soften. Wipe away residue with a cloth until both surfaces shine. Ensure no oily film remains.
Prepare for Stronger Bond
Mark the metal stud’s original position on the glass underside. Lightly sand the marked area with 200-grit sandpaper. Wipe clean with acetone. This creates micro-grip for superior adhesion.
Apply Steel-Reinforced Epoxy
JB Weld forms a mechanical flange that resists lateral force. Mix equal parts JB Weld resin and hardener. Let sit for one minute to fully activate. Apply a pea-sized amount to the metal stud. Press glass into place and let epoxy ooze slightly beyond the stud edge to form a reinforcing flange.
This flange acts like a mechanical lock, distributing load and preventing future shear failure.
Secure and Cure
Align glass precisely using your mark. Tape the leg and glass together with duct tape to prevent shifting. Cure undisturbed for 24 hours.
Outcome: The joint becomes rock-solid, capable of handling daily use and minor impacts.
Hide Edge Damage with Frame Cover
If the glass is structurally sound but has chipped edges, framing offers an elegant fix.
Choose the Right Frame Material
Vinyl trim strips are ideal for this purpose. They are flexible and easy to cut. Available in wood-tone and metallic finishes. Costs about $16 for a full set.
Cut and Attach the Frame
Measure each side of the glass. Cut frame pieces at 45-degree angles for seamless corners. Optionally, spray paint frame and base to refresh appearance. Apply strong epoxy glue to the back of the frame. Press firmly onto the glass edge and hold for 30 seconds. Let cure 24 hours.
Result: Chips disappear, and the table gains a custom, finished look.
Replace Broken Glass Safely

When repair is not an option, replacement ensures long-term safety and function.
Why Use Tempered Glass
Tempered glass breaks into small, dull granules, not sharp shards. It is four to five times stronger than regular glass. Resists thermal stress and scratching.
If your old glass shattered into large, dangerous pieces, it was not tempered. Upgrade now for safety.
Get Exact Measurements
Tempered glass cannot be cut after manufacturing. Measure length and width to the nearest one-eighth inch. Standard thickness is one-half inch, but three-quarters inch is recommended for durability. Note edge finish, whether polished, beveled, or frosted.
Pro Tip: Many glass shops offer in-home measurement and consultation. Avoid moving broken glass yourself.
Choose Delivery and Installation
For tables over 84 inches, professional delivery is essential. Large glass panels are prone to stress fractures during DIY transport.
Benefits of professional install include inspectors checking the base for uneven supports. They handle liability for transit or tempering defects. They ensure perfect fit and alignment.
Upgrade to Wood for Permanent Safety

For families or high-risk environments, replacing glass with wood eliminates shatter risk.
Build a Wood Top Alternative
Use three-quarter-inch plywood or solid wood cut to original dimensions. Sand edges smooth. Stain or paint to match the base. Add felt pads to prevent floor scratches.
Advantages: No risk of breaking. Supports heavy loads like a 28-pound Turducken. Warmer, more inviting aesthetic.
Cost: Comparable to tempered glass replacement, often cheaper for standard sizes.
Prevent Future Damage
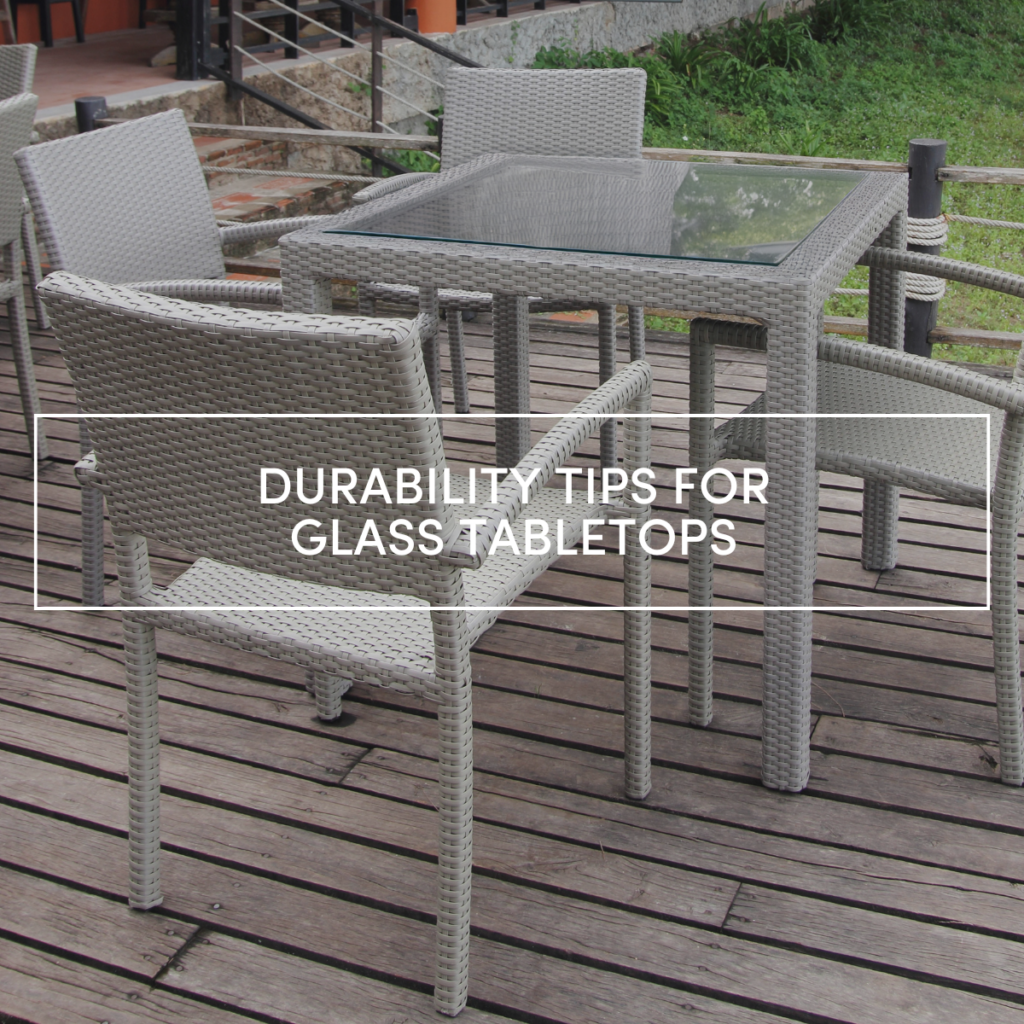
A repaired or replaced table needs proper care to last.
Protect Against Heat
Glass conducts heat rapidly. Never place hot pans directly on the surface. Always use trivets or pot holders. Avoid candles or heated appliances. Thermal shock can crack even tempered glass.
Manage Weight and Load
Distribute heavy items evenly. Avoid standing on the table. Do not overhang heavy objects. Stress concentration leads to cracks.
Clean Safely
Use non-abrasive cloths and standard glass cleaner. Avoid steel wool or scrubbing pads. Check joints monthly for looseness.
Childproof the Table
Use tempered glass with rounded edges. Consider a frame or wood top in play areas. Teach kids not to jump or lean excessively.
Troubleshoot Common Glass Issues
How to Stop a Crack from Spreading Temporarily
Avoid temperature swings and vibrations. Apply clear tape over the crack to reduce stress. But act fast because this is not a permanent fix.
Can You Cut Tempered Glass
No. Attempting to cut, drill, or modify tempered glass causes it to shatter completely. It must be sized before tempering.
Are Windshield Repair Kits Suitable
No. Windshields are laminated, while tables are single-pane. Use two-part epoxy, not resin injectors designed for auto glass.
Why Did the Glass Break Spontaneously
Possible causes include an uneven table base creating stress points. Pre-existing micro-crack from transport. Thermal shock from a hot dish. Incorrect thickness for the span.
Is Repairing an Antique Table Worth It
Yes. For vintage or irreplaceable pieces, professional restoration preserves value. Seek specialists who can match the original glass.
Frequently Asked Questions About Glass Table Repair
Can I use windshield repair kits on my glass table?
No. Windshield glass is laminated and requires different repair techniques. Use a two-part epoxy specifically designed for household glass surfaces. Windshield repair kits are not compatible with table glass.
How do I stop a crack from spreading on my glass table?
Apply clear tape over the crack to reduce stress. Avoid temperature changes and physical pressure on the area. This is only a temporary solution. You must repair or replace the glass promptly.
Is it worth repairing an antique glass table?
Yes. Professional restoration is worthwhile for antiques or irreplaceable pieces. Specialists can preserve the original material and maintain the table’s value. Replacement would destroy the item’s historical significance.
What causes glass tables to break without impact?
Common causes include an uneven table base creating stress points. Pre-existing micro-cracks from transport or handling. Thermal shock from placing hot objects on the surface. Using glass with incorrect thickness for the table’s span.
Can I cut tempered glass to fit a new table frame?
No. Tempered glass cannot be cut, drilled, or modified after manufacturing. It must be ordered to exact specifications before the tempering process. Attempting to cut it will cause immediate shattering.
Key Takeaways for Repairing Your Glass Table
Knowing how to repair a glass table empowers you to save money, reduce waste, and maintain safety. Most edge damage and loose joints can be fixed with epoxy and proper preparation. Always assess damage severity first to determine whether repair or replacement is appropriate.
When the glass is shattered or the crack is central, replace with tempered glass for safety. Reinforce weak joints using steel-reinforced epoxy to create a mechanical flange that resists future failure. Hide cosmetic flaws with framing, or switch to wood for peace of mind in high-traffic areas.
With regular care, proper maintenance, and smart upgrades, your glass table can stay strong and beautiful for years. Always prioritize safety when dealing with structural damage, and consult professionals for antique or high-value pieces.