How to Fix a Dining Table
If your dining table wobbles, stains easily, or shows cracks and worn finishes, you are not stuck with a damaged centerpiece. Learning how to fix a dining table can save you hundreds, possibly thousands, compared to buying new. Whether it is a family heirloom, a thrift store find, or a tired everyday table, most issues are repairable with the right tools and techniques. This guide walks you through diagnosing damage, choosing the best repair method, and applying professional grade fixes for under $150 in materials.
You will learn how to identify your table material, strip and refinish solid wood, restore particle board tops with liquid wood, repair cracks and structural damage, and maintain your table for years to come. Every section provides actionable steps so you can transform your table from damaged to stunning.
Diagnose the Problem Before Starting Repairs
The fix depends entirely on your table material and damage type. Skipping this step leads to wasted time and money.
Identify Your Table Material
Different materials require completely different repair approaches. Knowing what you have prevents costly mistakes.
Solid wood tables show continuous grain patterns along edges and can be sanded and refinished multiple times. Common types include red oak with its reddish tone, poplar which is softer and pale, and cherry which has a rich warm color. Veneer is a thin wood layer bonded to MDF or particle board. The edges appear layered and may reveal a gray core. Over sanding destroys veneer permanently. Particle board is common in budget tables. Swelling or bubbling indicates moisture damage, and this material cannot be stripped like solid wood.
Match Damage Types to Solutions
Each symptom requires a specific repair approach. Look for these common issues.
Wobbly legs typically mean loose joints or uneven table placement. Cracks in the surface usually come from humidity shifts. Small splits can be glued while large ones need epoxy or butterfly joints. Scratches and water rings are surface level and often fixable without full refinishing. Peeling paint or gummy finish often results from damage by previous cleaners like Murphys Oil Soap, which breaks down existing finishes. Stuck leaf mechanisms need cleaned tracks and beeswax lubrication.
Strip the Old Finish on Solid Wood Tables
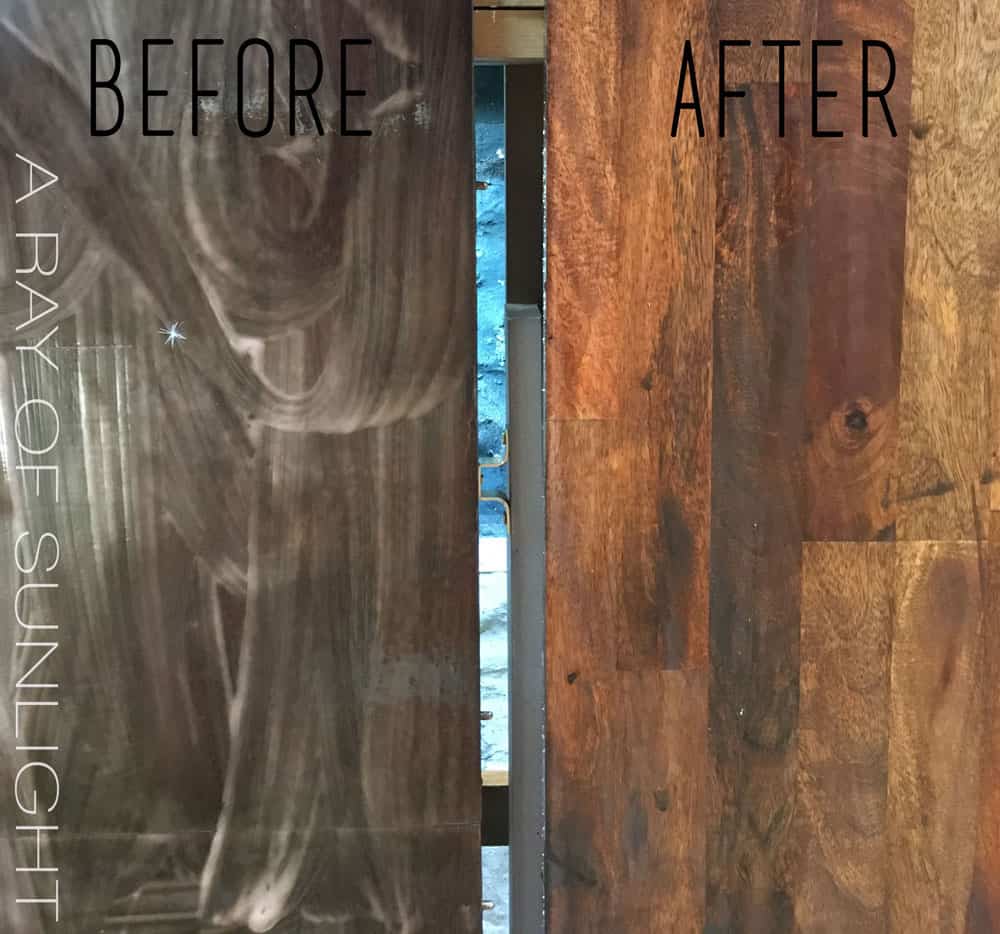
For solid wood tables with damaged or sticky finishes, complete stripping restores the surface for staining. This process requires good ventilation and proper safety gear.
Apply Chemical Stripper Safely
Work outdoors or in a well ventilated garage. Wear nitrile gloves, a respirator, and eye protection throughout the process.
Use gel stripper or Klean Strip for thick even coverage. Apply with a chip brush in the direction of the grain. Let it sit for 10 to 15 minutes until the finish bubbles and softens. Do not overwork the area or let the stripper dry completely before scraping.
Remove Residue and Neutralize Chemicals
Scrape the softened finish carefully to avoid gouging the wood. Use a plastic or dull metal scraper and work with the grain. Use medium coarse steel wool with more stripper to clean grooves and carvings. Spray with water and wipe with clean rags to neutralize chemicals. For a final clean, use 0000 steel wool and lacquer thinner for a residue free surface.
Allow at least 24 hours of drying time before sanding. Ensure all stripper fumes have cleared completely. Wipe down with a tack cloth to remove all dust before proceeding.
Sand for a Smooth Base
Proper sanding ensures even stain absorption and a flawless final finish. Rushing this step shows in the results.
Start with 150-Grit Sandpaper
Use an orbital disk sander for flat surfaces and hand sand legs and detailed areas. Sand with the grain to avoid creating swirl marks. Do not press too hard. Let the tool do the work. Wipe the surface with a damp cloth, let it dry to raise the grain, then lightly sand again with the same grit.
Finish with 220-Grit for Silkiness
After the initial pass, switch to 220-grit paper for final smoothing. Hand sand edges and joints to blend them with the surrounding surface. Vacuum thoroughly and wipe with a tack cloth before applying wood conditioner.
Watch for mixed wood types. If your table has different woods like a red oak top and poplar legs, they absorb stain differently. Apply wood conditioner to prevent splotchiness, especially on soft woods. Wipe off excess after 5 to 10 minutes.
Repair Cracks and Structural Damage
Ignoring splits leads to worse problems over time. Address structural issues before finishing.
Inject Epoxy into Small Cracks
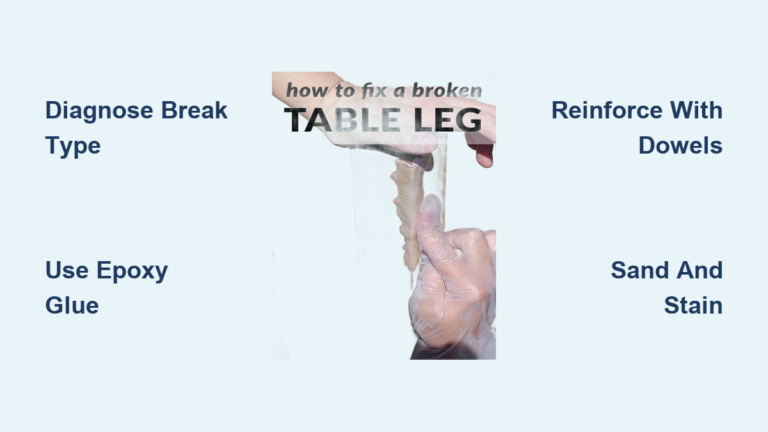
This method works best for hairline splits or expanding joints. Seal the crack edges with blue painters tape to contain the epoxy. Use a 2-part epoxy syringe and inject directly into the crack. Clamp gently or use ratchet straps to close the gap during curing. After 24 hours, sand flush with a 320-grit foam block.
Install Butterfly Joints for Large Splits
A butterfly joint provides both structural support and an attractive design element. Cut a diamond shaped mortise across the crack using a router with a flush trim bit. Craft or buy a matching wood butterfly from American oak or similar. Glue in place with wood glue, clamp securely, and let dry for 24 hours. Sand smooth and refinish to blend with the surrounding area.
Reinforce Loose Joints
Wobbly legs or rails need mechanical reinforcement. Disassemble the joint if possible and clean all old glue from the surfaces. Apply wood glue, reassemble, and clamp firmly. For stripped screw holes, fill with toothpicks and glue or use longer screws. Add furniture brackets for high stress areas for extra stability.
Fix Scratches, Dents, and Edges
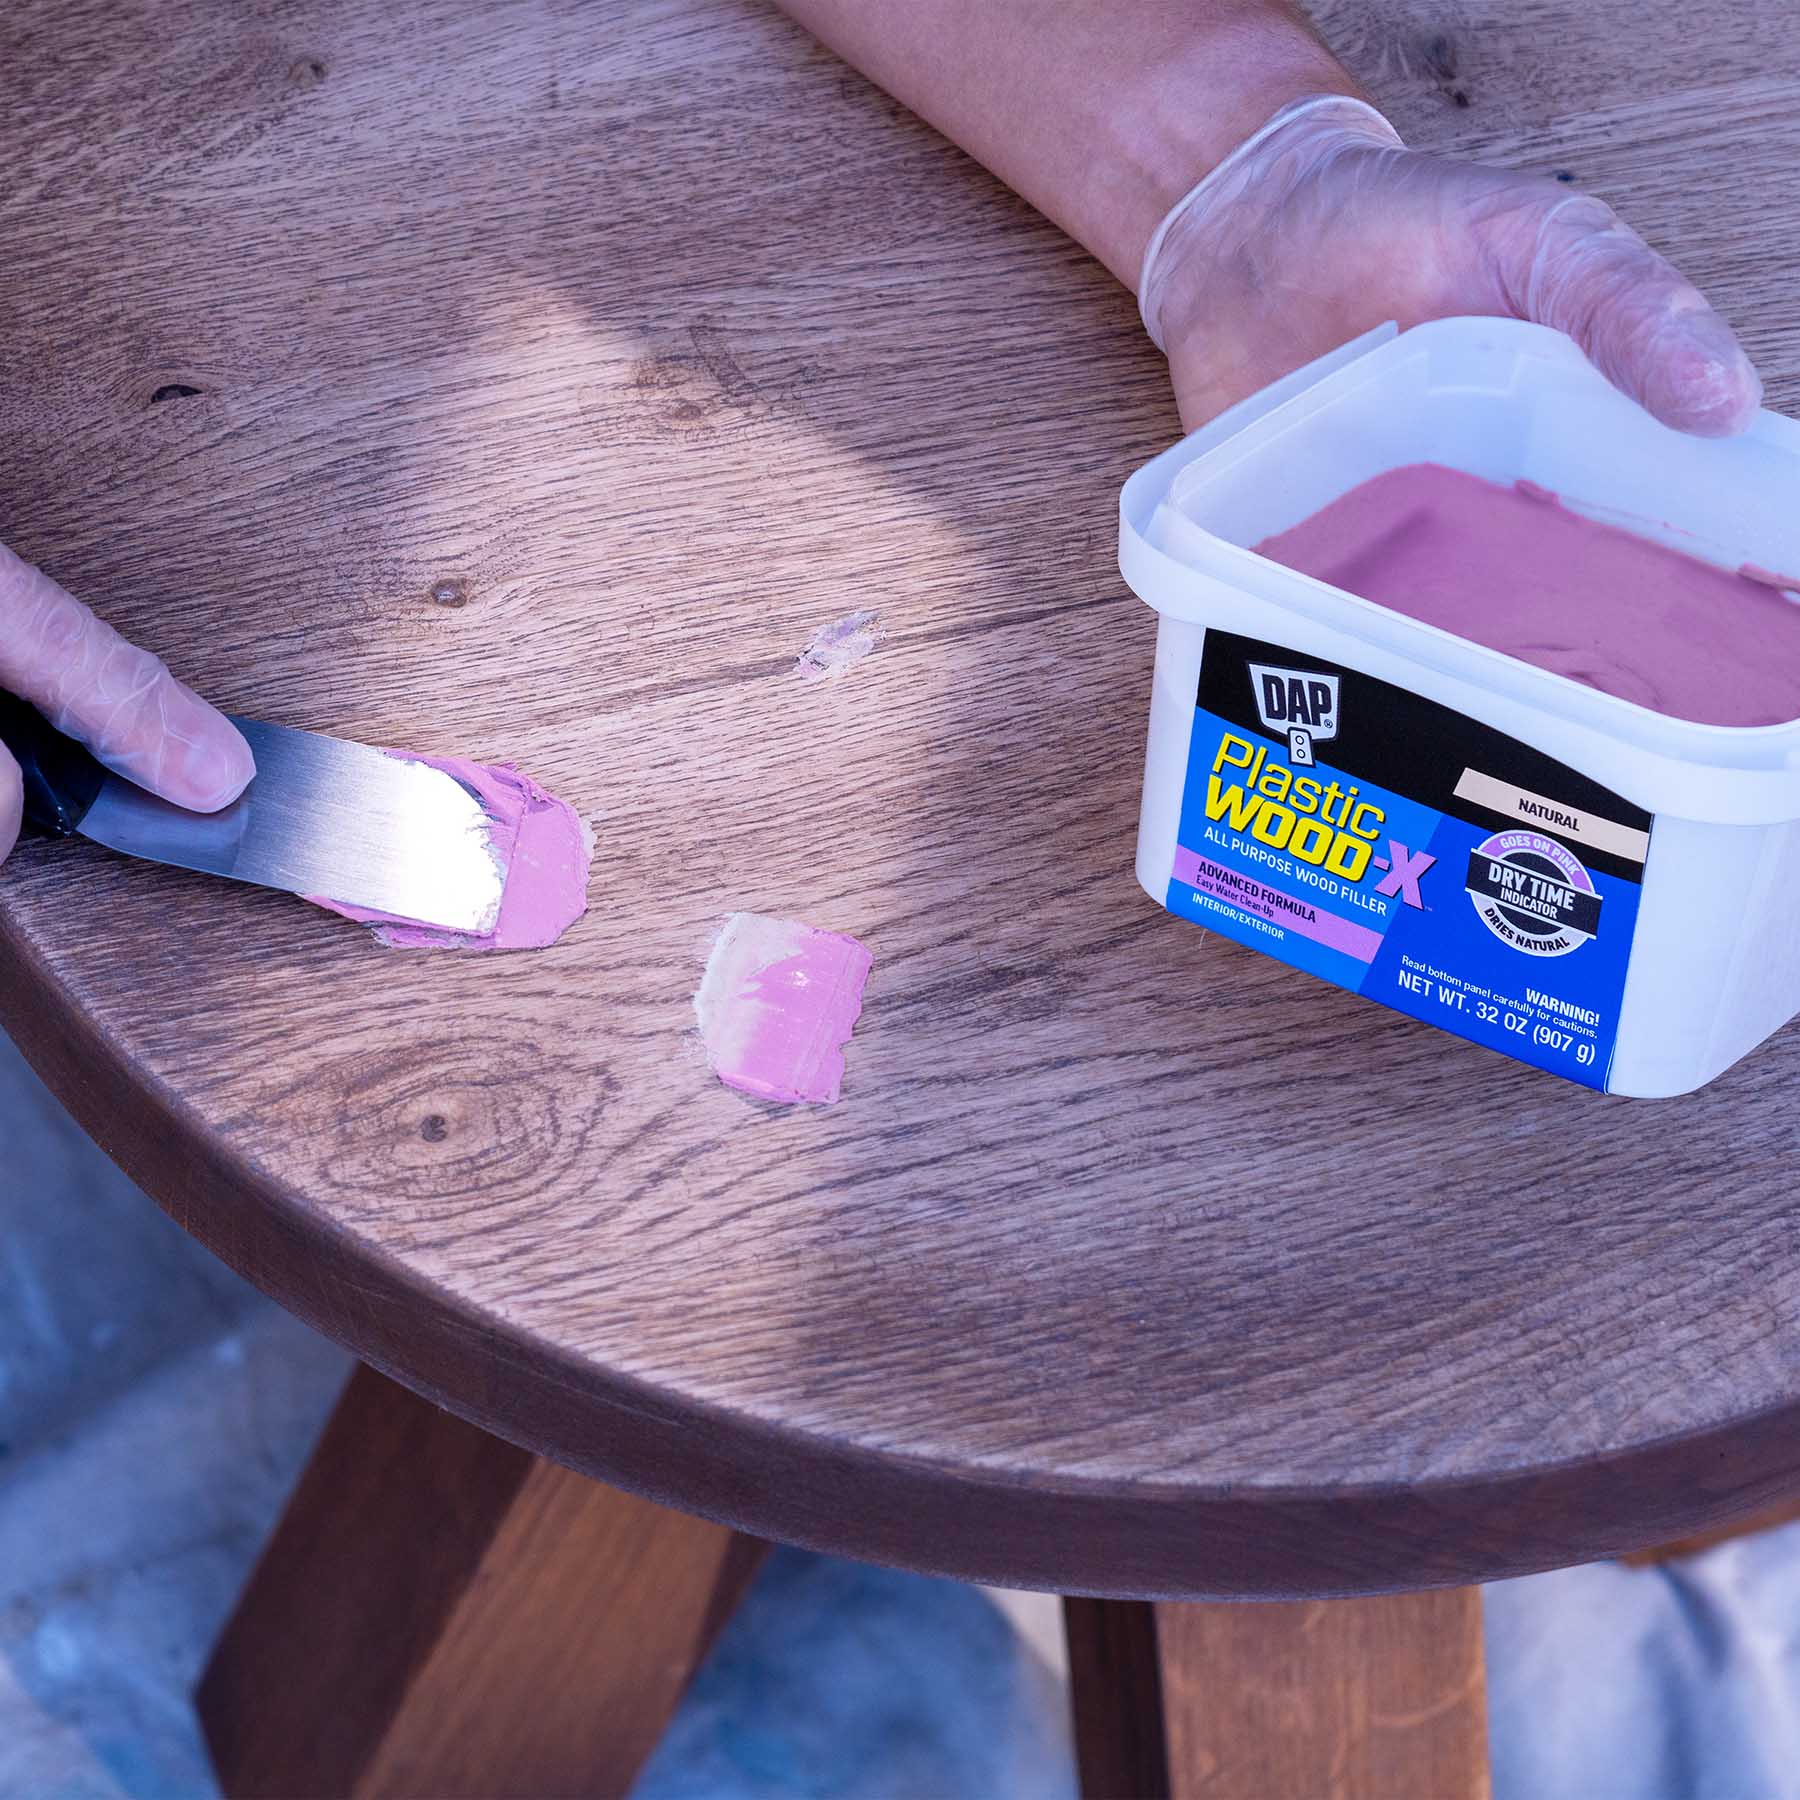
Surface damage is common but fixable without a full refinish. The right approach depends on damage depth.
Fill Dents and Gouges
For solid wood, fill deep dings with DAP Wood Filler. For veneer edges, use Mohawk Epoxy Sticks which do not shrink like Bondo. For particle board, apply sawdust mixed with wood glue or use Liquid Wood for better adhesion.
Touch Up Minor Scratches
Rub minor scratches with walnut meat. The natural oils darken the scrape instantly. For deeper marks, use a wood filler pen matching your stain color. Sand lightly and spot finish to blend.
Repair Crushed Veneer Edges
Trim loose pieces with a Dremel or utility knife. Glue down flaps with CA glue (super glue). Clamp with tape covered wood blocks to prevent marks. Fill any gaps with epoxy, sand smooth, and color match with gel stain.
Refinish or Paint the Surface

Choose your finish based on table material and the look you want to achieve.
Stain Solid Wood for Natural Beauty
Apply oil based stain like Minwax Weathered Oak with a clean rag. Wipe off excess after 5 to 10 minutes. Apply 2 to 3 coats, waiting 4 to 6 hours between applications. Critical: Let stain cure for 48 hours before sealing to prevent cloudiness and moisture trapping.
Neutralize Red Oaks Orange Tone
Red oak naturally pulls warm and red. Balance this with green undertones using Varathane Aged Wheat or gray tones like Varathane Aged Barrel or Flagstone. Apply a red base like Early American, then a gray top coat to mute the warmth effectively.
Paint Veneer or Particle Board for a Modern Look
Prime first with oil based primer or Heirloom Traditions all-in-one paint which requires no primer. Sand with crumpled brown paper bag after priming to smooth texture. Apply paint with an HVLP sprayer or brush. For chalk paint like Waverly Ink Black, thin with water and apply 3 to 4 thin coats. Sand drips with 500-grit between layers.
Restore Particle Board Tops with Liquid Wood
Revive bubbled or damaged laminate surfaces to look like real wood using specialized products.
Prep and Apply Liquid Wood Base
Sand the surface with 80-grit then 180-grit paper. Tape off surrounding areas and wipe clean. Apply Light Wood Liquid Wood with a chip brush, leaving brush strokes for texture. Dry with a hair dryer or fan. Apply a second coat if needed and sand with 220-grit when dry.
Create Realistic Wood Grain
The graining technique makes the difference between fake looking results and real wood appearance. Apply antique walnut stain and let dry overnight. Work in small sections: apply dark wood stain, then immediately drag a wood graining tool with a rocking motion. Stand at the end for straight grain or work from the side for curved grain. Add black stain over walnut for depth and wait overnight to prevent bleeding. Do not sand after graining. The texture must remain.
Seal with Durable Top Coat
Protect high traffic surfaces with 3 coats of extra thick water based polyurethane which equals 9 regular coats. For painted legs, apply 4 coats of black tinted polyurethane. Remove painters tape before the final coat to prevent peeling.
Fix Wobbly Legs and Squeaky Joints
Stability affects both comfort and safety. Address these issues before finishing.
Tighten All Fasteners
Check every bolt, screw, and cam lock. Use a ratchet or Allen wrench to secure each one. If holes are stripped, fill with wood glue and toothpicks, then re-screw with longer screws.
Add Washers and Levelers
For detachable legs, insert thin washers to eliminate play. Attach felt pads or adjustable furniture levelers to the bottoms for uneven floors. This prevents rocking and extends table life.
Silence Squeaks
Apply beeswax, talcum powder, or furniture wax to joints. If noise persists, disassemble the joint, apply fresh wood glue, and re-clamp for 24 hours.
Remove Stains and Heat Marks
Act quickly to preserve your finish. These quick fixes work on most finishes.
Lift Water Rings
Place a clean cloth over the ring. Press with a warm iron on low setting for 5 to 10 seconds. The heat draws out trapped moisture without damaging the finish.
Erase Heat Stains
Mix baking soda and toothpaste into a paste. Rub gently with a soft cloth in circular motions. Wipe clean and reapply finish if needed.
Treat Food and Drink Spills
Blot immediately. For wood, use baking soda and water paste, rub gently, then wipe. For glass tops, clean with vinegar and water.
Maintain Leaf Mechanisms
Ensure smooth extension and retraction for expandable tables.
Clean and Lubricate Tracks
Remove leaves and vacuum all debris from tracks. Wipe tracks with a dry or slightly damp cloth. Apply furniture grade lubricant or beeswax to moving parts. Avoid oil based products which attract dust and may stain.
Test and Replace if Needed
Work the mechanism back and forth several times. If it sticks, inspect for broken pins or bent rails. Replace hardware if the mechanism is beyond repair.
Key Takeaways for Fixing Your Dining Table

Fixing a dining table is about restoration, value, and pride. With under $150 and a weekend is work, you can transform a damaged piece into a stunning centerpiece. Prioritize proper drying times between steps and match materials correctly to your table type. These details determine the difference between amateur and professional results.
Once complete, protect your work by using coasters, avoiding direct sunlight, and cleaning with non-wax products. Your table is not broken. It is just waiting for a second life.
Frequently Asked Questions About Fixing a Dining Table
Can I refinish a table with a veneer top?
Veneer can be refinished but requires caution. Sand carefully with fine grit paper to avoid sanding through the thin wood layer. Use a light touch and check frequently. If the veneer is cracked or peeling, repair those areas first with epoxy or super glue before sanding.
How do I stop my dining table from wobbling?
Tighten all screws and bolts first. Add washers between detachable legs and joints. For uneven floors, attach furniture levelers or felt pads to the leg bottoms. If joints are loose, disassemble, clean old glue, apply fresh wood glue, and clamp for 24 hours.
What is the best way to remove water rings from a table?
Place a clean cloth over the water ring and press with a warm iron on low heat for several seconds. The heat draws moisture out of the finish. Test on an inconspicuous area first. For stubborn rings, repeat the process or try a baking soda toothpaste paste.
How long should I wait before using my refinished table?
Wait 48 hours after applying stain before sealing. After applying the final top coat, wait at least 24 to 48 hours before placing items on the surface. Full cure takes up to 7 days for polyurethane. Use coasters and avoid placing hot items directly on the surface during this time.
Can I use Murphys Oil Soap on my dining table?
Avoid Murphys Oil Soap on finished dining tables. It breaks down existing finishes over time, causing gummy surfaces and uneven discoloration. Use a soft damp cloth for cleaning and non-wax furniture cleaners specifically designed for finished wood.
Is it worth fixing an old dining table?
Yes. Restoration costs under $150 in materials while comparable new tables cost $700 or more. Family heirlooms and quality solid wood tables hold value and last for generations with proper care. Even thrift store finds can be transformed into stunning centerpieces with these techniques.