How to Make Table Linens: Quick Steps
You don’t need a professional sewing studio to create beautiful, custom table linens. Whether you’re hosting a wedding, holiday dinner, or casual backyard BBQ, making your own tablecloths, napkins, and runners puts you in full control of color, texture, and style all while saving money. With the right fabric, precise measurements, and a few simple techniques, how to make table linens becomes an easy, rewarding DIY project. This guide walks you through every step from choosing materials and calculating drop length to hemming, no-sew alternatives, and adding personalized flair.
By the end, you’ll know exactly how to craft polished, durable linens that look store-bought or better. You’ll learn which fabrics work best for different events, how to measure and cut accurately, and whether to sew or use quick alternatives.
Choose the Right Fabric for Your Event
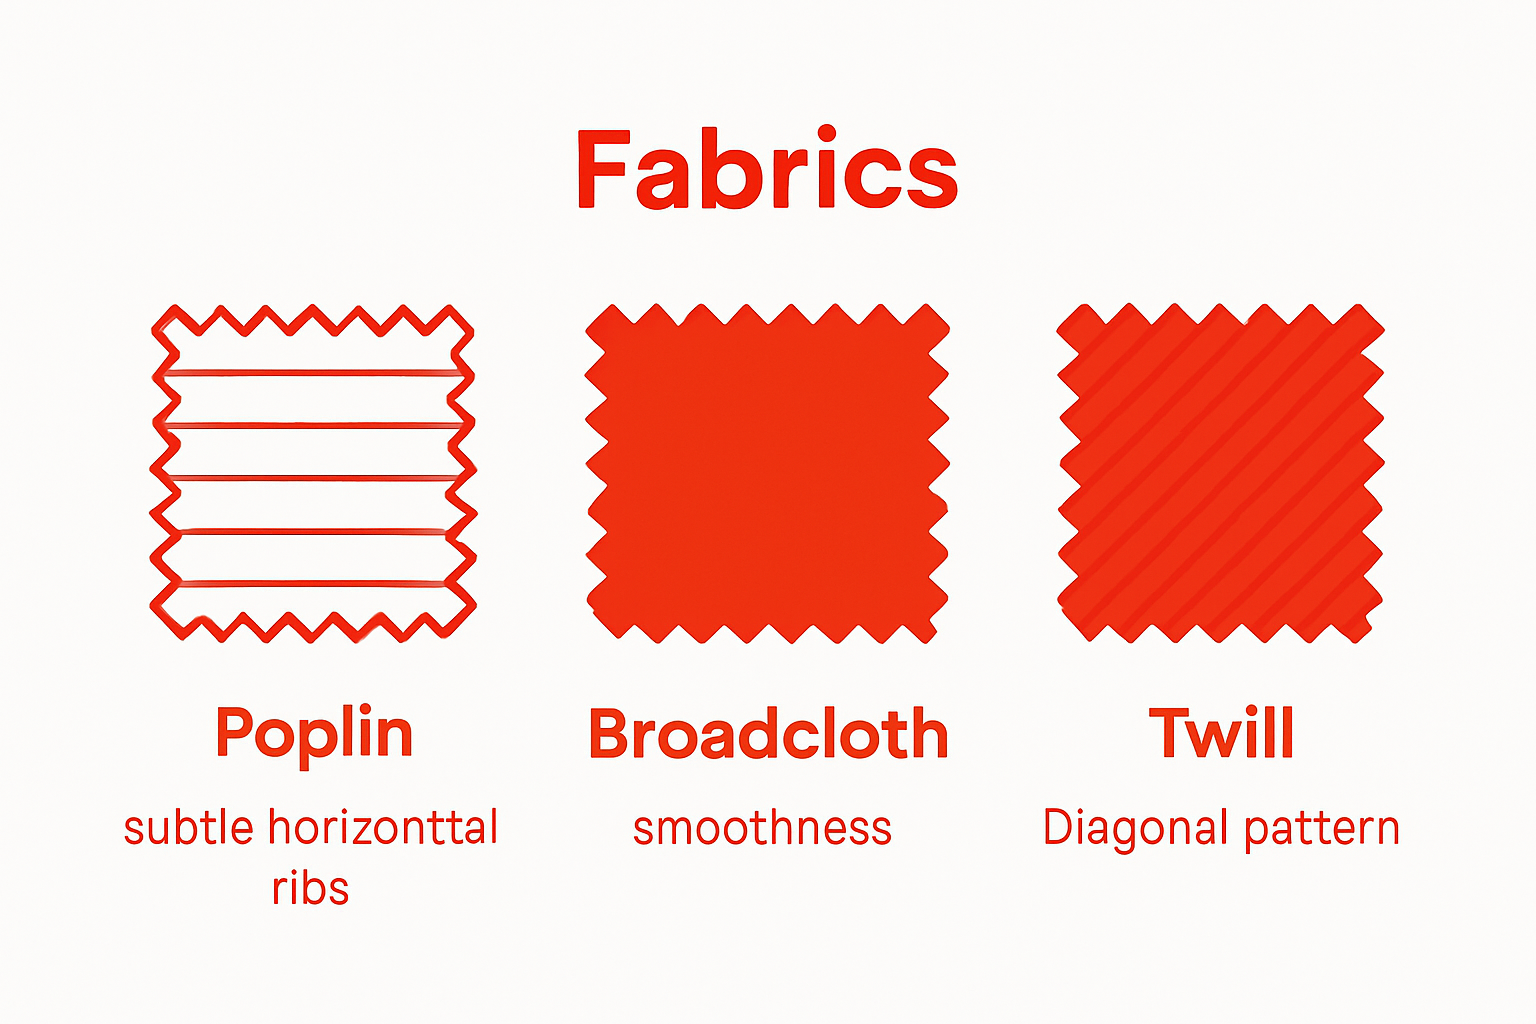
Selecting the correct material ensures your linens match the event’s tone and hold up to use. The fabric affects drape, durability, and cleaning method.
Match Fabric to Event Type
Different occasions call for different materials. Consider these options based on your needs.
• Casual Gatherings: Gingham, flannel-backed vinyl, or oilcloth resist spills and wipe clean, making them perfect for picnics or kids’ parties.
• Everyday Dining: Broadcloth or cotton prints offer light weight and easy laundering.
• Formal Affairs: Linen, satin, lace, or poly poplin give a refined look. Poly poplin resists wrinkles and stands up to repeated washing.
• Rustic Themes: Burlap adds farmhouse charm. Gauze works well for painted designs with a soft, textured finish.
• Budget Projects: King-size flat sheets cover large round tables. Twin sheets suit cocktail tables.
Know Fabric Width Limits
Most decorative fabrics are 43 to 60 inches wide. A 72-inch round table with a floor-length drop needs about 132 inches of fabric width, far wider than standard rolls.
Solution: Use a center panel with two side panels sewn on. This avoids a seam down the middle and maintains visual balance.
Prep Fabric Before Cutting
Always pre-wash cotton, linen, or cotton blends to prevent shrinking after completion. Dry and iron before measuring. For fringe projects, choose loosely woven cotton-linen blends that allow clean thread pulling.
Measure for Perfect Fit

Accurate dimensions ensure your linens drape beautifully without dragging or coming up short. Taking time to measure now saves fabric and frustration later.
Standard Drop Lengths
The drop length you choose sets the mood for your table.
• Casual: 6 to 10 inch drop
• Formal: 12 inch drop
• Floor Length: About 30 inches for 30-inch high tables
• Cocktail Tables: Measure from tabletop to just above floor, often 36.5 inches high
Calculate Fabric Size
Use this formula to determine exactly how much fabric you need.
Total Width = Table Width + (2 × Drop) + (2 × Hem Allowance)
Total Length = Table Length + (2 × Drop) + (2 × Hem Allowance)
Example: For a 61 × 30-inch table, 36-inch drop, and 1-inch total hem.
Width: 30 + 72 + 2 = 104 inches
Length: 61 + 72 + 2 = 135 inches
Napkin and Runner Sizes
| Type | Finished Size | Cut Size (with ½” hem) |
|---|---|---|
| Cocktail Napkin | 10″ × 10″ | 11″ × 11″ |
| Lunch Napkin | 13″ × 13″ | 14″ × 14″ |
| Dinner Napkin | 17″–18″ × 17″–18″ | 18″–19″ square |
| Table Runner | 12″–18″ wide × 72″ long | Add 1″ to dimensions |
Sew Panel Seams for Wide Cloths

When one piece of fabric is not wide enough, join panels seamlessly to create a finished look.
Align and Stitch Panels
Follow these steps to join multiple panels cleanly.
-
Place a full-width center panel on your work surface.
-
Cut two side panels to equal width. Calculate this by taking the total needed width minus the center width, then dividing by two.
-
Place right sides together, aligning selvedges.
-
Sew with a ½-inch seam allowance.
-
Press seams open. Finish raw edges with a zig-zag stitch or serger.
Avoid Center Seam Visibility
Position the seam off-center using a large middle panel. Alternatively, hide it under a runner or centerpiece where guests won’t notice.
Hem Like a Pro
A clean hem gives linens a polished, professional look that elevates your entire table setting.
Double Folded Hem (Sew Method)
This technique works for most tablecloths and runners.
-
Fold edge ½ inch, press with iron.
-
Fold again ½ inch to encase the raw edge, press.
-
Pin in place.
-
Stitch close to the inner fold using a straight stitch.
Tip: Use durable thread and backstitch at start and end for security.
Mitered Corners for Sharp Edges
Mitered corners give rectangular tablecloths a crisp, tailored appearance.
-
Fold and press a ½-inch hem on adjacent sides.
-
Unfold, then draw a diagonal line from the corner where the fold lines meet.
-
Cut along the diagonal line.
-
Refold the hems, letting the corner form a neat 45-degree fold.
-
Pin and stitch close to the inner fold, pivoting at the corner.
Reversible Tablecloths (No Hemming)
Create a two-sided cloth without traditional hemming.
-
Cut two identical pieces.
-
Place right sides together.
-
Sew around all four edges with a ½-inch seam, leaving a 6-inch gap.
-
Turn right-side out through the opening.
-
Press the entire cloth, then hand-stitch or machine-stitch the gap closed.
No-Sew Alternatives

No machine? No problem. These methods deliver fast, functional results without any sewing.
Iron-On Hem Tape
This method works well for one-time events.
-
Fold edge ½ inch, press.
-
Insert fusible web tape between the folded fabric and main cloth.
-
Press with a hot iron, following tape instructions.
-
Repeat on all sides.
Best For: Weddings and single-use events. Not ideal for heavy washing.
Fabric Glue Hems
Fabric glue provides a quick hold for decorative projects.
-
Fold and clamp edges with binder clips.
-
Apply fabric glue along the inner edge.
-
Let dry for 24 hours before handling.
Use Case: Simple overlays, toppers, or decorative runners.
Fringe Edges (Thread Pulling)
Create a rustic, finished edge by pulling threads from loosely woven fabric.
-
Cut fabric to exact size.
-
Use a pin to lift one thread at a corner.
-
Gently pull across the entire edge to create a ½-inch to 1-inch fringe.
-
Repeat on all sides.
Fabric Tip: This technique only works on loosely woven cotton-linen blends.
Sheet Hacking Shortcut
Skip fabric shopping entirely with these sheet hacks.
• Use king flat sheets for round tables. A 132-inch diagonal covers a 72-inch table.
• Twin sheets fit cocktail tables perfectly.
• Drape fitted sheets over high-top tables for a gathered, floor-length effect.
No cutting or hemming required.
Customize Your Linens

Make your table unique with paint, dye, or trim that reflects your personal style.
Paint With Fabric Medium
Transform plain linens into custom masterpieces.
-
Mix 2 parts acrylic paint with 1 part textile medium.
-
Roll the mixture onto a brayer or decorative roller.
-
Stamp or roll onto fabric.
-
Let dry, then heat set with an iron using a pressing cloth.
Design Ideas: Leaf prints for spring, floral borders on napkins, or abstract swipes on runners.
Dye Drop Cloths
Painter’s canvas drop cloths can be dyed any color to match your theme.
-
Soak the drop cloth in a fabric dye bath in your desired color.
-
Rinse and dry thoroughly.
-
Cut into cloths or runners.
Result: Custom-colored, heavy-duty linen alternative at a fraction of the cost.
Add Lace or Trim
Elevate simple linens with elegant embellishments.
-
Cut lace to match the edge length of your cloth.
-
Pin to the right side of the cloth.
-
Stitch close to both edges of the lace.
Pro Tip: Look for discount lace for as little as $1 per yard. It looks high-end for less.
Cut Costs Without Sacrificing Style
DIY linens often cost significantly less than rentals, especially for large events.
Compare Costs
| Option | Cost |
|---|---|
| Rent 12 runners | About $144 ($12 each) |
| DIY 12 runners (discount fabric) | About $90 ($6 per yard) |
| King sheet tablecloth | $13 (versus $30+ retail) |
Smart Budget Tips
Save money with these proven strategies.
• Shop discount aisles at craft stores. Find fabric reduced from $21.99 to $6 per yard.
• Visit fabric districts or flea markets where prices can be as low as $1 per yard.
• Use coupons from major craft stores for 40 to 50 percent off sales.
• Make only overlays to save fabric. Layer a 12 × 72-inch runner over a rental cloth.
Resell or Repurpose
Get more value from your DIY linens after the event.
• Sell custom linens on Craigslist or eBay.
• Turn scraps into coasters, napkin rings, or chair sashes.
• Use leftover burlap or canvas as room dividers or craft backdrops.
Troubleshoot Common Issues
Avoid mistakes with these quick fixes for typical problems.
Large Round Table Too Wide
Problem: A 72-inch table needs 132 inches of fabric for floor length.
Fix: Seam three panels together. Alternatively, use 120-inch upholstery fabric for a halfway-to-floor look. Or layer an overlay on a rented base cloth.
Worried About Wrinkles
Problem: Linens arriving wrinkled or developing creases.
Fix: Press thoroughly before the event. Use poly poplin, which resists wrinkles naturally. For linen, steam heavily just before draping.
Color Too Bold
Problem: A dark base color feels overwhelming.
Fix: Layer a neutral lace or sheer overlay over the dark base. Use accent runners in complementary tones, like chartreuse on navy.
Hem Coming Undone
Problem: Fusible tape fails after washing.
Fix: For long-term use, always sew hems. Reinforce corners with backstitching for durability.
Tools You Need for Success
Equip yourself with these essentials before starting.
• Tape measure for precise drop and cut calculations
• Rotary cutter, self-healing mat, and ruler for straight cuts
• Iron with steam for crisp hems
• Sewing machine with straight stitch and zig-zag capability
• Fabric scissors sharp and dedicated to fabric only
• Pins or clips to secure folds and seams
• Chalk or fabric marker for marking cut lines
Final Steps: Finish and Inspect
A polished finish makes all the difference between homemade and professional-looking linens.
Press Entire Linen
After sewing, give the whole piece a heavy steam press. Focus on hems and corners to remove any puckers.
Check for Loose Threads
Trim excess threads. Inspect seams for gaps or weak stitching that could fail during use.
Test the Drape
Lay the linen on a similar table to check drop length and how fabric pools at corners. Make adjustments before the event.
Frequently Asked Questions About Making Table Linens
What is the best fabric for beginner table linen projects?
Cotton and poly poplin are the most forgiving fabrics for beginners. They are easy to cut, press, and sew, and they come in a wide variety of colors and prints. Cotton broadcloth works well for napkins and runners, while poly poplin offers wrinkle resistance for more formal settings.
How do I calculate how much fabric I need for a tablecloth?
Measure your table width and length, then decide on a drop length. Add twice the drop length plus twice the hem allowance to each dimension. For example, a 60 × 40-inch table with a 12-inch drop and 1-inch hem needs fabric cut to 86 × 66 inches.
Can I make table linens without a sewing machine?
Yes. Use iron-on hem tape, fabric glue, or the thread-pulling fringe technique for no-sew options. You can also use flat sheets as instant tablecloths by draping them over tables without any alteration.
How do I prevent my DIY tablecloth from shrinking?
Always pre-wash cotton, linen, or cotton-blend fabrics before cutting. Dry and iron them before measuring. This accounts for shrinkage that would otherwise occur after your first wash, potentially making the finished piece too small.
What is the easiest table linen project for beginners?
Start with napkins. Cut 14-inch squares from cotton fabric, fold and press ½-inch hems twice, and stitch around all four sides. Napkins are small, forgiving, and useful immediately. A table runner is the next easiest project.
How do I get paint designs to stay on fabric permanently?
Mix acrylic paint with textile medium at a 2:1 ratio, apply to fabric, let it dry completely, then heat set with an iron. This bonds the paint to the fabric fibers so designs survive washing. Skip this step and the paint will crack or wash out.
Key Takeaways for Making Table Linens at Home
Making table linens is a smart, creative way to elevate any event while saving money. Start by choosing fabric that matches your event’s formality. Cotton and poly poplin work well for beginners, while burlap and lace add rustic or elegant touches. Measure twice and cut once using the fabric calculation formula to avoid waste.
Whether you sew professional hems, use iron-on tape for quick fixes, or hack sheets for instant solutions, you now have the skills to create custom pieces. Add personalized flair with fabric paint, dye, or lace trim to match any theme. The power to personalize is in your hands. Start small with napkins or a runner, then scale up to full tablecloths with confidence.