How to Refinish a Dining Table: Quick Steps
You’ve inherited a sturdy but tired dining table, or maybe you found a gem at a thrift store. It’s solid, functional, and full of potential—but the finish is dull, scratched, or outdated. Instead of replacing it, why not give it new life? Refinishing a dining table isn’t just about aesthetics; it’s a smart, sustainable way to restore a piece for decades of future use. Whether your table has deep stains, peeling varnish, or mismatched legs, this guide will walk you through every step—safely and effectively—to transform it into a showpiece.
No more guesswork. With the right tools, materials, and techniques, even beginners can achieve professional results. Let’s get started.
Assess Table Condition First
Before sanding or stripping, inspect your dining table thoroughly. This determines whether you can proceed with refinishing or need structural repairs first.
Check for Structural Integrity
Examine all joints, legs, and corner blocks. Wiggle the legs—if there is movement, the glue joints may be failing. Loose frames or creaking sounds mean disassembly and regluing are necessary before surface work. Misaligned factory blocks should be removed, repositioned for full contact, and clamped until dry. A structurally weak table won’t hold up no matter how good the finish looks.
Identify Wood Type and Damage
Determine if your table is solid wood or veneer. Solid wood (like oak, walnut, or pine) can handle aggressive sanding and chemical stripping. Veneer is a thin layer over plywood—aggressive sanding can sand through it. Look for grain continuity: if the pattern repeats across seams, it’s likely veneer.
Also note surface issues:
* Sun-faded areas (one side lighter than the other)
* Water rings or white cloudiness
* Peeling, gummy, or sticky finish
* Discoloration from cleaners like Murphy’s Oil Soap, which degrades finishes over time
Consider Value Before Refinishing
Refinishing reduces the value of antiques or collectible furniture. If you are restoring for resale or investment, consult an expert. But for personal use, refinishing breathes new life into a beloved piece.
Set Up a Safe Workspace
Refinishing involves toxic chemicals and fine dust. Safety and setup are non-negotiable.
Choose a Well-Ventilated Area
Work outdoors if possible—driveways or garages with open doors are ideal. If indoors, open windows and use fans to exhaust fumes. Never work in enclosed spaces without airflow.
Protect Floors and Elevate the Table
Lay down drop cloths (plastic, contractor paper, or cardboard) to catch drips and debris. Elevate the table on sawhorses, bricks, or paint cans. This reduces back strain and ensures all sides are accessible.
Wear Proper Protective Gear
Always use:
* Nitrile or chemical-resistant gloves
* Safety goggles
* Respirator mask rated for fumes and dust
* Closed-toe shoes and an apron
Keep children and pets away during chemical and sanding stages.
Strip the Old Finish Safely
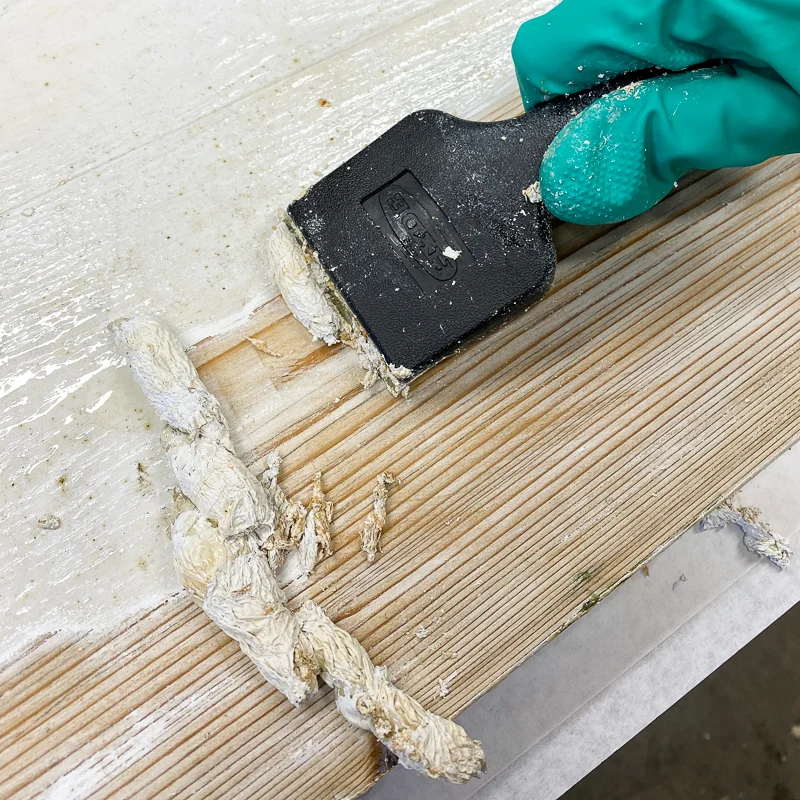
Removing the old finish is essential for a smooth, lasting result. Chemical stripping is faster and safer for detailed wood than sanding.
Pick the Right Chemical Stripper
Use methylene chloride-free strippers (e.g., Klean Strip, Citrus, or Gel formulas). Old stripper loses potency—always use fresh product. Gel strippers work well on vertical surfaces and intricate details.
Apply Stripper in Thick Coats
Use a chip brush to apply a thick, even layer with the grain. Avoid over-brushing. Cover all areas, including carvings and edges. Do not let it dry—reapply if needed.
Wait for Finish to Bubble
Let the stripper sit 10–20 minutes. Watch for the finish to wrinkle or bubble—this means it is working. Do not scrape too early.
Scrape Off Softened Finish
Use a plastic scraper to push softened finish into a metal pan or cardboard box. For grooves and details, use coarse steel wool or a wire brush. A dull metal scraper can be used gently, but avoid gouging the wood.
Neutralize Residue Properly
After scraping:
* For water-based strippers: Wipe with a water-dampened rag until the rag stays clean.
* For gel or solvent-based strippers: Use mineral spirits or lacquer thinner with 0000 steel wool.
Allow the wood to dry at least 24 hours before sanding—especially if water was used.
Sand with the Right Grit Sequence

Sanding ensures a smooth surface for staining. Use the correct progression to avoid damage.
Start with Coarse Grit for Removal
Use 80–100 grit to remove stubborn finish residue or deep scratches. On veneer or lightly stripped tables, skip coarse grits—start at 120 or 150 to avoid sanding through.
Progress to Medium and Fine Grits
- 120–150 grit: Removes scratches from coarse sanding.
- 180–220 grit: Creates a smooth surface ready for stain.
- 240–600 grit (optional): For ultra-smooth finishes, especially before oil-based polyurethane.
Always sand with the grain to prevent swirl marks.
Hand Sand Details and Curves
Use sanding blocks or folded paper for legs, carvings, and edges. Power sanders can round over sharp details—hand sanding preserves them.
Change Paper Frequently
Clogged sandpaper leaves residue and slows progress. Replace it as soon as it loses effectiveness.
Repair Dents, Scratches, and Joints
Fix imperfections before staining so they do not show through.
Remove Drips and Flattening Dents
Scrape off dried finish drips with a utility knife. For dents, place a damp cloth over the area and press with a hot iron—the steam swells compressed fibers back to level.
Fill Gouges with Wood Filler
Apply wood filler slightly over the damaged area using a putty knife. Let it dry completely (several hours), then sand flush—start with 120 grit, finish with 220.
Re-Glue Loose Joints
Disassemble loose legs or frames. Clean off old glue with a chisel or sandpaper. Reassemble with wood glue, clamp tightly, and let cure 24 hours.
Correct Color and Tone Mismatches
Old tables often have uneven coloring—especially between sun-exposed tops and protected legs.
Fix Sun-Faded Areas
Sunlight bleaches one side lighter. Choose a stain slightly darker than the original to even it out.
Match Leg Color to Tabletop
Legs often look dull or grey. Clean them with a 50/50 mix of Windex and water using 0000 steel wool. Then tone with a shellac mix:
* Mix 1 oz wax-free shellac with denatured alcohol.
* Add drops of Trans Tint dye (e.g., brown mahogany) to match the top.
* Apply evenly, let dry, then buff lightly.
Neutralize Red Oak’s Orange Hue
Red oak naturally pulls orange or red. Counteract it with:
* Green-based stains (e.g., Varathane Aged Wheat)
* Gray-based stains (e.g., Sunbleached Gray or Aged Barrel)
Test with isopropyl alcohol on raw wood—it mimics how a sealer will darken the wood.
Apply Stain for Even, Rich Color
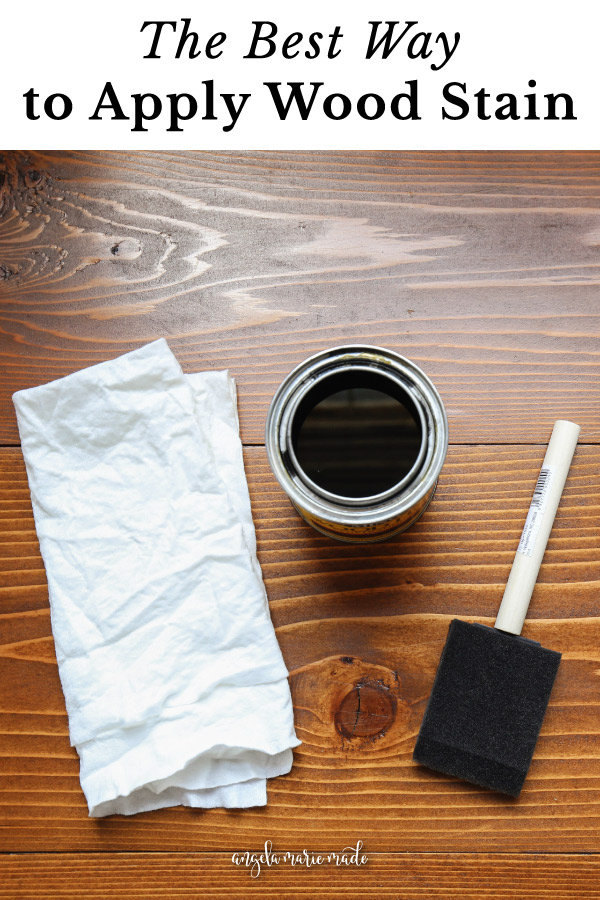
A good stain enhances grain and hides imperfections. Preparation is key.
Use Wood Conditioner on Softwoods
Pine, poplar, and mixed-wood tables absorb stain unevenly. Apply wood conditioner 5–15 minutes before staining. Wipe off excess—let it dry per instructions.
Choose the Right Stain Type
- Oil-based: Deep penetration, warm tones, durable.
- Water-based: Dries fast, no ambering, less odor.
- Gel stain: Less likely to drip, ideal for vertical surfaces.
Stir stains thoroughly—do not shake (causes bubbles).
Apply Stain in Small Sections
Use a foam brush, natural bristle brush, or lint-free rag. Apply liberally with the grain. Let it sit 5–15 minutes (longer = darker). Wipe off excess immediately.
Build Color with Multiple Coats
Apply 2–3 coats for depth. Lightly sand with 220 grit between coats. Let each coat dry 24 hours (oil-based) before reapplying.
Mix Stains for Custom Tones
Combine oil-based stains (e.g., Minwax Natural + Walnut) to create warm, unique hues. Test on scrap wood first.
Seal with a Durable Topcoat
The topcoat protects against water, heat, and scratches. Choose wisely.
Pick the Right Polyurethane
- Oil-based polyurethane: Hardest, most durable. Adds warmth but may amber over time. Best for heavy-use tables.
- Water-based polyurethane: Dries clear, fast, low odor. Less durable than oil but sufficient for most homes.
- Polycrylic: Water-based, good for light woods where yellowing is a concern.
- Avoid wax—it’s high-maintenance and not suitable for dining tables.
Apply Thin, Even Coats
Use a high-quality synthetic brush or wipe-on polyurethane to avoid brush marks. Apply a thin coat with the grain. Let it dry 4–8 hours (oil) or 2–4 hours (water).
Sand Between Coats
Lightly sand with 400–600 grit paper to remove dust nibs and brush marks. Wipe clean with a tack cloth.
Apply 3–4 Coats for Durability
Dining tables endure spills and abrasion. Apply at least three coats, four for heavy use. Let each coat dry fully before the next.
Buff the Final Coat
After the last coat cures, lightly buff with 0000 steel wool for a smooth, satin finish.
Let the Finish Cure Completely
Drying is not curing. Rushing leads to dents and damage.
Know the Curing Timeline
- Touch dry: 2–8 hours
- Recoat time: 4–24 hours
- Full cure: Oil-based: 7–30 days; Water-based: 7–10 days
Avoid placing dishes, hot pans, or heavy objects on the table until fully cured.
Protect the New Finish
Use coasters, placemats, and trivets. Clean spills immediately. Reapply wax (if using) every few months.
Avoid Common Refinishing Mistakes
Even experienced DIYers make errors. Here is how to avoid them.
Prevent Blotchy Stain
Blotchiness happens on softwoods without conditioner. Always use it on pine or poplar. Sand evenly—uneven surfaces absorb stain differently.
Stop Brush Marks in Polyurethane
Use a high-quality synthetic brush, apply thin coats, and maintain a wet edge. For best results, switch to wipe-on polyurethane—it levels naturally.
Fix Patchy Stripping
If bare wood looks uneven, re-apply stripper to problem areas. Scrape and sand until the surface is uniformly bare.
Avoid Orange Tones in Oak
Use gray- or white-based stains to neutralize red oak’s warmth. Water-based topcoats yellow less than oil-based.
Never Use Murphy’s Oil Soap on Old Finishes
It breaks down varnish over time, causing discoloration and gummy surfaces. Reserve it for cleaning finished wood—never as a prep step.
Frequently Asked Questions About Refinishing a Dining Table
How long does it take to refinish a dining table?
The full process takes 1–2 weeks for stripping, sanding, staining, and applying multiple coats. However, you should wait 7–30 days for the finish to fully cure before placing items on the table.
Can I refinish a veneer dining table?
Yes, but you must sand gently. Start with fine grit (120 or higher) and never use coarse sandpaper, which can sand through the thin veneer layer.
What is the best finish for a dining table?
Oil-based polyurethane provides the hardest, most durable finish for dining tables that see heavy daily use. It resists water, heat, and scratches better than other options.
Do I need to remove the old finish completely?
Yes, complete removal is essential. Any remaining finish will prevent the new stain from absorbing evenly and will create an uneven, patchy appearance.
How do I fix blotchy stain on pine?
Apply a wood conditioner before staining. This pre-treatment seals the wood pores slightly, allowing for more even stain absorption on softwoods like pine.
Key Takeaways for Refinishing Your Dining Table
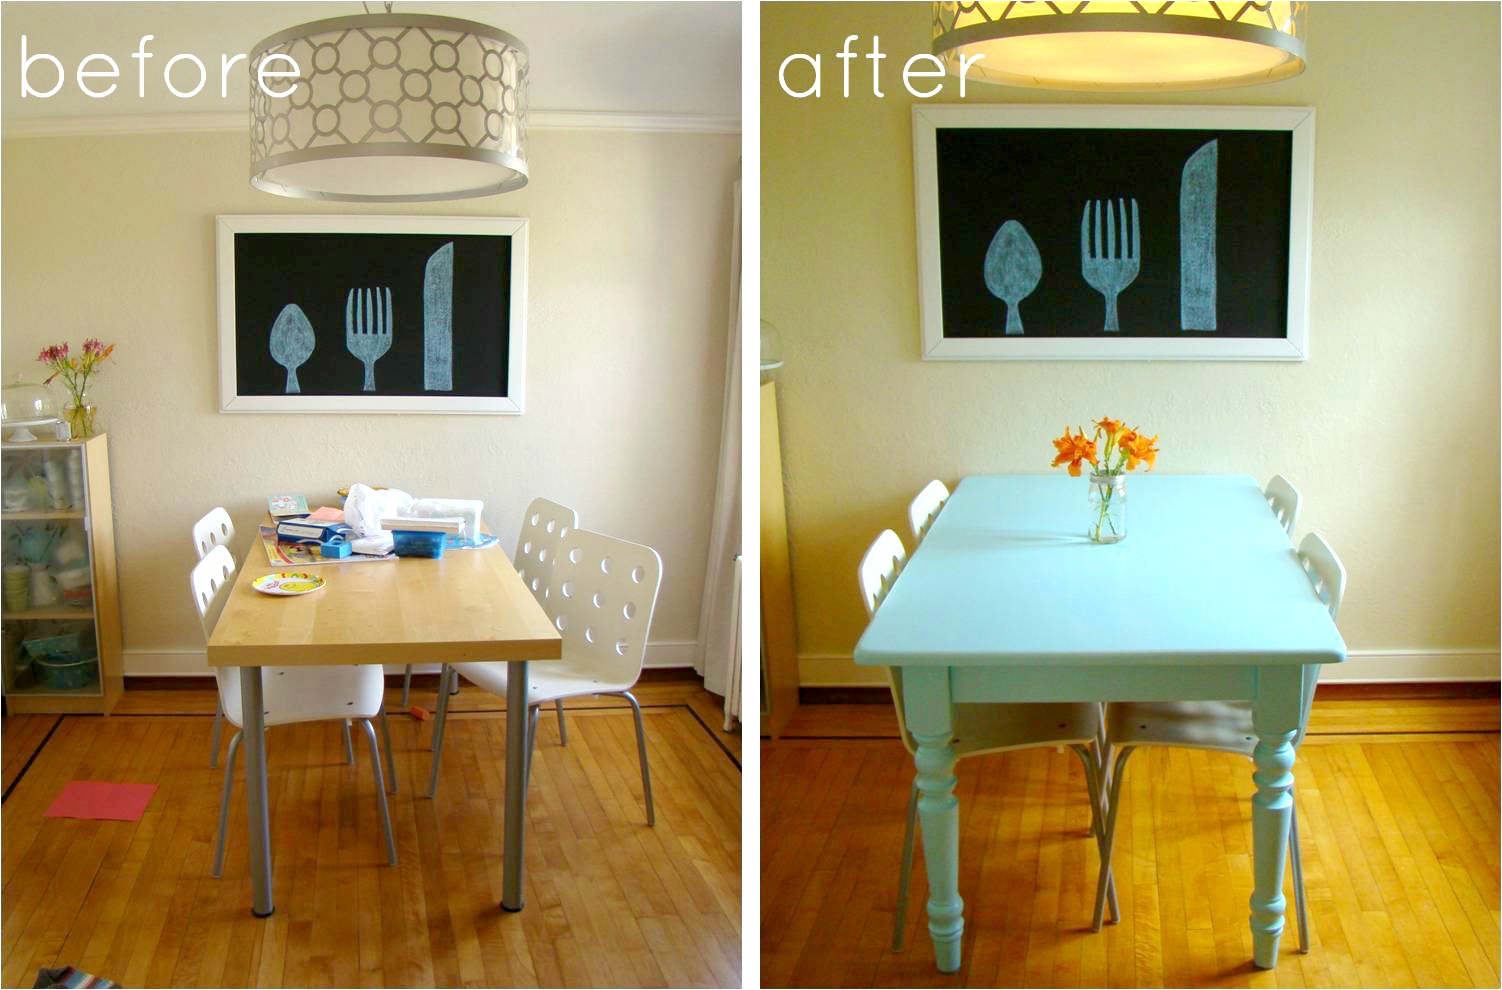
Refinishing a dining table is a rewarding project that combines craftsmanship and creativity. By following this guide, you will restore not just the surface, but the soul of the piece. The most critical steps are thorough preparation—stripping old finish completely and sanding through the proper grit sequence—and patient curing, which ensures your new finish resists dents and damage for years to come.
With proper prep, careful staining, and a durable finish, your table will last another lifetime. Take your time, test every step on hidden areas first, and enjoy the transformation from tired to timeless.