How to Clean a Wood Table
You just spilled coffee on your favorite wood table and now there is a ring. Or maybe it has lost its shine and feels sticky no matter how much you wipe it. You are not alone. Wood tables are beautiful but demand careful cleaning to avoid damage. The wrong cloth, too much water, or a harsh cleaner can leave scratches, warping, or dull finishes. But with the right steps, you can safely clean, protect, and restore your wood table to its original luster. This guide reveals the exact methods professionals use based on wood type, finish, and stain to keep your table looking timeless.
Identify Your Wood Finish
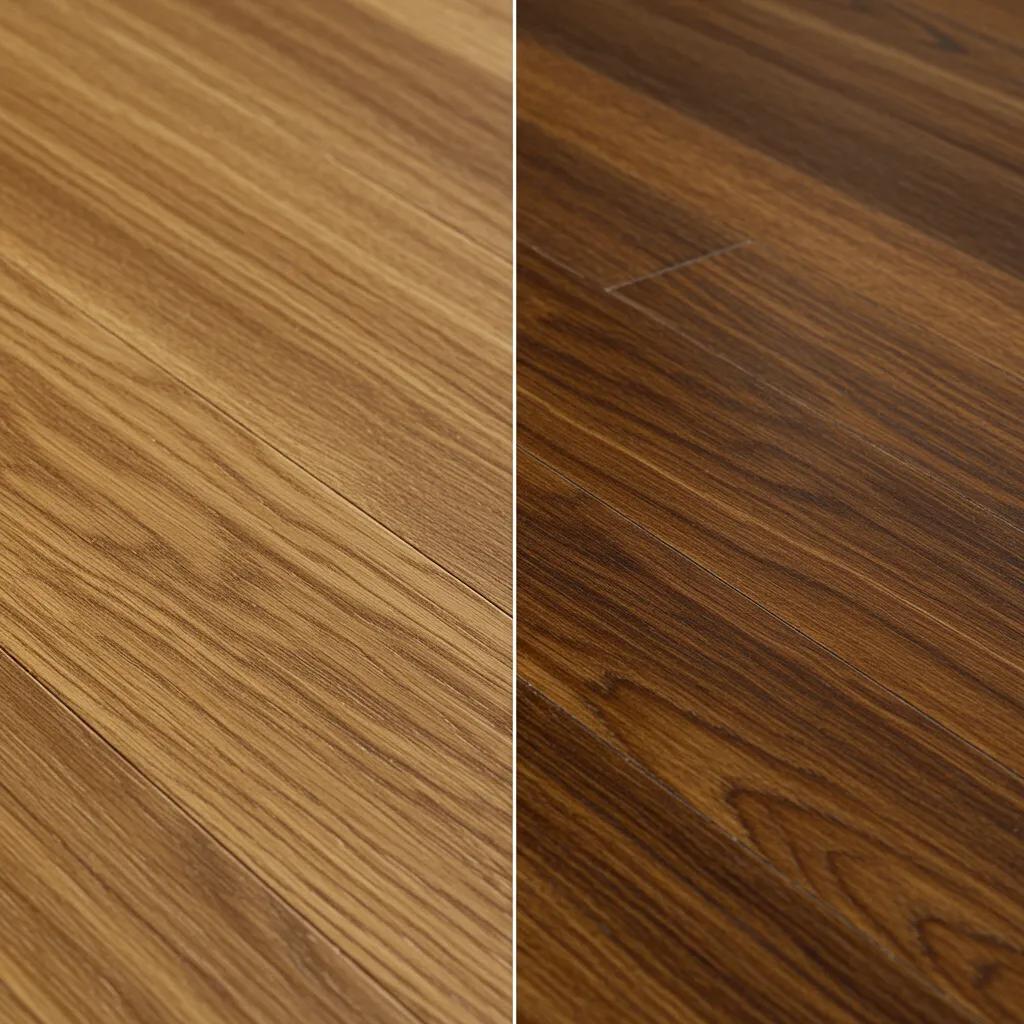
Before cleaning, you must know what kind of finish your table has. The wrong approach can ruin even the sturdiest wood.
Sealed vs. Oiled Wood
Sealed wood feels smooth and slightly plastic-like. It has a glossy or satin sheen and can handle a lightly damp cloth. Think of the finish as a raincoat. It repels moisture, but water can still seep in along edges or cracks.
Oiled or unsealed wood feels like raw timber. It absorbs moisture like a sponge, so water must be avoided at all costs. If you are unsure, treat it as oiled. Better safe than sorry.
Quick Touch Test
Rub your palm across the surface. Smooth and slick indicates sealed wood. Warm and porous indicates oiled wood. Always spot-test any cleaner on a hidden area first, like the underside. Wait ten minutes to check for discoloration or finish damage.
Daily and Weekly Dusting
Dust is the silent enemy of wood furniture. Over time, it mixes with moisture and turns into tiny abrasives that scratch the surface.
Daily Dusting Routine
Use a soft, lint-free microfiber cloth. Wipe in straight lines, always with the grain, to avoid pushing grit into the wood. Daily dusting is ideal, but do it at least once a week. Never use feather dusters. They scratch and kick up dust into the air.
For Carved Details
Use a soft-bristle toothbrush to gently loosen dust in grooves. Follow with a dry microfiber cloth to catch debris.
Monthly Deep Cleaning Steps
:max_bytes(150000):strip_icc()/wood-furniture-cleaning-surface-5786445e9a014e368bb7e0d42527486f.jpg)
Once a month, go beyond dusting to remove grime, oils, and buildup.
Prepare the Cleaning Solution
Mix warm water with two to three drops of mild dish soap in a bowl. Never pour soap directly onto the table. For grease, use a diluted vinegar solution occasionally. Mix one part white vinegar to three parts water. Overuse can dull the finish.
Damp Wipe the Surface
Dip a microfiber cloth into the solution. Wring it out completely. It should be barely damp. Test by touching it to your hand. It should leave only a faint trace of moisture. Wipe the table with the grain using gentle, even strokes. For carved areas, lightly dampen a cotton swab or toothbrush. Never soak.
Immediate Drying Is Crucial
Right after wiping, use a second dry microfiber cloth to buff the surface. Any lingering moisture can cause warping, cloudy water stains, or finish lifting. This step takes less than a minute but prevents long-term damage.
Clean Specific Wood Types
Not all wood is the same. Adjust your method based on the material.
Pine Tables
Pine is soft and porous. Moisture can leave dark marks. Clean with a dry cloth only. If necessary, use a barely damp cloth and dry instantly. Avoid vinegar and alcohol. They can bleach the wood.
Oak and Beech
These hardwoods are more durable. Use a damp cloth followed immediately by a dry one. Oak darkens to a golden brown over time. Beech shifts from cream to pinkish brown. This is natural patina.
Bamboo
Bamboo is technically a grass but treated like wood. For deep cleaning, mix hot water with three to four drops of bleach. Or mix the juice of three lemons with one liter of water in a spray bottle. Scrub dirty spots with a toothbrush, then dry thoroughly.
Outdoor Wood Tables
Exposure to sun and rain demands extra care. Dry immediately if wet. Use outdoor-specific oil every three to six months to maintain UV and moisture protection. Cover when not in use.
Remove Common Stains and Damage
Accidents happen. Here is how to fix them without making it worse.
White Water Rings
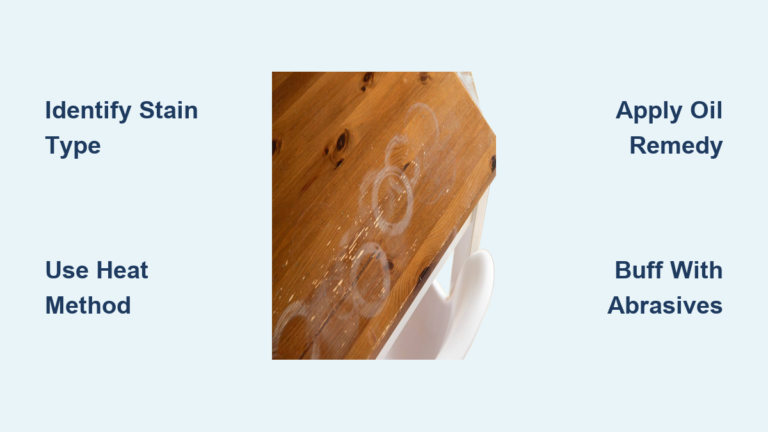
White water rings are caused by cold drinks or condensation. Moisture is trapped under the finish.
Try the iron method. Place a clean cotton towel over the ring. Set an iron to low heat with no steam. Gently move it over the towel for ten to fifteen seconds. Check often. Stop if the finish changes.
Alternatively, rub a dab of mayonnaise or petroleum jelly on the ring. Wait ten minutes, then wipe off. Or use non-gel toothpaste in small circles, then wipe clean.
Dark Water Stains
Dark water stains mean moisture has penetrated deeper.
Try the hydrogen peroxide fix. Mix equal parts hydrogen peroxide and water. Dampen a microfiber cloth and place it over the stain for ten to fifteen minutes. Remove and let dry completely.
Alternatively, dampen a cloth with denatured alcohol. Gently rub the stain, then dry. Stop immediately if the finish looks dull or cloudy.
Heat Marks
Hazy spots from hot mugs or pans respond to the iron method above. Or rub with non-gel toothpaste and wipe clean.
Sticky Residue
Sticky residue is often caused by overuse of polish or food spills.
Try the olive oil and heat method. Soak a cotton swab in olive oil. Apply to the sticky spot. Use a blow dryer on low to warm the area while wiping with a dry cloth. Buff off excess oil.
Alternatively, dampen a cloth with grease-cutting dish soap. Wipe gently, then clean with a damp cloth to remove soap. Dry immediately. If stickiness persists, it is likely polish buildup. Clean with soap and water, then switch to silicone-free products.
Light Scratches
The walnut trick works well on light scratches. Rub a halved walnut over the scratch. The natural oils darken the mark and blend it in. This works best on oiled or walnut finishes, not high-gloss lacquer.
Deep Scratches
Use a wood filler or touch-up marker that matches your table color. Kitchen hacks will not fix deep gouges.
Mold
Mold is caused by humidity, not dirt. Wipe with diluted vinegar or mild soap solution. Dry completely and improve airflow. If mold returns or sinks into the grain, seek professional help. It may compromise structural integrity.
Condition and Polish Every 6 to 8 Weeks
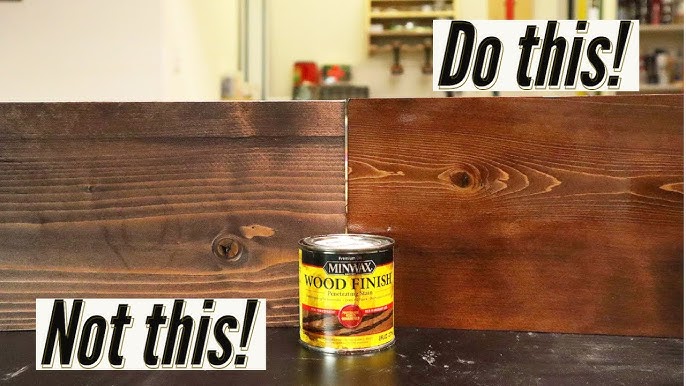
Cleaning removes dirt. Conditioning restores moisture and shine.
Choose the Right Oil
Use mineral oil or food-grade wood oil like cutting board oil. TRIXIG wood treatment oil works for indoor and outdoor use. Avoid silicone-based polishes. They leave a sticky film that attracts dust.
Apply Conditioner Properly
Pour oil onto a clean cloth or paper towel. Spread evenly with the grain. Let it soak for at least one hour. Some oils need four to six hours. Buff off excess with a dry cloth.
Condition every six to eight weeks for regular use. Every three to six months for light use. Oiled wood may need re-oiling every few months.
Prevent Future Damage
The best cleaning is the one you do not have to do. Prevent issues before they start.
Use Coasters and Trivets
Use coasters for all drinks. No exceptions. Use trivets for hot dishes and pans.
Add Physical Protection
Use felt pads under lamps, vases, and decor. Use tablecloths or runners during meals or in high-traffic areas.
Control the Environment
Avoid direct sunlight. It fades wood and cracks finishes. Keep away from radiators. Dry heat dries out wood. Maintain humidity. Use a humidifier in winter to prevent cracking.
Avoid These Common Mistakes
Even with good intentions, people damage wood tables every day.
Never use ammonia-based cleaners like glass cleaner. They haze and strip finishes. Never use full-strength vinegar. It is too acidic. Never use isopropyl alcohol. It dries and discolors wood. Never use scouring pads or abrasive sponges. They scratch.
Never let water sit. Even twenty minutes of dampness can cause swelling or clouding. Always dry immediately.
Do not over-polish. Too much polish creates a tacky buildup that feels dirty. If your table feels sticky, it is not dirty. It is over-polished. Clean with soap and water, then switch to oil.
Special Cases and Edge Scenarios
Carved or Detailed Tables
Use a soft toothbrush for dust. Apply cleaning solution sparingly. Never soak. Dry crevices with a dry cloth or blow dryer on low heat.
Kitchen or Dining Tables
These tables have high risk of grease and spills. Blot grease immediately. Do not wipe or you will spread it. Use diluted vinegar occasionally for deep cleaning. Condition more often due to frequent use.
Antique or Valuable Tables
When in doubt, consult a professional. DIY fixes can devalue antiques. Avoid heat, oils, or chemicals on priceless pieces. For persistent mold or deep stains, seek restoration experts.
Key Takeaways for Cleaning Your Wood Table
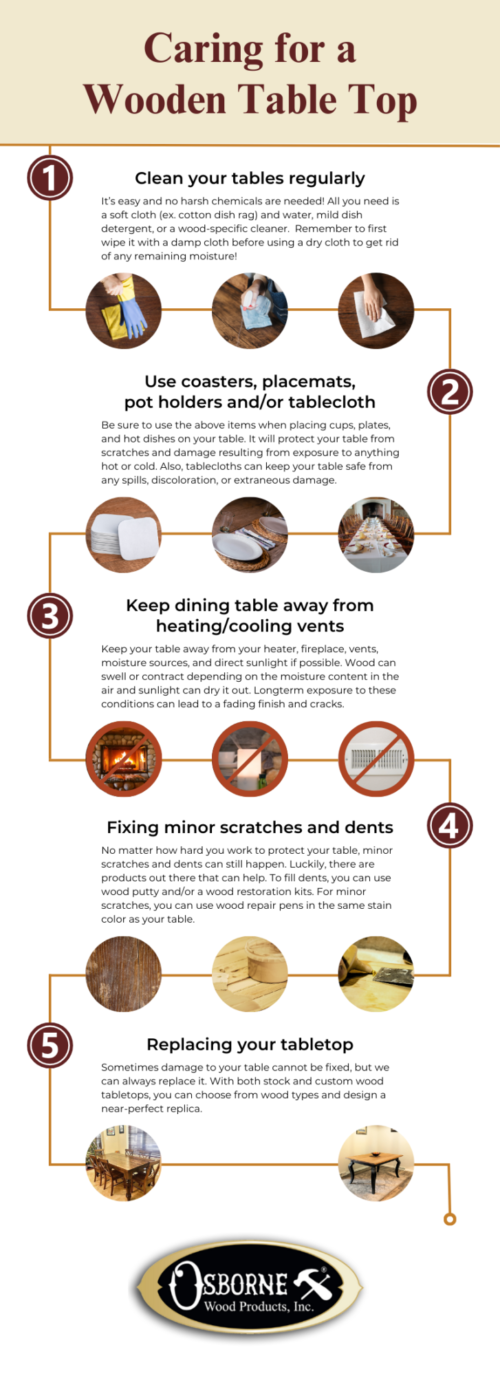
Cleaning a wood table is not about scrubbing. It is about precision, patience, and prevention. By identifying your finish, using the right tools, and following a simple monthly routine, you will preserve your table beauty for decades. Stick to gentle methods, avoid water and harsh chemicals, and condition regularly. Your wood table is not just furniture. It is a living surface that gains character with care. Treat it right, and it will last far beyond your lifetime.
Frequently Asked Questions About Cleaning a Wood Table
How often should I clean my wood table?
Dust your wood table daily or at minimum once a week. Deep clean with a damp cloth monthly. Condition the surface with wood oil every six to eight weeks for regular use.
Can I use vinegar to clean my wood table?
You can use diluted vinegar occasionally for cutting grease. Mix one part white vinegar to three parts water. Do not use full-strength vinegar. It is too acidic and can damage the finish over time.
How do I remove water rings from my wood table?
For white water rings, try placing a clean towel over the ring and using a low-heat iron for ten to fifteen seconds. Alternatively, rub mayonnaise or non-gel toothpaste on the ring, wait ten minutes, then wipe clean.
What is the best way to clean sticky residue on a wood table?
Apply olive oil to the sticky area with a cotton swab. Use a blow dryer on low heat while wiping with a dry cloth. If caused by polish buildup, clean with soap and water, then switch to silicone-free products.
How do I know if my wood table is sealed or oiled?
Run your palm across the surface. Smooth and slightly plastic-feeling indicates sealed wood. Warm and porous-feeling indicates oiled wood. When in doubt, treat it as oiled and avoid moisture.
Can I use olive oil to condition my wood table?
Food-grade mineral oil or wood-specific oils are better choices. Olive oil can go rancid and leave a sticky residue. Use mineral oil, cutting board oil, or a dedicated wood conditioner instead.