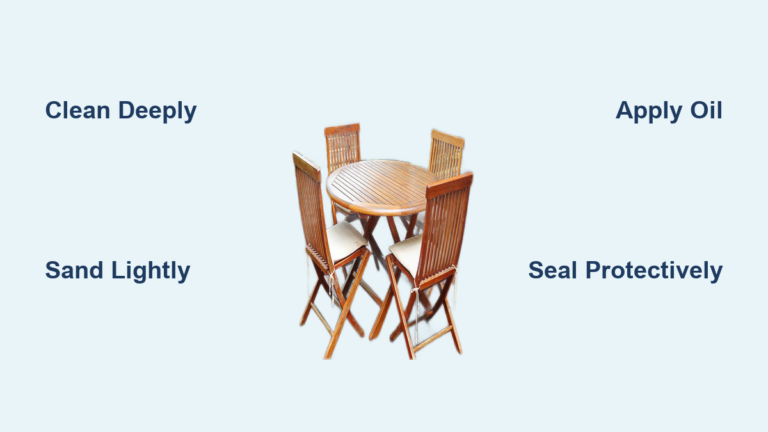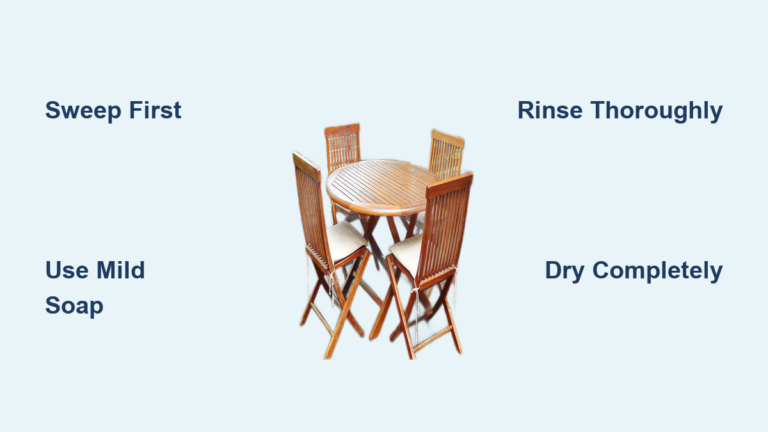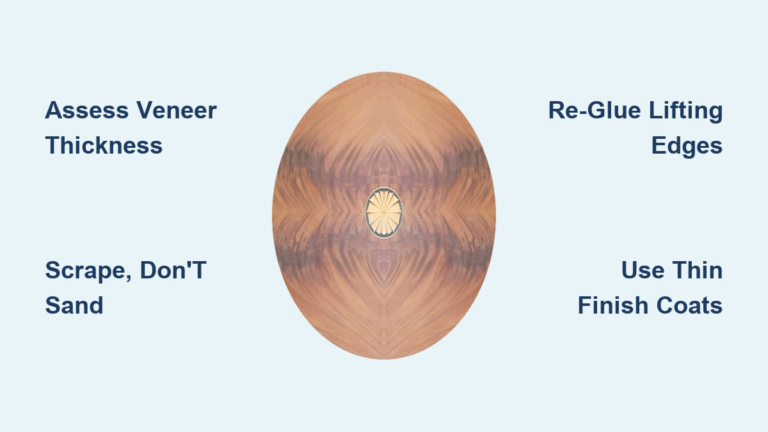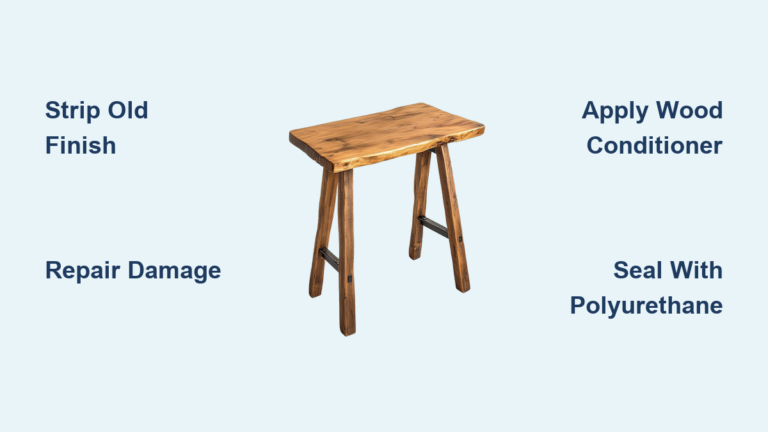
How to Restore a Wood Table: Quick Steps
You’ve inherited an old family heirloom, found a gem at a flea market, or simply grown tired of your worn-out dining table. Whatever the story, restoring a wood table breathes new life into forgotten furniture without the cost of replacement. Whether it’s scratched, faded, water-damaged, or coated in decades of grime, most wood tables can be revived with the right approach. The key is knowing how to restore a wood table based on its material, damage level, and your desired outcome.
This guide walks you through every step, from identifying veneer versus solid wood to choosing between no-sand revitalization and full refinishing. You’ll learn how to clean, repair, stain, and finish your table like a professional while avoiding common mistakes that ruin furniture.
Assess Your Table Before Starting
Before lifting a sanding block or opening a can of stripper, evaluate your table’s construction and condition. The wrong method can ruin an irreplaceable piece.
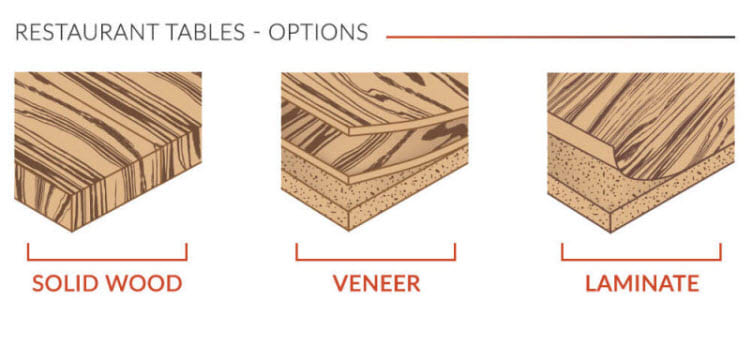
Identify Solid Wood, Veneer, or Laminate
Know what you’re working with before choosing your restoration method. Solid wood feels consistent in grain depth and can be sanded multiple times without damage. Veneer has a thin top layer of real wood over particleboard, and the grain often repeats like a photocopy. Laminate looks plastic-like, shows no grain texture, and cannot be stained at all.
Use this test. Examine edges or end caps. If the grain wraps around inconsistently or stops abruptly, it’s likely veneer or laminate. This distinction determines whether you can sand aggressively or must use gentler methods.
Check for Water Damage and Structural Issues
Look for bubbled or lifted surfaces, which are common in veneer. Swollen legs or aprons indicate moisture penetration. Loose joints or wobbly legs signal structural problems that need addressing before cosmetic restoration.
If the substrate under veneer is swollen, full restoration to factory condition is not possible. Focus instead on stabilization and visual improvement. Setting realistic goals prevents disappointment.
Set Realistic Restoration Goals
Decide your end goal before starting. Do you want to preserve character with light cleaning and surface enhancement? Are you aiming for a like-new finish with complete stripping and refinishing? Do you need to repair damage like chips, gaps, or missing trim?
Beginners should start with simple, flat-top tables. Intricate carvings or delicate inlays increase difficulty significantly and may require professional help.
Clean the Surface Thoroughly
Dirt, grease, wax, and old polish prevent finishes from adhering properly. Cleaning is non-negotiable, even in no-sand methods.
Remove Grime with Vinegar Solution
For sealed or finished tables, mix equal parts water and white vinegar. Dampen a clean cloth, do not soak it, and wipe the entire surface. Dry immediately with a second cloth to prevent moisture absorption into the wood.
This removes surface contaminants safely and prepares the wood for restoration products. Skip this step and you’ll trap grime under your new finish.
Use Solvents for Final Prep
After repairs or sanding, wipe with white spirit using a microfiber cloth. It dissolves oily residues and ensures a pristine surface for staining or sealing.
Always follow up with a tack cloth to remove fine dust, especially after sanding. Any remaining particles will show in your final finish.
Choose Your Restoration Path
Your choice between no-sand restoration and full refinishing depends on the table’s condition and your goals.
No-Sand Method for Light Wear
The no-sand approach works best for surface scratches, faded color, heat rings, and minor water marks. It’s ideal for sealed solid wood or intact veneer where you want to preserve patina and character.
This method takes under 15 minutes and preserves the original finish while revitalizing the wood’s natural color and luster.
Full Refinish for Deep Damage
Full refinishing is required when the finish is cracked, peeling, or heavily stained. Choose this path when you want to change the color or sheen, or when the table is unsealed or previously waxed.
This approach is only safe on solid wood or thick veneer. Aggressive sanding will destroy thin veneer, making the damage irreversible.
Restore Without Sanding
Revive your table’s appearance quickly while protecting the original finish and grain.
Apply a Penetrating Wood Restorer
Use a penetrating wood restorer like Restore Finish to blend scratches and revitalize faded areas. Choose a color that matches your wood tone, such as Mahogany for red tones.
Apply directly to the surface. Wipe off excess immediately and do not let it puddle. The product dries in several hours and transforms the appearance without altering the wood’s texture.
Treat Deep Scratches Gently
For stubborn marks, use 0000 steel wool lightly along the grain. Do not scrub. Simply buff the area to smooth minor imperfections. Wipe clean before applying the restorer.
Avoid power tools entirely. Too much pressure removes finish instead of smoothing it.
Enhance with Feed and Wax
After the restorer dries, apply Howard’s Feed and Wax with a soft cloth. Let it sit for 20 minutes, then buff thoroughly to bring out luster.
This product contains beeswax, carnauba wax, orange oil, and mineral oil. It conditions the wood and protects against moisture while enhancing the natural shine.
Add Vintage Flair with Gilding Wax
To highlight carvings or metal accents, use a dry brush to apply gilding wax lightly. Feather the edges so it does not look painted. This adds antique character without heavy restoration work.
This technique works beautifully on claw feet, handles, or decorative trim.
Fully Refinish the Table

For damaged finishes or dramatic transformations, strip everything down to bare wood.
Strip the Old Finish Safely
For chemical stripping, wear gloves and work in a ventilated area. Apply stripper with a brush, following the grain. Wait as directed, usually 10 to 20 minutes. Scrape off softened finish with a putty knife, moving with the grain. Clean residue with mineral spirits.
For mechanical sanding, start with 60-grit sandpaper to remove bulk finish. Use a power sander for large flat areas and hand sand curves and edges. Progress to 120-grit to smooth the surface. Always sand with the grain to avoid scratches.
Repair Veneer and Fill Damaged Areas
To flatten bubbled veneer, place a brown paper bag over the bubble. Apply a hot iron in 10-second bursts. The heat reactivates the adhesive, flattening the lift.
If an edge is loose, use a Stanley blade to inject wood glue underneath before pressing flat and clamping.
To fill gaps and missing trim, use epoxy wood filler or plastic wood putty. Mold to shape and let dry for about one hour. Carve texture with a knife or screwdriver to match rope trim or grain patterns. Sand smooth with 240-grit paper on a block.
Blend Repairs Seamlessly
Stain repairs with water-based color matching the undertone, such as red for mahogany. Use blendal sticks to feather edges into surrounding wood. Seal with the same topcoat as the rest of the table.
Stain or Oil the Bare Wood
With the table bare and repaired, choose your finish type.
Condition Before Staining
Apply wood conditioner first, especially on softwoods or uneven grain. This prevents blotchiness and ensures even stain absorption. Wait 15 to 30 minutes, then wipe off excess.
Skipping this step often results in uneven, splotchy color that cannot be fixed.
Apply Stain Evenly
Use a brush or cloth to apply stain with the grain. Let it sit for 5 to 15 minutes, then wipe off excess. Allow to dry fully, usually 8 hours.
For deeper color, lightly sand with 360-grit paper. Remove dust with a tack cloth and apply a second coat.
Never spot-stain. It will not match aged wood. Always treat the whole surface uniformly.
Try Penetrating Oil Finishes
For natural looks and easy maintenance, use teak oil, tung oil, or Danish oil. Wipe on, let soak for 15 to 30 minutes, then wipe off excess. Repeat 2 to 3 times for richer color.
Oils enhance grain and can be reapplied later without stripping. They are less durable than polyurethane but ideal for low-traffic use.
Apply Protective Topcoat
:max_bytes(150000):strip_icc()/polycrylic-vs-polyurethane-6891646-v1-55fc4eb651d249dabcc04eb9c708e308.png)
Seal your work to resist wear, moisture, and stains.
Choose the Right Finish
Polyurethane offers the highest durability and works well for dining tables. Polycrylic is water-based and dries faster with less yellowing. Lacquer provides a professional look and dries to a true satin sheen.
Oil-based polyurethane offers the toughest protection. Water-based versions dry faster and yellow less over time.
Apply Two Coats Minimum
Stir the finish thoroughly, do not shake it, to avoid bubbles. Wipe or brush on thin, even coats with the grain. Let dry as directed, usually 4 to 6 hours.
Sand lightly between coats with 360-grit paper or steel wool to remove dust nibs and ensure adhesion. Wipe clean with a tack cloth before applying the next coat.
Fix Common Problems
Address issues that arise during restoration.
Remove White Rings from Heat or Moisture
Rub gently with 0000 steel wool dampened with mineral or olive oil. Wipe clean, then apply feed and wax to restore shine. Avoid harsh chemicals that can damage the finish.
Match Colors After Repair
Layer stains by starting with a base like Teak, then adding a darker tone like Rosewood for depth. Use furniture markers to touch up small areas. Always test colors on scrap wood or hidden spots first.
Eliminate Dust Nibs in Final Coat
Sand lightly with 400-grit paper once dry. Wipe with a tack cloth. Apply another thin coat. Prevent this problem by cleaning your workspace thoroughly and using tack cloths between every step.
Maintain Your Restored Table
Keep your hard work looking great for years.
Reapply Oil or Wax Periodically
Every 3 to 6 months, use feed and wax to refresh protection and luster. For oiled tables, reapply oil annually or when the wood looks dry.
Avoid silicone-based polishes. They build up and hinder future refinishing.
Clean with Care
Use mild soap and water or dedicated wood cleaner. Wipe spills immediately. Use coasters and trivets to prevent new damage.
Never use ammonia, bleach, or abrasive cleaners on restored surfaces.
Know When to Refinish Again
Signs it is time include finish that looks dull despite waxing, deep scratches that penetrate the surface, and water that no longer beads up. Solid wood tables can be refinished multiple times. Veneer pieces may only tolerate one full sanding.
Frequently Asked Questions About Restoring a Wood Table
Can I restore a veneer table?
Yes, but with limitations. Veneer is thin, so aggressive sanding can destroy it. Use the no-sand method for light damage or the heat-and-pressure technique for bubbles. Full refinishing is only possible if the veneer is thick enough.
How do I remove white water rings from my table?
Rub gently with 0000 steel wool dampened with oil, such as mineral or olive oil. Wipe clean and apply feed and wax to restore the shine. This method works on surface damage but not on finish that is completely penetrated.
What is the fastest way to restore a wood table?
The no-sand method using a penetrating wood restorer takes under 15 minutes for a full table. Clean first, apply the restorer, wipe off excess, and finish with feed and wax. This works for sealed wood with light to moderate wear.
Can I change the color of my table when restoring it?
Yes, but it requires full refinishing. The no-sand method only revives the existing color. To change color, strip the old finish, sand to bare wood, apply wood conditioner, then stain with your chosen color.
How long does a wood table restoration take?
The no-sand method takes 1 to 2 hours including drying time. Full refinishing typically requires a weekend, with 8 to 24 hours needed between coats for proper curing. Plan accordingly and work in a dust-free environment.
Key Takeaways for Restoring Your Wood Table
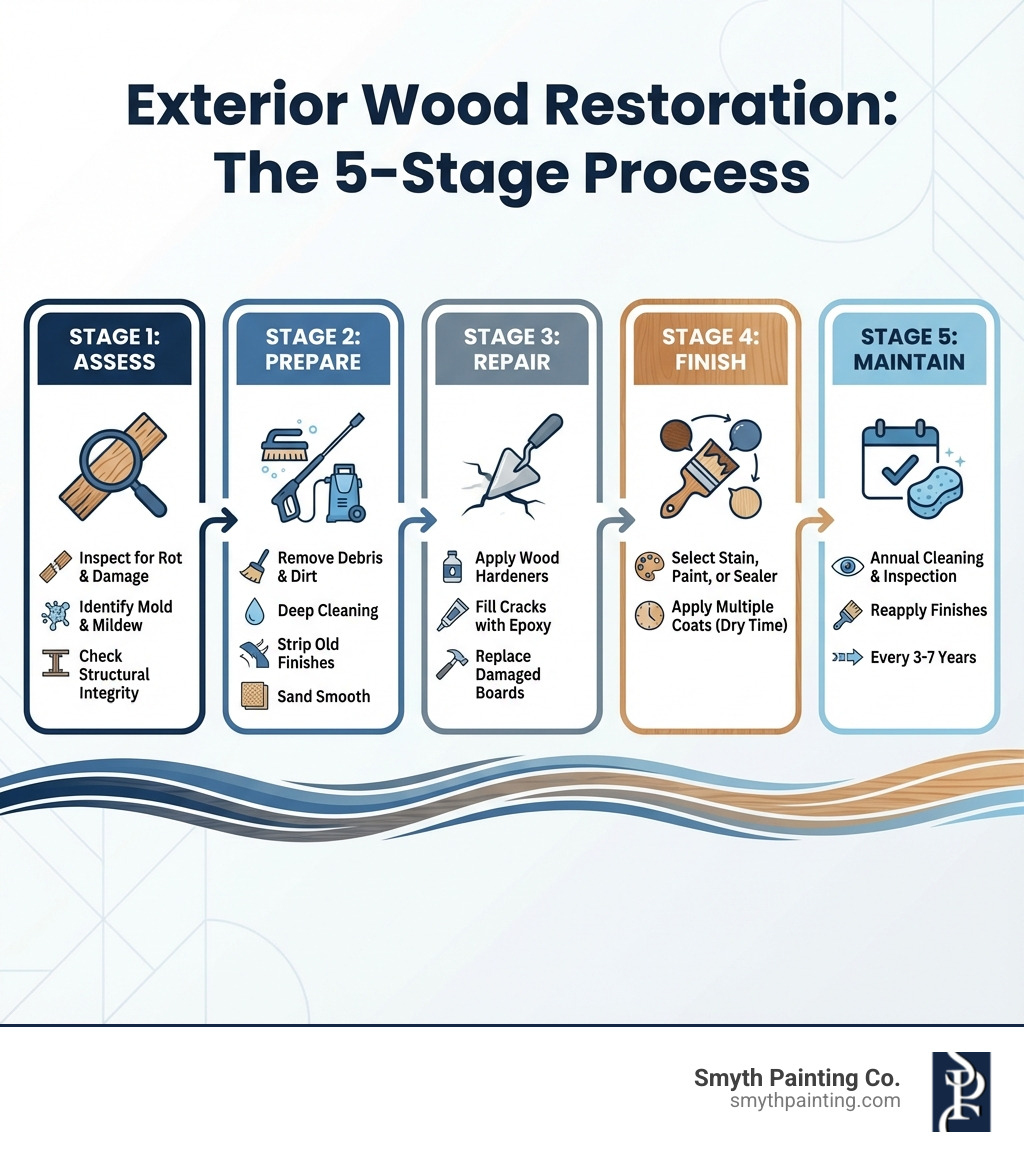
Restoring a wood table does not require professional skills, only patience and the right method for your specific piece. Always identify your table material first, as veneer and laminate require different approaches than solid wood.
Whether you choose a quick no-sand revival or a full weekend refinishing project, the transformation is incredibly rewarding. Focus on thorough preparation, work with the grain direction, and protect your results with a durable topcoat.
With proper care and periodic maintenance, your restored table can last for generations. Start with a thorough assessment, choose your method based on the damage level, and enjoy the satisfaction of bringing new life to your furniture.