How to Sew a Table Cover
Sewing your own table cover gives you complete control over size, fabric, and style. Whether you’re dressing a dining table for family dinners, a picnic bench for outdoor entertaining, or a display table for an event, a handmade cover can be tailored perfectly to your table’s dimensions and your decor needs. Unlike store-bought options that only come in standard sizes, a custom-sewn cover fits snugly and looks professionally made.
This guide walks you through every step of how to sew a table cover, from measuring your table and choosing the right fabric to cutting, hemming, and finishing with a polished look. You’ll learn the exact formulas for calculating fabric yardage, how to handle wide tables with seams, and techniques for creating both casual drapes and tight-fitting covers. With basic sewing skills and a few hours, you can create a custom piece that costs less than retail and fits better too.
Measure Your Table Correctly
Before cutting fabric, precise measurements are essential. A mistake here means your cover will not fit, and you cannot add fabric back once it is cut. This foundation step determines everything that follows.
Determine Table Shape and Size
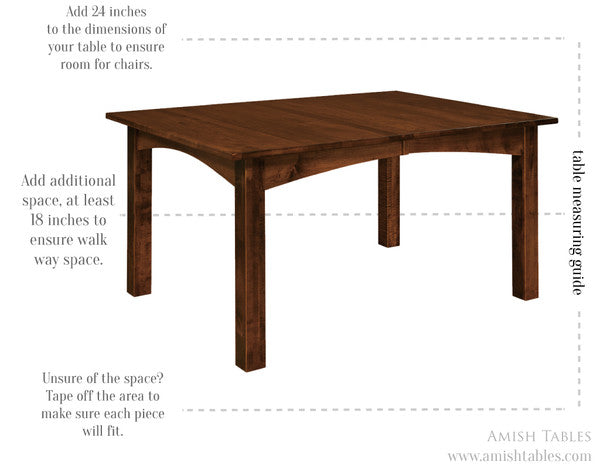
Start by identifying your table’s shape and then measure the surface carefully. Use a metal tape measure for accuracy and write down all numbers immediately.
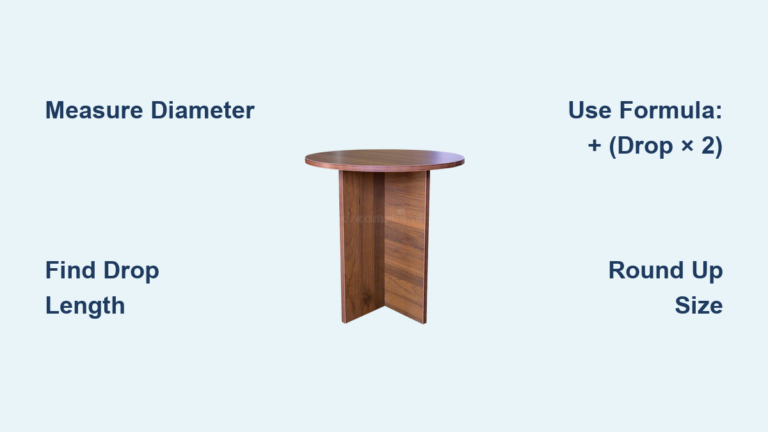
For rectangular or square tables, measure the length and width of the tabletop surface and record both dimensions in inches. For oval tables, measure from the longest point on one side, across the center, to the longest point on the opposite side. For round tables, measure the diameter from one edge, across the center, to the opposite edge. Double-check all measurements before moving forward.
Choose the Right Drop Length
The drop is the vertical distance from the table edge to the bottom of the tablecloth. Your choice depends on the formality of the setting.
Standard drop options include six to twelve inches for casual everyday use, with eight inches being ideal for dining. Sixteen to twenty-four inches creates a semi-formal elegant drape. Twenty-eight to thirty-six inches provides a formal floor-length look, with thirty inches reaching the floor on standard thirty-inch tables. To customize, hold a tape measure from the table edge to your desired endpoint and use that measurement.
Add Hem Allowance
Always include extra fabric for hems. A standard double-fold hem uses one inch total, with half an inch folded twice. Add this to both sides of the length and width.
Use these formulas to calculate your total fabric needs. Total fabric width equals table width plus twice the drop plus twice the hem allowance. Total fabric length equals table length plus twice the drop plus twice the hem allowance.
For example, a thirty-inch by sixty-inch table with a thirty-six-inch drop and one-inch hem needs one hundred four inches of width and one hundred thirty-four inches of length.
Pick the Best Fabric Type
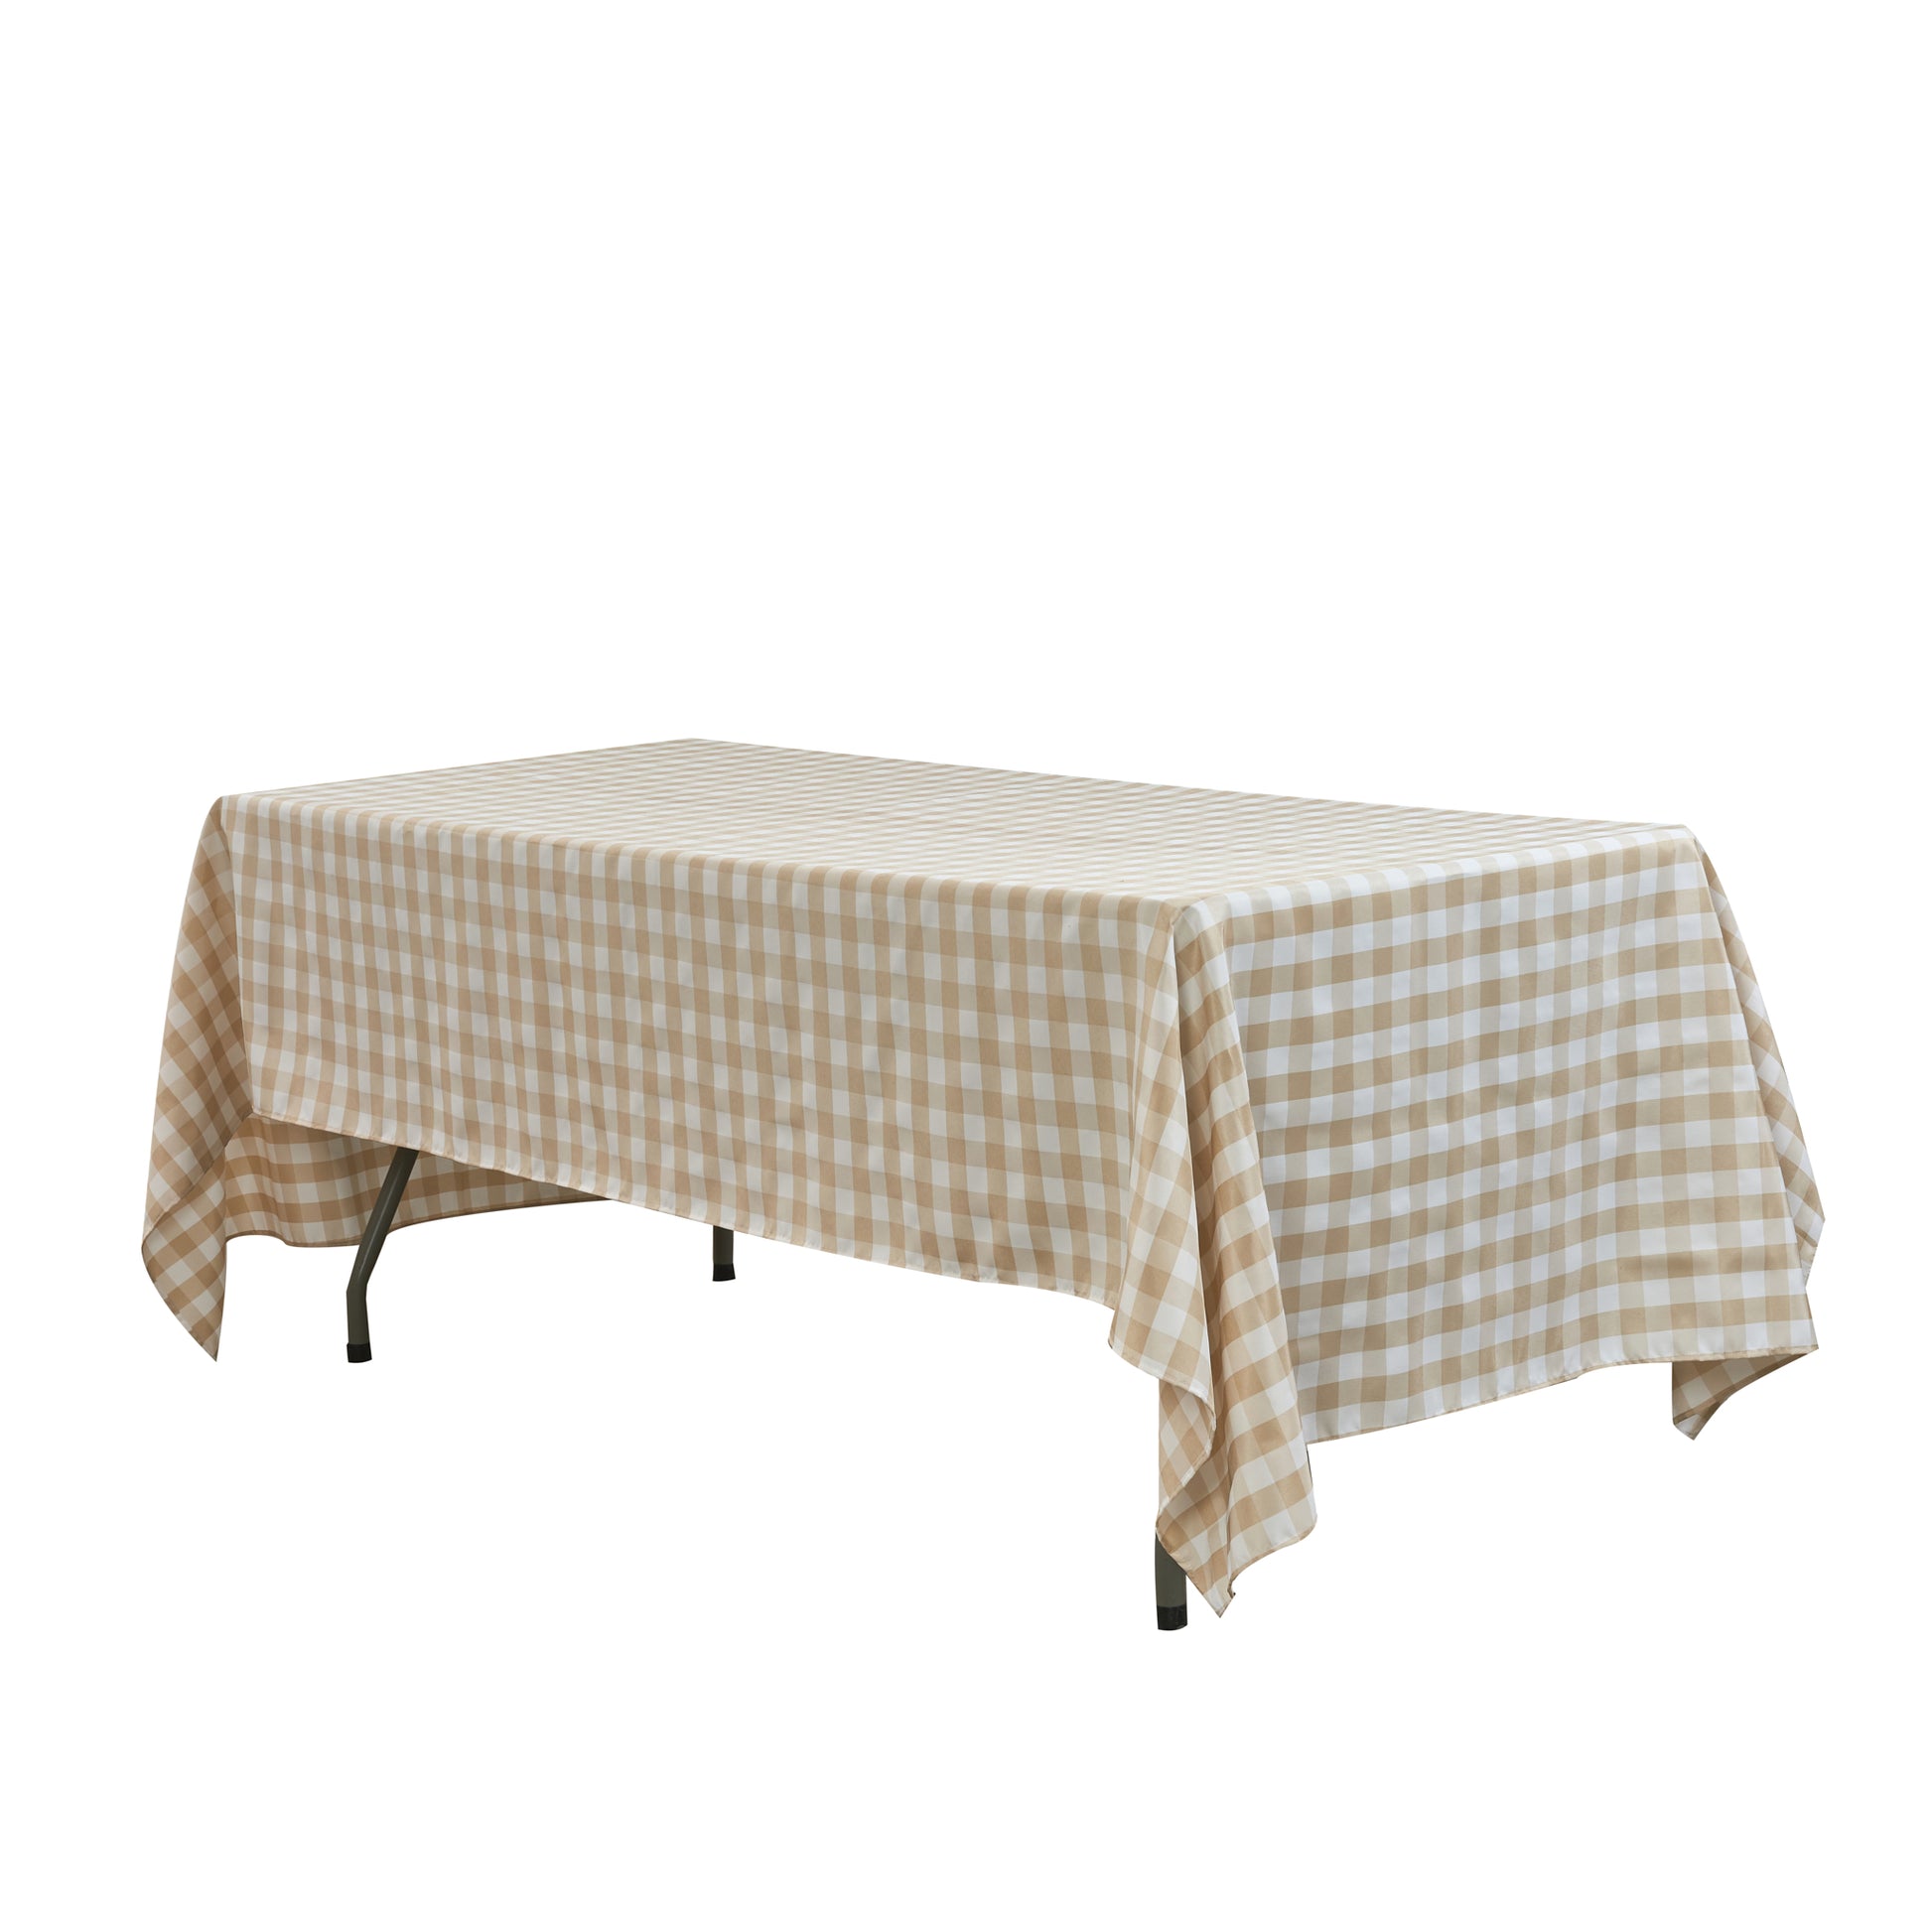
Your fabric choice affects durability, drape, and maintenance. Choose based on the table’s use and how often you will need to wash the cover.
Everyday and Durable Options
Several fabrics work well for regular use. Poly poplin is highly recommended for its durability and wrinkle resistance, making it ideal for everyday use. Cotton in mid-weight is affordable, soft, and washable, though it wrinkles easily, making it great for beginners. Polyester blends hold color well, resist shrinking, and require low maintenance. Oilcloth or laminated cotton offers a waterproof wipe-clean surface, perfect for children’s tables or outdoor use.
Formal and Decorative Choices
For special occasions, consider these fabrics. Linen provides an elegant textured look but wrinkles and shrinks, so pre-wash before cutting. Satin offers a shiny luxurious finish for weddings or events. Gingham gives a classic checked pattern for rustic or holiday themes. Sequins create a festive eye-catching look but are best reserved for special occasions.
Wide and Fitted Fabrics
Some fabrics serve specific purposes. Quilt backing comes in one hundred eight-inch widths, eliminating center seams on large tables. Spandex knit stretches to create tight-fitting covers that hug table corners without needing ties.
Match your thread color to the fabric and use a size ninety slash fourteen universal needle for medium-weight cottons.
Calculate Fabric Yardage Needed

Once you know your total dimensions, convert them into purchase yardage. Always buy slightly more than the minimum to account for errors and adjustments.
Convert Inches to Yards
Divide the total length in inches by thirty-six to get yards needed. For a one hundred thirty-four-inch length, divide by thirty-six to get approximately three point seven two yards, then round up to four yards.
Handle Wide Tables with Seams
If your total width exceeds the fabric width, which is usually forty-four to sixty inches, you will need to join panels. Cut two pieces to the full required length and sew them together along the short edge to create width. Press the seam open for a flat finish.
Use wide quilt backing when possible. It costs more per yard but avoids seams entirely for most dining tables.
Buy Extra Fabric
Always purchase one-half to one extra yard beyond your calculation to account for pattern matching, crooked cuts, hem adjustments, and shrinkage if pre-washing cotton. You cannot fix a cover that is too small.
Cut Fabric to Size and Shape
With measurements confirmed and fabric purchased, it is time to cut. Take your time with this step since cuts cannot be undone.
Cut Rectangular or Square Covers
Lay fabric flat on the floor or a large table. Use a tape measure, chalk, and long straightedge to mark one edge as the width and the adjacent edge as the length. Cut with fabric scissors or a rotary cutter for clean lines.
Shape Rounded Corners for Oval Tables
To mimic an oval table’s soft edges, cut a rectangle slightly larger than needed. Place a dinner plate in each corner and trace the curve of the plate’s edge. Cut along the arc with sharp scissors to create smooth rounded corners.
Cut Circular Table Covers
For round tables, fold fabric in half, then in half again. Find the center point where the folds meet. Attach a string or tape measure to the center and extend it to the radius, which is half the diameter plus drop and hem. Mark the arc by moving the end around in a circle, then cut along the line. Unfold to reveal a perfect circular cover.
Join Panels for Wide Tables
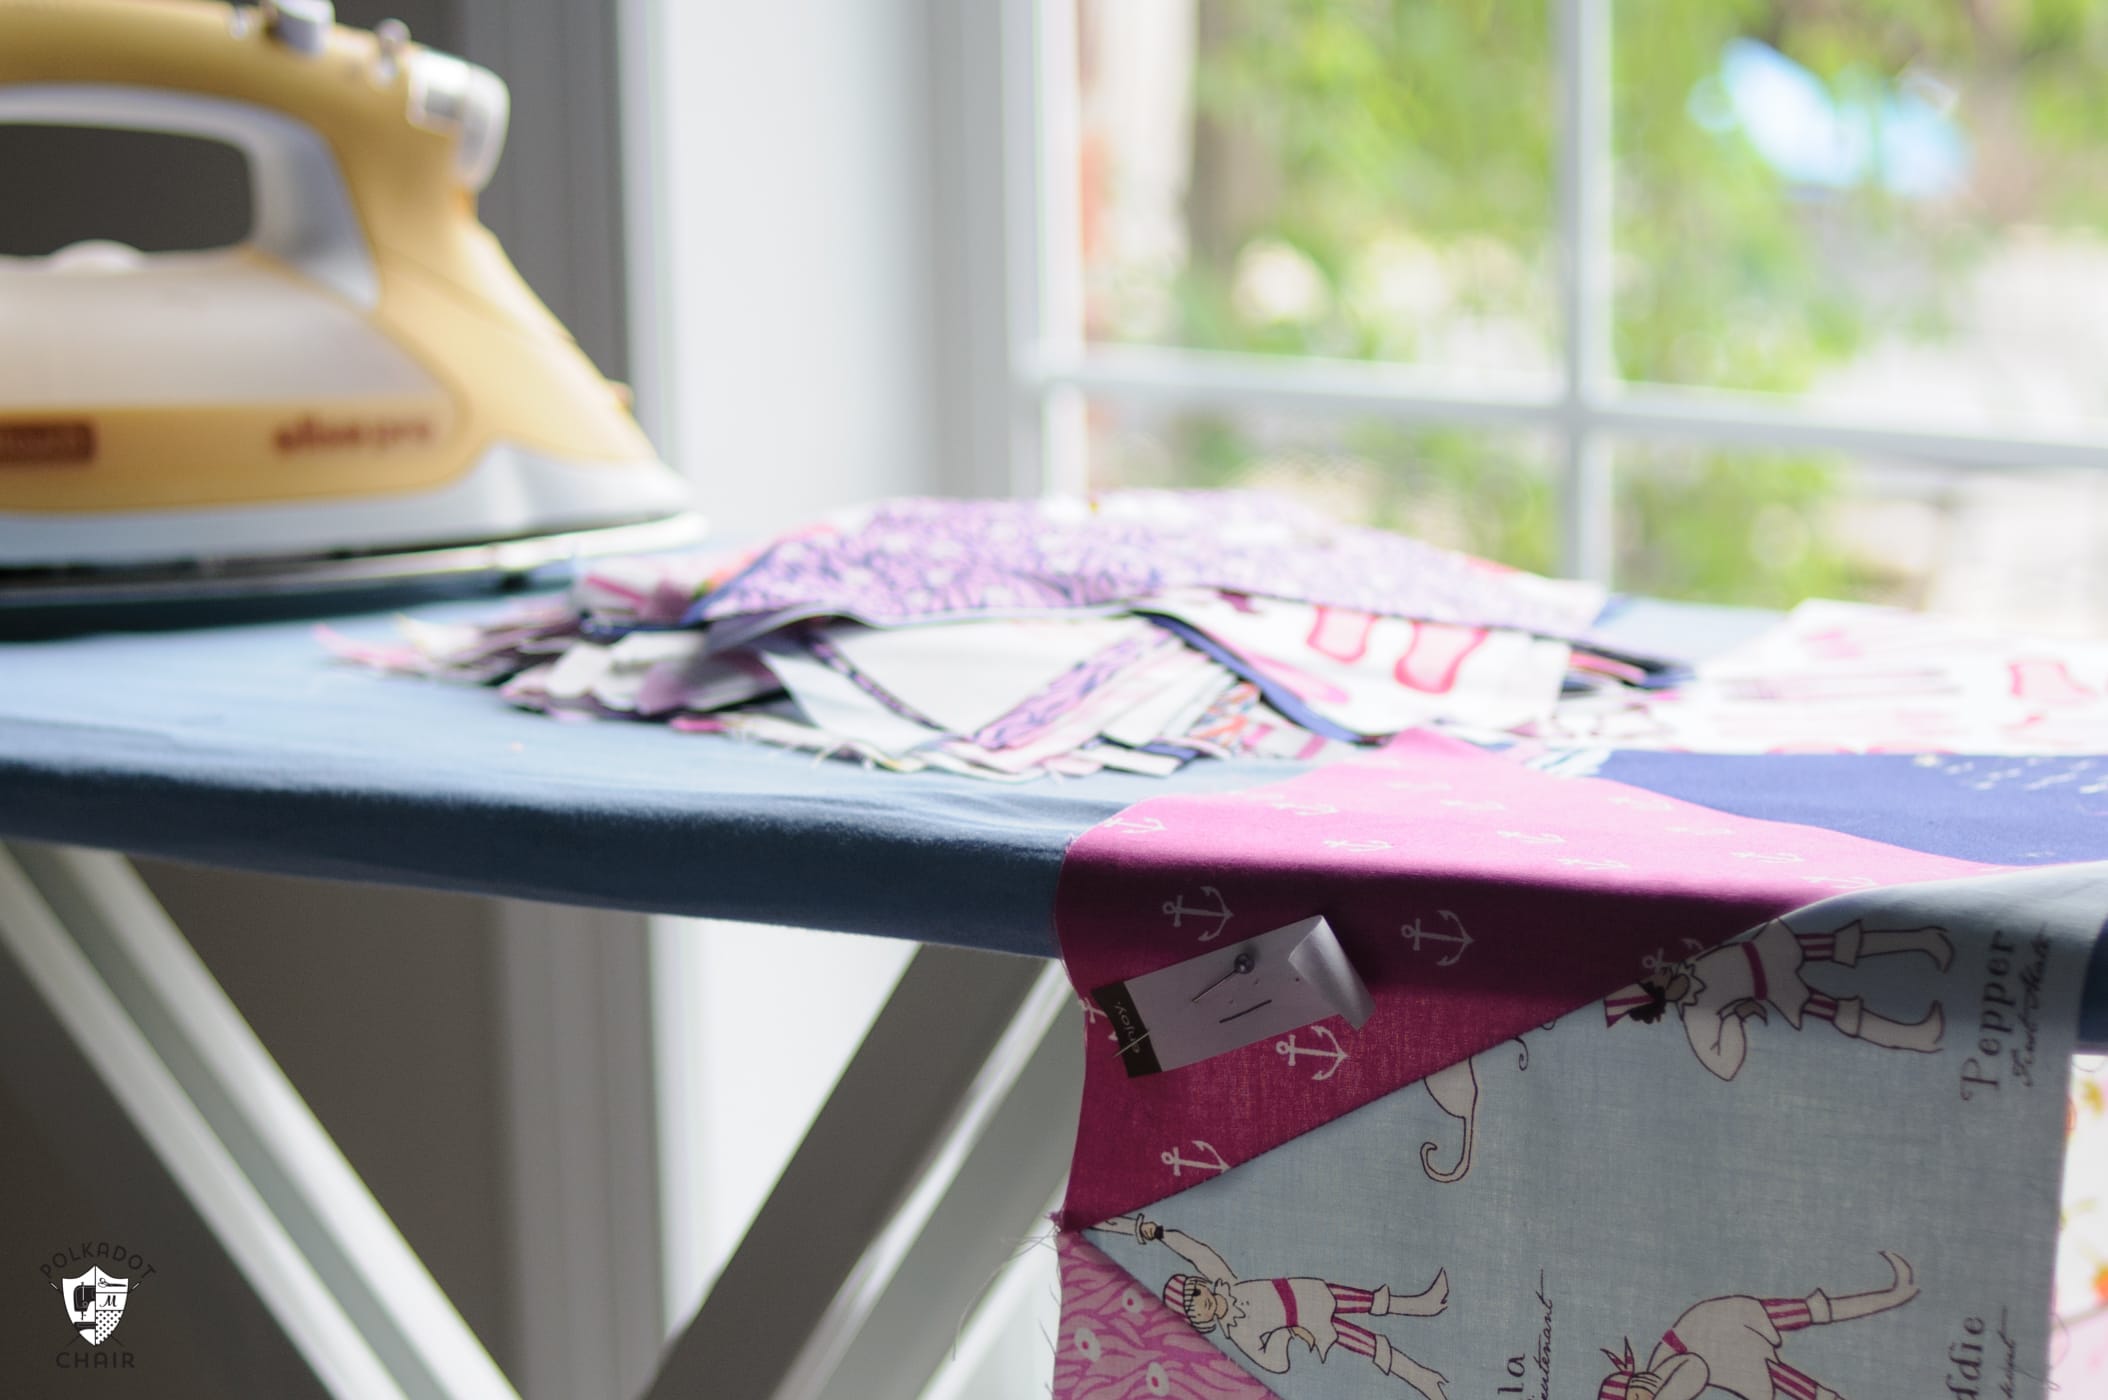
If your table is wider than your fabric, seam two or more panels together. This step creates a single piece wide enough for your table.
Cut and Align Panels
For a balanced look, cut one full-width center panel and two side panels from another length of fabric. Align selvage edges, which are the tightly woven edges that do not fray, to minimize fraying issues later.
Sew and Press Seams
Place panels with right sides together and pin along the vertical seam. Sew with a one-half-inch seam allowance. Press the seam open with an iron to reduce bulk and ensure a flat finish.
Check that the total width matches your target. If it is too wide, trim equal amounts from both sides to keep the design centered. Pin frequently and guide fabric evenly under the presser foot to avoid skewed seams.
Hem All Edges Professionally
Hemming prevents fraying and adds weight for a clean drape. The double-fold hem works well for most fabrics and is the standard technique.
Create a Double-Fold Hem
First, fold the raw edge inward by one-half inch and press with an iron. Second, fold another one-half inch to encase the raw edge completely and press again. Pin the hem securely around all four sides. Use a straight stitch to sew close to the inner fold, backstitching at start and end for durability.
Repeat this process on all four sides of the cover.
Make Mitered Corners
For crisp formal corners, unfold the corner hem to expose the one-half-inch folds. Draw a diagonal line from corner to corner through the fold square and cut along the diagonal. Refold by bringing the cut edge down to meet the bottom fold, then fold side edges in. Press and pin into a forty-five-degree angle, then stitch in place.
This technique reduces bulk and creates a tailored finish ideal for thick fabrics.
Special Hem Tips
Oilcloth does not fray, so use fusible bonding tape instead of sewing for a no-sew hem. For cotton, tear along the grain for a perfectly straight edge by making a small nick and pulling. Always iron each fold before sewing to ensure even hems and professional results.
Finish With a Fitted or Styled Look
Go beyond a basic drape with a snug fit or decorative touches. The final styling elevates your table cover from simple to spectacular.
Create a Tight-Fitting Cover
For a polished event-ready look, several options work well. Sew one-quarter-inch elastic into the hem around all edges to grip the table and prevent slipping. Alternatively, drape the cover, gather excess at short ends, pull under, and tie corners together, then tuck knots hidden beneath the table. Use safety pins or decorative table clips under corners to secure fabric tightly.
Add Swags and Layers
For visual interest, gather fabric at intervals and lift with decorative pins. Layer a fitted base cloth with a table runner down the center for depth. Pair with matching napkins or burlap accents for themed events.
Final Press and Care
Iron the entire cover after sewing to set stitches and remove wrinkles. Wash before first use if the fabric is prone to shrinking, like cotton. Store flat or rolled and avoid tight folds that cause creases.
Key Takeaways for Sewing Your Own Table Cover
Sewing a table cover is a simple rewarding project that blends practicality with creativity. By measuring accurately, choosing the right fabric, and finishing with clean hems, you can make a custom cover that fits perfectly and lasts through countless meals, parties, and seasons.
The most critical step is getting your measurements right the first time, since fabric cannot be added after cutting. Always double-check dimensions and err on the side of buying extra fabric. Choose your fabric based on how you will use the table cover. Poly poplin and polyester blends resist wrinkles and last longest for everyday use, while linen and satin create elegant looks for special occasions.
Practice the double-fold hem technique on scrap fabric before working on your final piece. This foundational skill applies to many other sewing projects. Start with a basic rectangle, master the hem, and soon you will be designing elegant mitered corners and fitted styles with confidence.
Frequently Asked Questions About Sewing a Table Cover
What is the easiest fabric for a beginner to sew a table cover?
Mid-weight cotton is the easiest fabric for beginners. It is affordable, easy to cut and pin, and forgiving of minor mistakes. Pre-wash cotton before cutting to account for any shrinkage.
How do I calculate how much fabric I need for a table cover?
Use the formula: table dimension plus twice the drop plus twice the hem allowance. For example, a thirty-inch by sixty-inch table with a ten-inch drop and one-inch hem needs one hundred two inches by one hundred forty-two inches. Divide by thirty-six to convert to yards.
Should I use a straight stitch or serger for hemming?
A straight stitch on a standard sewing machine works well for most table covers. A serger creates a finished edge but is not necessary. A simple double-fold hem with straight stitch is durable and professional-looking.
How do I make my table cover fit tightly without tailoring?
Sew one-quarter-inch elastic into the hem around the entire perimeter. This creates grip that holds the cover snugly against table edges. Alternatively, drape the fabric, gather excess at corners, pull underneath, and tie corners together.
Can I sew a table cover without a sewing machine?
Yes, hand stitching works for table covers. Use a simple hemming stitch or slip stitch to secure hems. This takes longer but produces the same result. Fusible bonding tape also works for non-fraying fabrics like oilcloth.
What drop length should I choose for a formal event?
For formal events, choose a twenty-eight to thirty-six-inch drop for floor-length coverage. A thirty-inch drop reaches the floor on standard thirty-inch dining tables. This creates an elegant formal appearance suitable for weddings and upscale gatherings.