How to Stain a Dining Table
Is your dining table looking worn, outdated, or lifeless? A fresh stain can breathe new life into it, transforming a dull piece into a rich, durable centerpiece that stands up to daily use. Whether you’re reviving a family heirloom or upgrading a thrift-store find, how to stain a dining table the right way starts with preparation, not paintbrushes. The key to a flawless finish lies in stripping the old coating completely, choosing the right stain for your wood type, and applying it with precision. Skip a step, and you risk blotchiness, peeling, or uneven color. But do it right, and you’ll create a surface that’s not only beautiful but built to last through meals, homework, and holidays. In this guide, you’ll learn every step from assessing your table’s material to sealing with a professional-grade topcoat so you can achieve a high-end result without hiring a pro.
Evaluate Table Condition and Wood Type
Before any sanding or staining begins, inspect your dining table closely. The success of your project depends on understanding what you’re working with.
Check for Damage and Existing Finish
Look for scratches, water stains, warping, or gaps between boards. These issues must be repaired before staining. If the finish is cracked, cloudy, or peeling, it won’t accept new stain evenly and must be fully removed. Shine a flashlight at an angle across the surface. Glossy spots mean finish remains, while matte areas may already be bare. Any remaining finish will block stain absorption, leading to patchiness.
Identify Your Wood Species
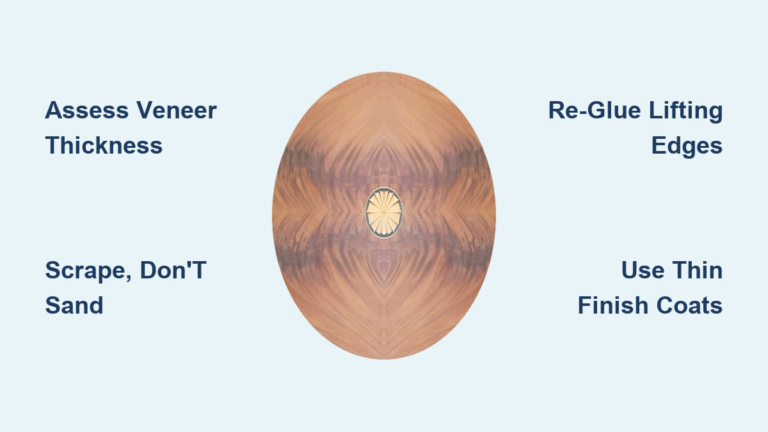
Different woods react uniquely to stain. Oak has an open grain and accepts stain well, but it has strong red or orange undertones, especially red oak, and often doesn’t need pre-stain conditioner. Pine and softwoods are prone to blotching, so always use wood conditioner before staining. Veneer tops are common on older tables, some as thin as 1/16 inch, so sand lightly with only 220-grit to avoid sanding through. Mixed wood tables often combine oak tops with poplar legs or maple skirting, and each species absorbs stain differently, requiring tailored approaches.
Decide: Full Stain or Paint-Combo Look?
Many modern updates use a partial paint and stain combo, painting the base or legs in black or white while staining the top. This creates contrast and hides imperfections in less visible areas. If painting legs, plan to prime with a high-adhesion product like Zinsser Bulls Eye Shellac after sanding.
Set Up a Safe, Effective Workspace
A clean, controlled environment ensures better results and protects your health during chemical use.
Choose the Right Location
Work outdoors on a driveway or patio, or in a well-ventilated garage. Chemical strippers release toxic fumes, so never use them indoors without proper ventilation. Warm temperatures speed drying and improve stripper performance.
Protect Surfaces and Yourself
Lay down drop cloths, cardboard, or metal pans to catch runoff. Elevate the table on sawhorses for access to all sides. Remove leaves and hardware if possible.
Essential Safety Gear You Need
A respirator is essential, with N95 minimum and organic vapor cartridge preferred. Nitrile gloves are required since latex won’t block solvents. You also need safety goggles, closed-toe shoes, and an apron. Keep children and pets away from the workspace. Dispose of used rags and steel wool properly, as oil-soaked materials can spontaneously combust.
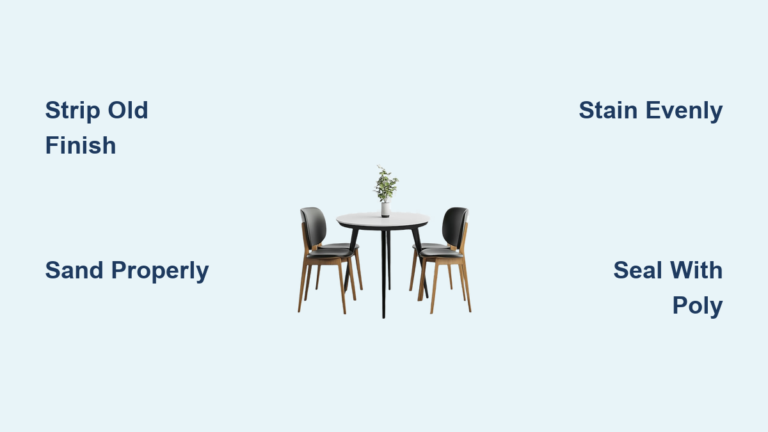
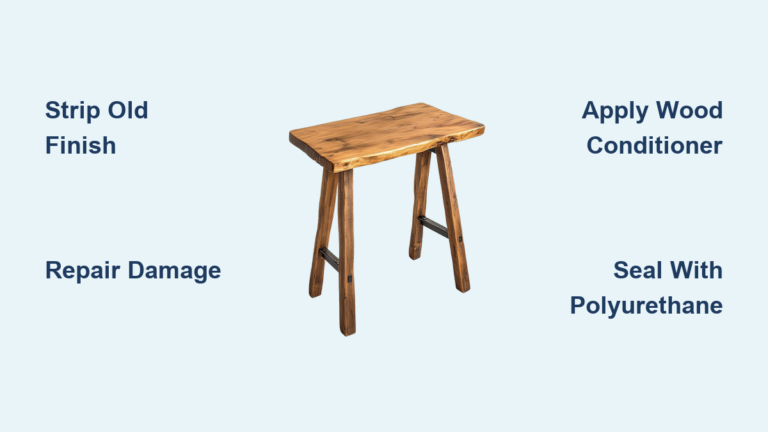
Strip the Old Finish Completely
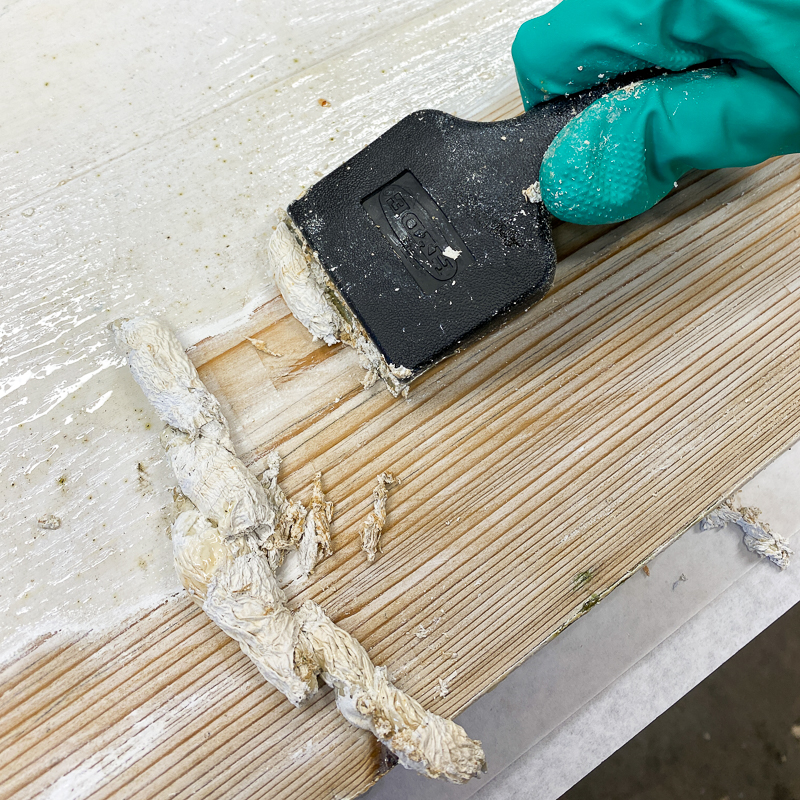
This is the most critical phase. Incomplete stripping leads to uneven staining and poor adhesion.
Use Chemical Stripper for Best Results
Chemical strippers are faster and more effective than sanding alone. Apply paste stripper evenly using a natural bristle brush over the surface, working in manageable sections about 2×2 feet. Do not over-brush, as this evaporates active chemicals. Let sit 10 to 20 minutes until the finish bubbles and lifts.
Scrape Off Finish in Grain Direction
Use a rounded putty knife or plastic scraper at a shallow angle. Scrape with the grain to avoid gouging. Push sludge into a metal pan or cardboard box. For grooves and carvings, use a stiff wire brush.
Second Pass for Stubborn Areas
In dense grain like oak, apply a second coat. Use medium steel wool dipped in liquid stripper to scrub into pores. Turn steel wool frequently as it clogs.
Neutralize and Clean the Wood
After scraping, spray clean water and wipe with rags until no residue remains, or wipe with mineral spirits or lacquer thinner to remove wax left by some strippers. Any leftover wax or stripper will prevent stain from penetrating. Let the wood dry at least 24 hours before sanding.
Sand Smoothly and Prepare for Stain
Even after stripping, sanding ensures a uniform surface ready for absorption.
Follow the Right Grit Sequence
Start with 80 to 100 grit for heavy damage or remaining finish. Move to 120 to 180 grit to remove scratches from prior sanding. Finish with 220 grit for the final smoothing pass. Veneer caution applies here: skip coarse grits and use only 220-grit for a light pass. Always sand with the grain, as cross-grain scratches become glaring after staining.
Raise the Grain Before Final Sanding
Dampen the entire surface lightly with water using a spray bottle. This swells wood fibers, a process called grain raising. Once dry, which takes 1 to 2 hours, sand lightly again with 220 or 240 grit to smooth raised fibers. This prevents a rough feel after staining.
Clean Thoroughly Before Staining
Vacuum all dust. Wipe with a lint-free cloth dampened with mineral spirits. The wood should look uniformly matte with no shiny spots remaining.
Apply Wood Conditioner (If Needed)
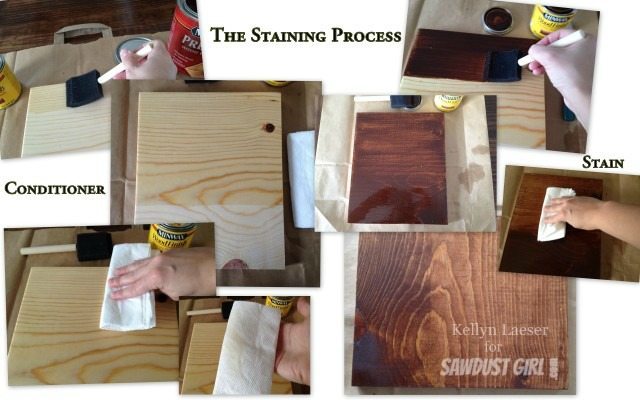
This step prevents blotching, which is uneven stain absorption common in soft or porous woods.
When to Use Conditioner
Use wood conditioner on pine, birch, maple, and cherry. Skip it on oak, as it can reduce color depth. Apply with a clean rag, wait 5 to 15 minutes per product instructions, then wipe off excess. Stain within 2 hours.
Test Stain on Hidden Area First
Cut a small test swatch or stain the underside edge. Try different colors or layering techniques. This is crucial when neutralizing red or orange tones, matching multiple wood types, or blending custom hues.
Choose and Apply the Right Stain
The stain color and type define the final look. Pick wisely.
Pick Your Stain Type
Oil-based stains offer rich color and depth with a 24-hour drying time, enhancing warmth but having a strong odor. Water-based stains work well on light woods with low odor and 4 to 6 hour drying time, but they dry clear and raise grain first. Dye-based aniline stains provide deep, transparent tones and dry fast without hiding grain. Gel stain works best on vertical surfaces with 8 to 10 hour drying time, as it masks grain and is good for evenness. Avoid gel stains if you want to preserve natural texture.
Fix Unwanted Wood Tones
Too red? Use a green-based stain like Varathane Aged Wheat to neutralize. Too orange? Apply a grey or blue-toned stain like Minwax Weathered Oak. Avoid white-wash stains on red oak, as they often turn pink. Test first.
Apply Stain Evenly
Choose one method. Wipe-on uses a lint-free rag for best control over color intensity. Brush-on uses a natural bristle brush with long strokes along the grain. Spray-on uses a sprayer with a blue tip, ideal for details. Let stain penetrate 5 to 10 minutes for darker color, then wipe off excess. Work in small sections to avoid lap marks.
Build Color with Multiple Coats
Wait 24 hours between oil-based coats, less for water-based. Two to three thin coats deliver deeper, more even color than one thick layer.
Seal with a Durable Topcoat

Stain adds color, but only the topcoat provides protection against spills, heat, and scratches.
Choose the Right Sealer
Oil-based polyurethane is the hardest and most durable, adding amber tint over time, ideal for high-traffic tables. Water-based polyurethane offers a clear finish without yellowing and has faster dry time, slightly less tough but excellent for home use. Hard wax oil is food-safe with a natural feel, easy to repair, and requires reapplication every 6 to 12 months. Polycrylic is a water-based acrylic best for light-colored woods.
Apply Thin, Even Coats
Stir polyurethane gently without shaking to avoid bubbles. Pour into a clean cup to avoid contamination. Use a high-quality natural bristle brush or foam brush. Apply thin coats with the grain.
Sand Between Coats
After each coat dries, which takes 24 hours for oil-based, lightly sand with 320 to 400 grit paper. This removes dust nibs and ensures adhesion. Wipe away all dust with a tack cloth before the next coat.
Apply 3+ Coats for Maximum Protection
Two coats work for light use. Three to four coats are recommended for dining tables with heavy daily wear. Let the final coat cure fully, 48 to 72 hours, before use.
Add Final Polish and Maintain Finish
A few finishing touches elevate the look and longevity.
Buff with Paste Wax (Optional)
After the final polyurethane coat has cured, apply paste finishing wax with 0000 steel wool. Let sit 5 minutes, then buff with a soft cotton cloth. This fills micro-scratches and adds a soft, velvety sheen. Reapply twice a year for best results.
Maintain Your Stained Table
Clean with mild soap and water, avoiding harsh cleaners. Use coasters and trivets. Re-wax every 6 to 12 months. Touch up scratches with a matching stain pen if needed. Hard wax oil finishes require more frequent re-oiling every 3 to 6 months.
Fix Common Staining Problems

Even careful work can go wrong. Here’s how to fix it.
Blotchy or Patchy Stain
Cause: Incomplete stripping, uneven sanding, or no conditioner on softwood. Fix by stripping again, ensuring no shiny spots remain. Sand uniformly to 220 grit. Use conditioner on pine or maple.
Too Red or Orange After Staining
Fix by applying a second coat with grey or green-toned stain to neutralize. Test on scrap first.
Rough or Raised Grain
Cause: Grain not raised and sanded before staining. Fix by lightly sanding with 320-plus grit, then reapply topcoat.
Stain Won’t Dry (Tacky)
Cause: Wax residue from stripper or uncured prior layer. Fix by stripping and cleaning with lacquer thinner, then restart the prep process.
Brush Marks in Polyurethane
Fix by sanding smooth with 400 grit. Apply next coat thinner. Consider switching to a sprayer.
Customize Mixed Wood Tables

Many tables combine different woods like oak top with poplar legs. They stain unevenly.
Match Tones Across Woods
Stain the poplar legs first with a reddish base like Early American to mimic oak’s undertone. Then stain the oak top with a neutralizing grey or green stain like Varathane Aged Barrel to tone down orange. The result is a cohesive, intentional look even if the woods differ. This Frankenstein finish tricks the eye into seeing unity.
Essential Tools and Materials List
Having everything ready saves time and frustration.
Stripping and Prep Supplies
Chemical stripper in paste and liquid forms, plastic and metal scrapers, wire brush, steel wool in various grades, drop cloths, metal pans, orbital sander, sandpaper in multiple grits, vacuum, and tack cloth.
Staining and Finishing Supplies
Wood conditioner for softwoods, selected stains, oil or water-based polyurethane, natural bristle brushes, lint-free rags, and mineral spirits. Don’t forget your respirator, gloves, and goggles.
Optional Additions
Sprayer like Super Finish Max, wood putty, high-adhesion primer for painted legs, and painter’s tape.
Cost and Time Savings vs. Replacement
Refinishing is far cheaper than buying new. DIY cost ranges from $35 to $126 for supplies for a full table with leaves. Professional refinishing costs $300 to $800 or more. New solid wood tables run $1,000 to $3,000. One can of stripper or stain often covers multiple pieces, great for benches or chairs. You also preserve quality craftsmanship from older furniture, which often exceeds today’s mass-market builds.
Final Thoughts on Staining Your Dining Table
Staining a dining table isn’t just about color. It’s about transformation. With the right prep, the right products, and patience, you can turn a tired table into a durable, conversation-starting centerpiece. The most critical success factors are thorough preparation, which accounts for 90% of the result, and testing stain on hidden areas before committing. Always work with the grain direction during every step, and respect drying times between coats. Never skip safety gear when working with chemical strippers and oil-based products. The result is a table built for life, ready for wine spills, crayon art, and decades of family meals.
Frequently Asked Questions About How to Stain a Dining Table
How long does it take to stain a dining table?
The full process takes 5 to 7 days from start to finish. This includes 1 to 2 days for stripping, 1 day for sanding and grain preparation, 1 to 2 days for staining with drying time between coats, and 2 to 3 days for topcoat application and curing.
Can I stain over varnish without stripping?
No. Stain cannot penetrate through varnish, paint, or lacquer. The old finish must be completely removed using chemical strippers or sanding. Otherwise, you’ll get patchy, uneven results that will peel.
What happens if I don’t use wood conditioner on pine?
Pine is a softwood prone to blotching, where some areas absorb stain darker than others. Without conditioner, you’ll get an uneven, splotchy finish. Always apply wood conditioner to pine, birch, maple, and cherry before staining.
How do I know if my table is solid wood or veneer?
Look at the edges and underside. Solid wood has consistent grain running through. Veneer shows a thin layer glued over a different base wood. Veneer tables require very light sanding, only 220-grit, or you risk sanding through the top layer.
Should I use oil-based or water-based polyurethane?
Oil-based polyurethane is more durable and enhances wood warmth but adds amber color over time. Water-based polyurethane stays clear and dries faster but is slightly less tough. For dining tables that see heavy daily use, oil-based provides the best protection.
How often should I re-wax my stained dining table?
Reapply paste wax every 6 to 12 months for best protection and shine. If using hard wax oil instead of polyurethane, reapply every 3 to 6 months. Regular maintenance keeps the finish looking fresh and protects against spills and wear.