How to Build a Beer Die Table
You’ve played beer pong, but now you want something fresh, competitive, and custom-built for your crew. Enter beer die—a fast-paced, skill-based tabletop game that’s gaining traction on college campuses and backyard patios alike. While similar in spirit to beer pong, beer die demands its own unique setup, especially when it comes to the table’s design and construction.
This guide walks you through every step of how to build a beer die table, from selecting materials to applying a tournament-ready finish. Whether you’re aiming for a foldable party centerpiece or a permanent backyard fixture, we’ll cover the exact dimensions, tools, painting techniques, and durability upgrades that ensure your table lasts for years.
Select the Right Plywood Base
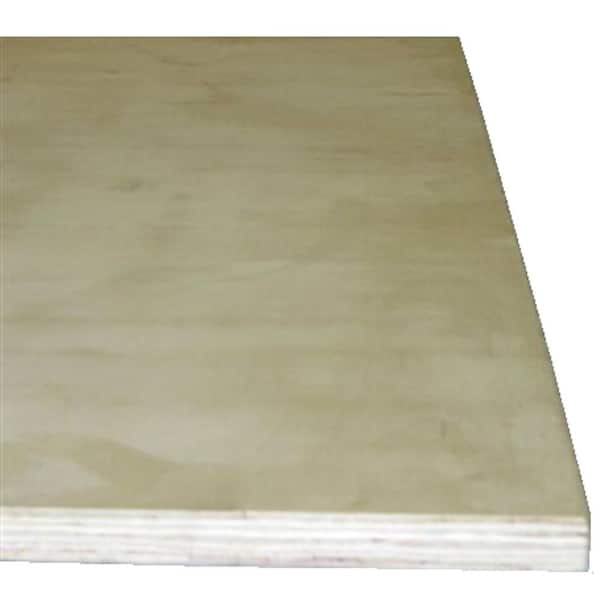
The foundation of any quality beer die table starts with choosing exterior-grade plywood. Opt for a ½-inch thick sheet cut to 24 inches wide by 48 inches long, which matches official beer die standards and ensures consistent gameplay. Exterior-grade plywood resists warping and moisture better than interior varieties, making it ideal for a drink-friendly environment.
Avoid particle board or MDF since they absorb moisture and swell quickly. If you’re repurposing an old table, verify it meets these dimensions and has a flat, damage-free surface. A repurposed foldable banquet table or old pool table can work as long as the surface is stable, level, and roughly 24″ x 48″.
Gather Essential Tools and Supplies
Before starting your build, collect these construction tools.
You will need:
- Circular saw or handsaw for cutting plywood
- Power sander with 120- and 220-grit sandpaper
- Measuring tape and speed square
- Drill with screwdriver bit
- Clamps for holding pieces steady during assembly
For paint and finish materials, gather wood primer (oil-based works best), spray paint or acrylic in your chosen colors, high-adhesion painter’s tape, clear polyurethane sealant, and a tack cloth for dust removal. Your table also needs support hardware like heavy-duty sawhorses, pre-built folding table legs, or custom wooden legs with L-brackets depending on your chosen configuration.
Cut and Prepare the Playing Surface
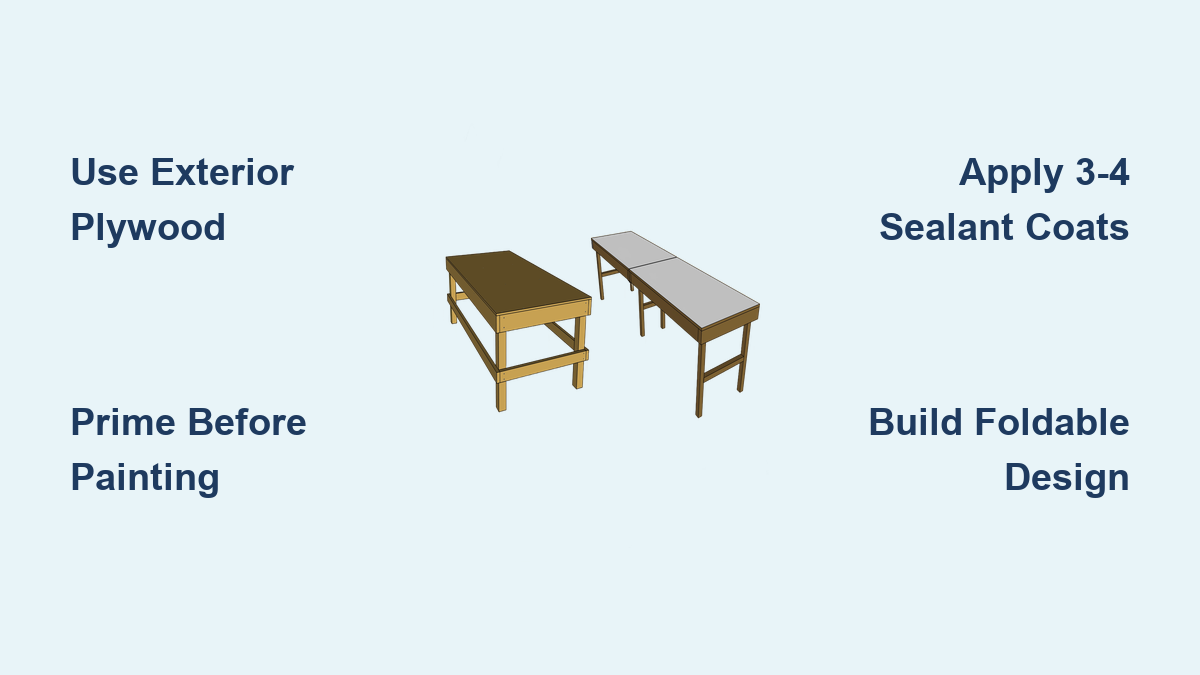
Using a circular saw and straight edge, cut your plywood to 48 inches long by 24 inches wide. If you’re building a foldable table, cut the sheet exactly in half down the center to create two 24″ x 24″ sections that will join with hinges later. Mark all cuts with a pencil and double-check measurements before proceeding.
Sand the entire surface starting with 120-grit paper to remove rough spots and factory coatings, then finish with 220-grit for a glass-smooth surface. Wipe down thoroughly with a tack cloth to remove all dust, as any debris will interfere with paint adhesion and create bumps in the final coat.
Apply one even coat of oil-based wood primer to seal the surface and prevent tannins from bleeding through. Let it dry completely (usually 2-4 hours), then lightly sand again with 220-grit before adding your base color.
Paint the Beer Die Layout

Choose a high-contrast base color such as black, white, royal blue, or neon green. Spray paint delivers the smoothest finish—apply in thin, even coats from 10-12 inches away, letting each coat dry fully before applying the next. Plan for 2-3 layers for complete coverage.
Unlike beer pong’s triangular cup layout, beer die uses a center-line court system with scoring zones. Standard markings include a center line dividing the table, two throwing lanes along each long edge (approximately 6-8 inches wide), and optional target zones near the center. Use painter’s tape to mask off all lines and zones, pressing edges firmly with a credit card to prevent paint bleed.
For custom graphics, add team logos, fraternity letters, funny quotes, or geometric patterns using small brushes or stencils. Remove tape at a 45-degree angle while paint is still slightly tacky for the cleanest lines.
Seal the Surface for Spill Resistance
This step is critical for longevity. Without sealing, drinks, condensation, and repeated use will stain and degrade your table within weeks. Apply water-resistant polyurethane in a matte or semi-gloss finish using a foam brush in long, even strokes.
Allow 4-6 hours between coats and apply 3-4 coats total for maximum protection. High-gloss finishes can reflect light and distract players, so matte is ideal for gameplay. Let the final coat cure for at least 24-48 hours before placing cups or playing to prevent smudging or scratching.
Build the Support Structure

For a temporary or portable setup, place your sealed tabletop on two heavy-duty sawhorses adjusted so the table sits between 28-30 inches high (standard playing height). Secure the top with non-slip pads or Velcro straps to prevent shifting during play.
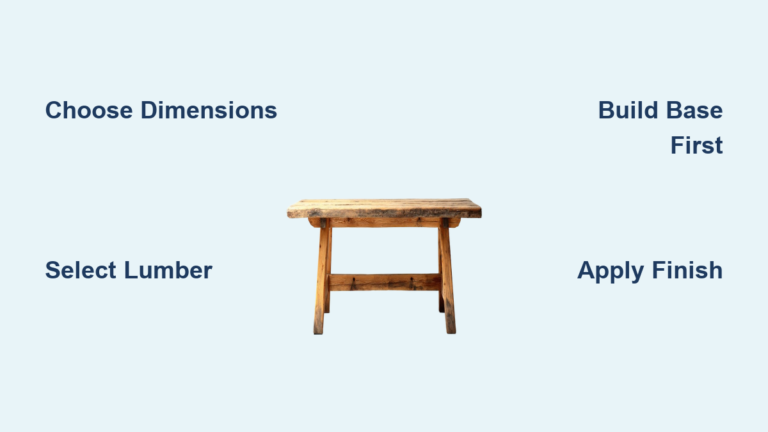
For a standalone table, cut four legs from 2×2 or 2×4 lumber to your desired height and attach using L-brackets and wood screws. Reinforce with corner braces if needed and ensure all legs are level—wobbling ruins gameplay.
To maximize storage, build a foldable version by joining two 24″ x 24″ halves with 3-4 heavy-duty piano hinges and installing a center support bar underneath. Add latches to keep it closed during transport.
Add Functional Upgrades

Keep score without pen and paper by painting a corner section with chalkboard paint or attaching a small whiteboard with adhesive strips. Prevent lost balls and spilled cups by mounting small bins or nets under the table or carving shallow recesses near edges for cup holders.
Make transport easier by installing recessed handles on the sides or using rubber D-rings. Ensure handles don’t interfere with leg placement.
Test Gameplay Performance
Before final use, test the surface bounce consistency with a ping pong ball. Drop the ball from 12 inches—it should rebound 6-8 inches consistently across the entire surface. If bounce varies, re-sand and re-seal problem areas.
Store the table flat or vertically supported to prevent warping. In humid climates, add a cross-brace underneath to resist sagging. Choose matte or satin finishes over glossy ones to reduce visual distractions from lights or sunlight.
Maintain Your Table Long-Term
Wipe down the surface with a damp microfiber cloth after every use. Never soak the table. For sticky spills, use mild soap but avoid abrasives that scratch the sealant.
Reapply one layer of polyurethane every 6-12 months if the table sees heavy outdoor or frequent use. Keep the table indoors when not in use, and cover with a waterproof tarp if stored outside, elevating it off the ground to prevent moisture damage.
Avoid Common Building Mistakes
Skipping the primer leads to blotchy paint and premature wear—never skip this step. Poor tape application with peeling or bleeding ruins clean lines, so use high-quality tape, press edges firmly, and remove at the right time.
One coat of sealant isn’t enough. Use multiple layers for real protection. An unstable table with wobbly legs ruins gameplay, so double-check alignment and use brackets for reinforcement. Finally, impatience causes smudges and scratches—follow product guidelines for all drying and curing times.
Final Thoughts on Building Your Beer Die Table
Building a beer die table isn’t just about function—it’s about creating a centerpiece for memories, competition, and laughs. The key takeaways are selecting exterior-grade ½-inch plywood cut to 24″ x 48″, meticulously sanding and priming before painting, applying the correct beer die layout (not beer pong), and sealing with multiple coats of water-resistant polyurethane.
With the right materials, precise prep, and a splash of creativity, you can build a table that looks professional, plays fair, and survives every party. Now that you know how to build a beer die table, grab your tools and start crafting your ultimate game night upgrade.
Frequently Asked Questions About Building a Beer Die Table
What are the official dimensions for a beer die table?
The standard dimensions are approximately 24 inches wide by 48 inches long, matching typical beer pong table specifications. This size ensures consistent gameplay and fits comfortably in most spaces.
Can I use a regular table instead of building from scratch?
Yes, as long as the surface is stable, level, and roughly 24″ x 48″. Repurposed foldable banquet tables or old pool tables can be refinished with beer die graphics. Just ensure the surface is flat and smooth before priming.
How is beer die different from beer pong in terms of table layout?
Beer die uses a center-line court system with scoring zones rather than beer pong’s triangular cup formation. The table features a center line dividing the playing surface, throwing lanes along each long edge, and optional target zones near the center.
How many coats of sealant should I apply?
Apply 3-4 coats of water-resistant polyurethane for maximum protection. Allow 4-6 hours between coats and let the final coat cure for 24-48 hours before use.
What height should a beer die table be?
The table surface should sit between 28-30 inches high, which is standard playing height. This can be achieved using sawhorses, custom legs, or a pre-built frame.
Can I make the table foldable for easy storage?
Yes, cut the plywood in half to create two 24″ x 24″ sections, then join them with 3-4 heavy-duty piano hinges. Add a center support bar and latches to keep it closed during transport.