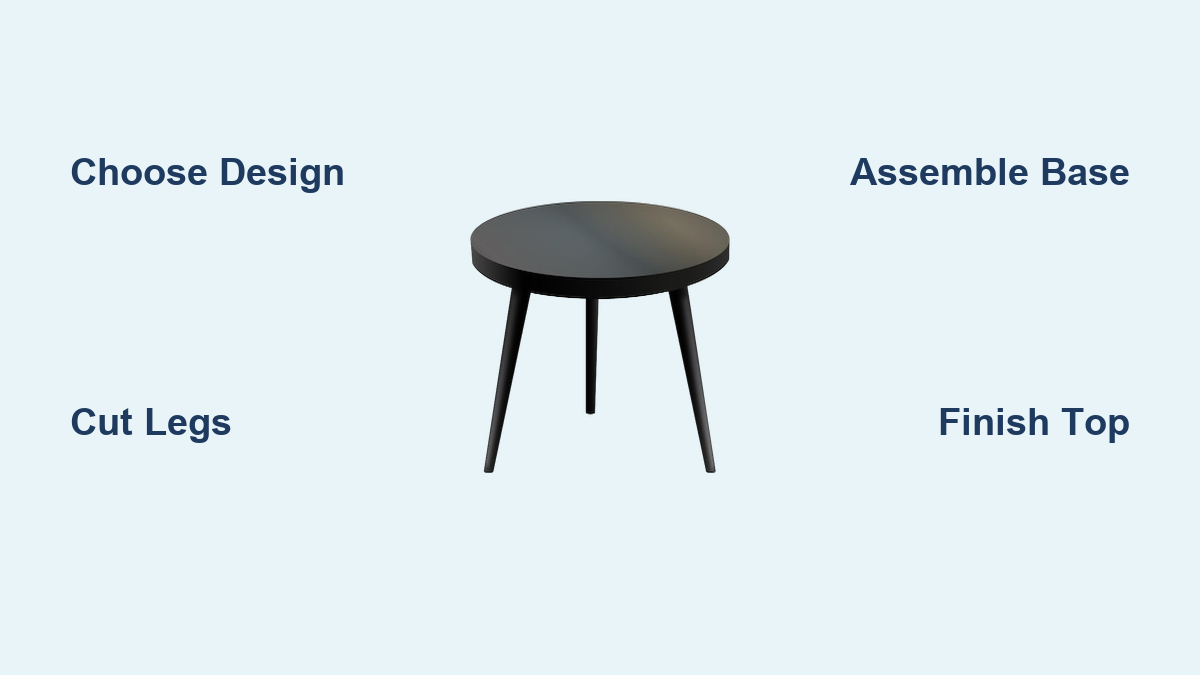
How to Build a Coffee Table: Quick Steps
You’ve searched furniture stores for weeks, but nothing fits your space perfectly. Too big, too plain, or too expensive. What if you could build a coffee table that matches your exact vision, costs under $40, and takes just a weekend? Building your own coffee table is one of the most rewarding woodworking projects you can tackle. Whether you’re a beginner with a basic circular saw or an experienced woodworker with a router and dado stack, this guide covers four proven construction methods to help you build a coffee table from scratch.
We’ll walk you through choosing the right design for your skill level, selecting materials, using essential tools, assembling with confidence, and finishing like a pro. You’ll learn pro tips on avoiding splits, ensuring flat tabletops, and creating edges smooth as silk.
Choose Your Coffee Table Design

Pick a Style That Matches Your Skill Level
Your first decision shapes the entire build. The design determines the tools, time, and techniques required.
• Farmhouse X-Frame: Best for beginners. Uses simple 2×2 lumber, basic cuts, and screws. Build time ranges from 2 to 3 hours.
• Mid-Century Modern: For intermediate builders. Requires templates, routing, and angled legs. Delivers sleek, timeless style.
• Reclaimed Wood with Skirt: Intermediate to advanced. Involves dado joints, mitered corners, and Z-clip tabletop attachment.
• Custom U-Shaped Legs: Offers creative freedom. Ideal for unique shapes using rotary tools and jigsaws.
Match your project to your tools and experience. A first-time builder should start with the X-frame. An experienced woodworker can tackle scrollwork and canted legs.
Know Standard Dimensions Before You Build
Get the size right the first time. A coffee table should sit 1 to 2 inches lower than your sofa seat.
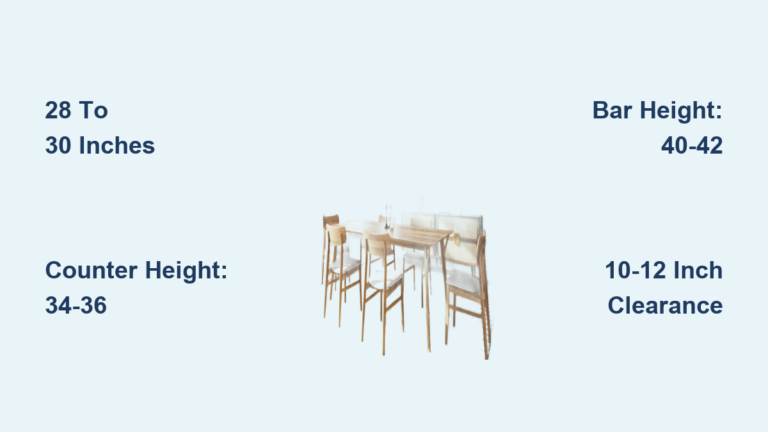
• Height: 16 inches is standard.
• Depth: 18 to 22 inches allows easy reach without crowding.
• Width: 36 inches for small spaces, up to 54 inches for large rooms or mid-century styles.
Adjust based on your living room layout. Leave at least 18 inches between the table and sofa for legroom.
Gather the Right Tools and Materials
Essential Tools by Build Type
You do not need a full shop, but the right tools make all the difference.
For all builds:
• Circular saw or miter saw
• Drill and driver
• Tape measure, square, pencil
• Clamps (at least 4)
• 120 to 220 grit sandpaper
• Safety glasses and dust mask
For mid-century or custom shapes:
• Jigsaw or bandsaw for curves
• Router with flush-trimming bit
• Template (homemade or store-bought)
• Dremel or rotary tool for detail work
For reclaimed or advanced builds:
• Table saw with dado stack
• Track saw for straightening rough boards
• Block plane for fine-tuning edges
Use a pocket hole jig if you want invisible screw connections on the tabletop.
Choose Wood Based on Budget and Look
Your material choice affects durability, appearance, and cost.
| Wood Type | Best For | Cost | Notes |
|---|---|---|---|
| Pine or Fir | Farmhouse, painted finishes | $ | Soft, dents easily, great for beginners |
| Walnut or Oak | Mid-century, high-end look | $$$ | Hard, durable, rich grain |
| Reclaimed Wood | Rustic, character-rich tables | $$ | Varies in thickness, plane one side only |
For a budget build, two 2x6s glued edge-to-edge make a 36-inch wide top. For warmth, walnut enhances mid-century designs beautifully.
Build an X-Frame Farmhouse Table (Beginner Project)

Cut Legs and Frame Pieces
Start simple. This design uses 2x2s for the base and a flat top.
- Cut four 24-inch legs from 2×2 lumber.
- Cut four 18-inch cross supports from 2×2.
- Cut ends at 45-degree angles so they meet in an X pattern.
Use a miter saw for accuracy. A stop block ensures all pieces are exactly the same length.
Assemble the X-Base
Lay one leg flat. Position the second leg at a 45-degree angle to form the X. Clamp in place.
- Apply wood glue to the joint.
- Secure with two 1.5-inch trim screws.
- Repeat for the second X-frame.
Now reinforce each side by attaching a second 2×2 behind the first, creating a 1.5-inch thick leg assembly. This adds strength and a layered look.
Add Shelf and Attach Top
Cut a 36-inch 2×2 for the center shelf support. Mount it horizontally between the legs, about halfway down.
- Attach two additional 2x2s outward from the center, leaving a 1.5-inch gap between each.
- Screw from the bottom so fasteners are hidden.
- Place a pre-cut 36×18-inch tabletop on top and secure with screws from below.
For a recessed look, set the top into a shallow 0.25-inch rabbet cut into the frame.
Craft a Mid-Century Boat-Top Table (Intermediate)
Make a Curved Template
Mid-century tables feature soft, flowing edges like a boat hull.
- Bend a thin strip of wood (1/4-inch plywood) into a pleasing arc.
- Trace the curve onto 1/2-inch plywood.
- Cut out with a bandsaw or jigsaw.
- Sand smooth to create your template.
Use this template to trace both long sides of the tabletop.
Shape the Tabletop
Transfer the template to your wood surface.
- Rough-cut with a jigsaw, staying about 1/8-inch outside the line.
- Screw the template to the underside of the tabletop.
- Use a top-bearing flush-trimming router bit to follow the template edge.
This ensures a perfect, repeatable curve. Fair any small bumps with a block plane.
Profile the Edges
Instead of a rounded bullnose, create a thumbnail profile. This is a subtle concave curve that casts a soft shadow.
- Use a router with a thumbnail bit, or
- Shape by hand with sandpaper wrapped around a dowel.
For flawless transitions, make a custom sanding block that matches the curve to clean up router start and stop marks.
Install Canted Legs and Braces
Cut two slender legs (such as 2×2) and angle them slightly outward (canted) for stability.
- Attach an angled brace from the leg to a stretcher below.
- Top end of the brace fits into a square block socketed into the tabletop.
This creates a structural triangle, the strongest form in woodworking. It eliminates wobble and removes the need for a center stretcher, keeping the look clean.
Construct a Reclaimed Wood Table (Traditional Joinery)
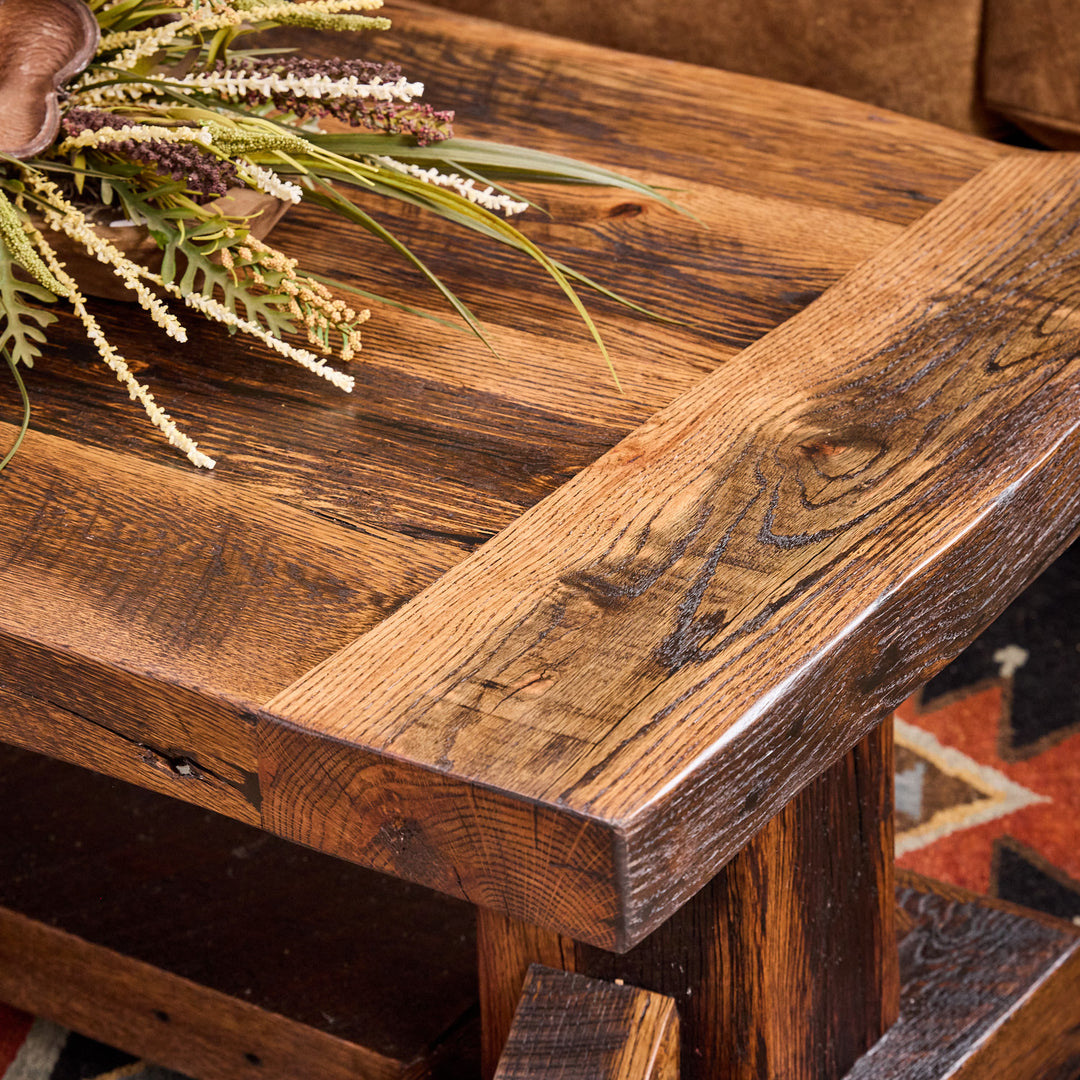
Cut Dados for Skirt Fit
The skirt is the vertical frame between legs and top.
- Use a table saw with a dado stack.
- Cut a recess (dado) into each leg, 0.5-inch wide, depth matches skirt thickness.
- Use a crosscut sled and stop block for identical cuts.
This pocket holds the skirt securely and hides the joint completely.
Assemble the Skirt with Mitered Corners
Cut four skirt pieces to length with 45-degree ends for seamless corners.
- Glue and clamp miters first using square clamps to ensure 90-degree angles.
- Reinforce with dowels or pocket screws from the inside.
- Once dry, attach the skirt to the legs using wood glue and screws.
For authenticity, lightly torch the dowel ends with a butane torch to darken them and blend with aged wood.
Attach Top with Z-Clips
Reclaimed wood moves with humidity. Rigid screws can crack the top.
- Rout a 0.5-inch deep groove 8 inches below the top edge of the skirt.
- Insert Z-clips into the groove.
- Attach mating clips to the underside of the tabletop.
This allows the wood to expand and contract while keeping the top secure. It also lets you remove the top for refinishing later.
Shape Custom Legs with Rotary Tools
Design Unique Leg Profiles
Break from tradition. Create U-shaped, L-shaped, or sculpted legs.
- Sketch your shape on paper first.
- Transfer to 2×4 or 2×6 stock.
- Use circular objects (bowls, cans) to trace smooth curves.
Mark where the tabletop and stretcher will connect.
Cut and Refine with Moto-Saw
For tight curves and artistic shapes, a Dremel Moto-Saw or jigsaw works best.
- Cut close to the line. Do not worry about perfection.
- Switch to a Dremel 8240 rotary tool with sanding bands.
- Smooth edges and refine contours.
This method requires minimal heavy equipment and maximizes creative control.
Pre-Drill and Assemble
Hardwoods split easily. Always pre-drill screw holes.
- Use a drill bit slightly smaller than your screw shank.
- Apply glue to joints.
- Clamp and drive screws.
Attach legs to the top or frame, depending on your design.
Finish for Beauty and Durability

Sand in Sequence
Never skip grits. Build a smooth surface step by step.
- Start with 120 grit to remove tool marks.
- Progress to 150, then 220 grit.
- Wipe away dust with a tack cloth before finishing.
For curved edges, wrap sandpaper around a dowel or use a detail sander.
Stabilize Knots in Reclaimed Wood
Loose knots can fall out or bleed sap.
- Apply CA glue (super glue) around the knot’s edge.
- Let cure, then sand flush.
This locks the knot in place and prevents future issues.
Choose the Right Finish
Match the finish to your wood and lifestyle.
| Finish | Best For | Pros | Cons |
|---|---|---|---|
| Polyurethane | High-traffic areas | Durable, water-resistant | Can look plastic |
| Paint plus primer | Farmhouse, modern | Crisp look, hides flaws | Chipping over time |
| Oil blend | Reclaimed wood | Enhances grain, natural feel | Needs reapplication |
For reclaimed wood, use a custom oil blend. Mix 90% Rubiò Monocoat Natural Silk, 8% Rubiò Monocoat Pure (adds clarity), and 2% Rubiò Monocoat Chocolate (adds depth). Apply with a lint-free cloth. Let soak 10 minutes, then wipe off excess. Let cure overnight before use.
Fix Common Problems Before They Happen
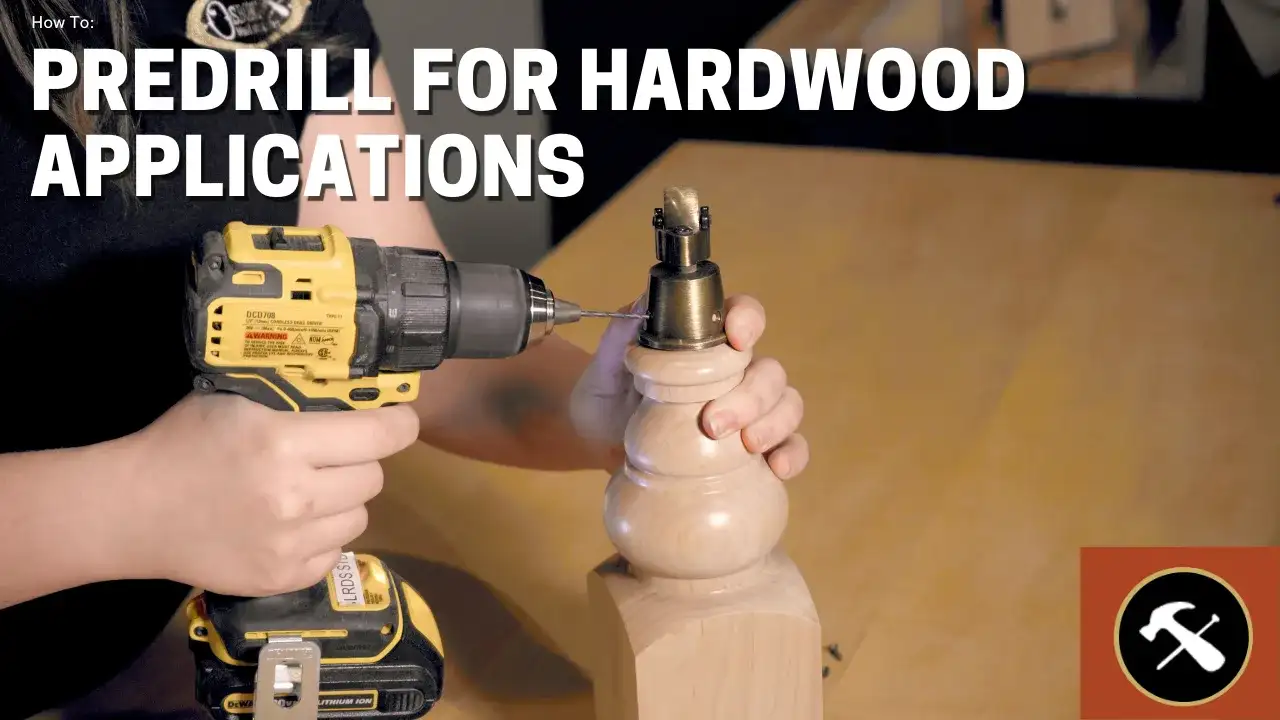
Prevent Wood Splitting
Screws near ends equal cracked wood.
- Always pre-drill pilot holes.
- For hardwoods, drill slightly deeper than screw length.
- Use trim screws (1.5-inch) for 2x material.
Keep Tabletops Flat
Warped boards or uneven clamping leads to a wavy surface.
- When gluing boards edge-to-edge, start clamping from the center and work outward.
- Use cauls (straight boards across the top) to distribute pressure.
- For screw-on tops, drive screws from the center outward to pull boards flat.
Handle Uneven Reclaimed Boards
Old wood is not perfect.
- If thickness varies, plane only one side to create a flat glue surface.
- Leave the other side rough for character.
- After gluing, use a track saw with a straightedge to trim the top perfectly straight.
Restore patina on fresh cuts by lightly torching the edge with a butane torch.
Maintain Your Table for Years
Clean Without Damage
Dust weekly with a soft cloth.
- For spills, wipe immediately, especially on oil-finished wood.
- Never use ammonia or harsh cleaners.
Repair Scratches and Dings
On rustic tables, small marks add character.
- For deeper scratches, lightly sand and reapply oil.
- On painted tables, touch up with matching paint.
Check Joints Periodically
In high-use areas (such as rentals), screws loosen.
- Tighten every 6 to 12 months.
- Re-glue wobbly joints if needed.
Oil finishes can be refreshed locally. No full refinishing is required.
Frequently Asked Questions About Building a Coffee Table
What is the standard height for a coffee table?
The standard coffee table height is 16 inches. This typically sits 1 to 2 inches lower than your sofa seat, creating a comfortable reach for drinks and remotes.
How much does it cost to build a coffee table?
A basic farmhouse-style coffee table can be built for under $40 using standard lumber store materials. Costs increase significantly when using premium hardwoods like walnut or oak.
What tools do I need to build a coffee table as a beginner?
At minimum, you need a circular saw or miter saw, drill and driver, tape measure, square, pencil, clamps (at least four), sandpaper (120 to 220 grit), and safety gear. A pocket hole jig helps create invisible joints.
How do I keep my tabletop flat when building?
Start clamping from the center of your board glue-up and work outward. Use cauls across the top to distribute pressure evenly. When attaching the top with screws, drive them from the center outward to pull boards flat.
Can I use reclaimed wood for my first coffee table build?
Reclaimed wood works best for intermediate builders. It often varies in thickness and requires extra preparation (planing one side, straightening edges). For beginners, standard pine or fir from the lumber store is more forgiving.
Key Takeaways for Building Your Own Coffee Table
Building a coffee table is one of the most rewarding beginner-to-intermediate woodworking projects available. With the right plan, tools, and techniques, you can create a piece that lasts for years and sparks conversation in your living room. The key is starting simple with an X-frame farmhouse design if you are new to woodworking, then progressing to more complex joinery and curved templates as your skills develop. Always pre-drill pilot holes to prevent splitting, and remember that clamping from the center outward keeps tabletops flat and even. Whether you choose a $40 farmhouse build or a walnut mid-century masterpiece, the process of building something with your own hands transforms your space and your skills. Your living room and your toolbox will never be the same.