How to Fix a Broken Table Leg
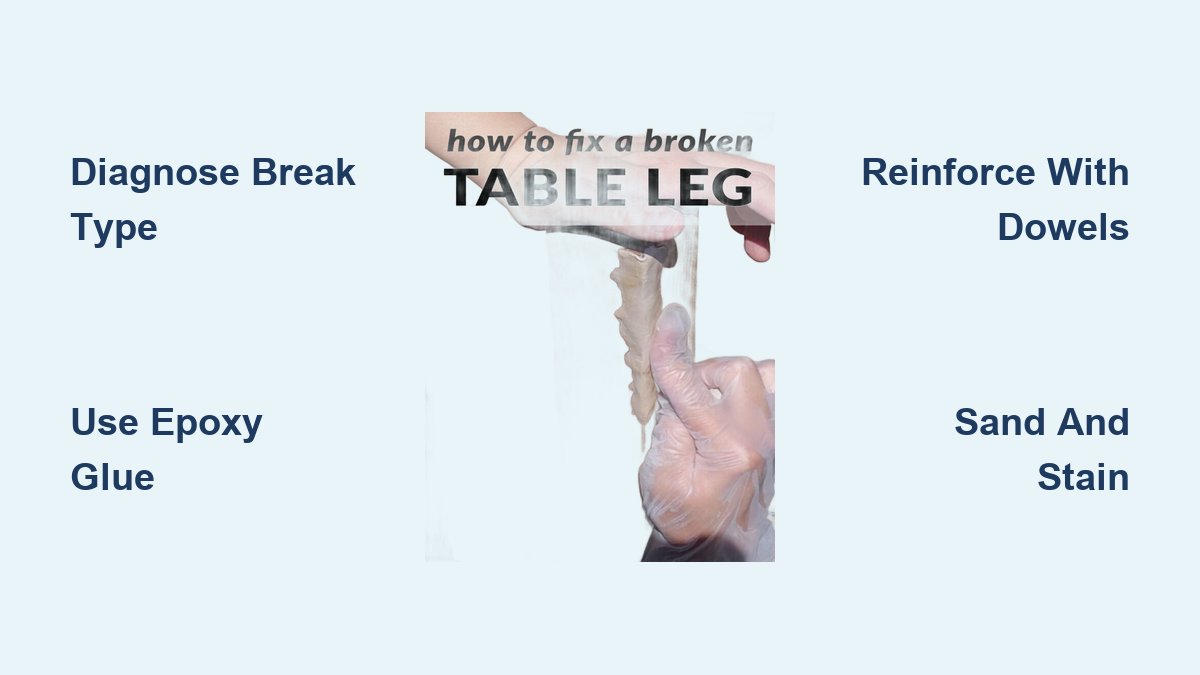
A broken table leg doesn’t mean the end of your favorite piece of furniture. Whether it’s cracked, split, loose, or snapped clean off, most damage can be repaired often stronger than before. The key is diagnosing the exact type of break and applying the right technique. Using the wrong glue, skipping surface prep, or misaligned dowels are common reasons past repairs fail. This guide walks you through every step from identifying the root cause to choosing the correct adhesive, reinforcing weak joints, and finishing so the repair is nearly invisible.
Diagnose the Break Type First

Before grabbing glue or tools, assess how and why the leg failed. The repair method depends entirely on the nature of the damage.
Identify Why Past Repairs Failed
Many fixes fail due to preventable mistakes. Look for signs of:
• Glue residue without bond indicates PVA glue was used on a loose joint where it cannot grip.
• Stain hiding glue squeeze-out means poor cleanup prevented new adhesive from bonding.
• Dowels across the grain add stress, not strength, if not properly seated.
• Expandable foam or filler used as structure must be removed entirely.
Knowing what went wrong ensures your new repair lasts.
Match Repair to Break Type
Different breaks demand different solutions:
• Lateral horizontal breaks snapped across the leg need dowel reinforcement.
• Splits and cracks longitudinal separations are best fixed with glue injection.
• Stripped screw holes screws spin freely require epoxy filling.
• Loose joints wobble at frame connection need disassembly and re-gluing.
• Missing wood common in antiques needs epoxy putty or inserts.
Choose the right fix based on this diagnosis.
Choose the Right Adhesive
Not all glues are equal. Using the wrong one is the number one reason repairs fail.
Use Epoxy for Loose or Dirty Joints
Epoxy bonds to old, stained, or slightly dirty wood where PVA glue fails. It fills gaps and creates a bond stronger than wood. For maximum durability, use high-strength epoxy, especially for antique legs or loose joints. It is ideal for:
• Cracks with gaps
• Previously failed glue joints
• Stripped screw holes
Apply to all mating surfaces before reassembly.
Apply CA Glue for Instant Lateral Repairs
For a clean horizontal break, two-part CA glue with accelerator sets in seconds and holds tight. It is perfect when combined with dowels for instant strength. Steps:
1. Apply CA glue to one surface.
2. Apply accelerator to the other.
3. Press together bond forms in 10 seconds.
4. Reinforce with dowels.
Use only on tight-fitting breaks.
Reserve PVA Glue for Tight Joints Only
Titebond or standard wood glue works only when surfaces fit perfectly. It fails on loose joints, gapped cracks, and old oxidized surfaces. If there is any wiggle, skip PVA and use epoxy.
Repair Lateral Horizontal Breaks

A leg snapped across is challenging but fixable with dowels and strong glue.
Cut and Align the Broken Section
Use a Japanese pull saw to make a clean, flush cut on both pieces. This ensures maximum contact. Test-fit without glue to confirm alignment. Mark orientation to avoid twisting.
Drill and Insert Reinforcement Dowels
- Drill a pilot hole one-eighth inch near the center.
- Enlarge to three-eighths inch using the pilot as a guide.
- Mark depth with green tape the hole must go past the fracture line.
- Cut hardwood dowel oak preferred slightly shorter than depth.
- Notch the dowel three to four times with a hammer and notching tool to increase glue grip.
Glue, Assemble, and Weight-Clamp
- Brush Titebond into the hole and on joint surfaces.
- Tap dowel into the lower section until flush.
- Reapply glue to both faces.
- Join pieces and flip upside down.
- Place a 50-pound weight on top for even pressure.
- Let cure overnight.
This avoids clamp distortion on long legs.
Fix Splits and Cracks with Injection
For long, thin separations that have not fully broken apart.
Inject Glue Deep Into the Crack
- Clean debris from the split.
- Use a wood glue injection pump to force glue deep inside.
- Clamp gently to open the crack slightly for better flow.
- Repeat two to three times until glue oozes out.
For curved legs, apply extra pressure and re-inject until full.
Clamp and Cure
Hold closed with a band clamp or bar clamp. Let set completely, 24 hours for full strength. Sand flush with 220-grit paper after curing.
Repair Stripped Screw Holes

When screws spin but will not tighten, the wood is stripped.
Avoid DIY Filler Fixes
Glue and sawdust mixtures often fail under load. Dowels can bust if drilled off-angle.
Use Epoxy for Permanent Hold
- Drill out the old hole to remove debris.
- Fill completely with high-strength epoxy.
- Insert the screw into the wet epoxy while turning.
- Seat to correct depth and wipe excess.
- Let cure 24 hours.
The screw bonds permanently to the epoxy, no more wobble.
Rebuild Loose Leg-to-Frame Joints
Wobbling means the joint has separated, even if nails or dowels are present.
Disassemble and Clean Thoroughly
- Remove seat and corner braces.
- Separate the leg from the frame.
- Scrape out all old glue, filler, and debris.
- Wipe with a damp cloth and dry.
Skip this step, and your new glue will not stick.
Re-Glue with Epoxy for Loose Fits
Tight joint, use PVA wood glue. Gap or wobble, use epoxy. It is mandatory for lasting repair. Apply to all contact surfaces. Do not miss hidden areas.
Clamp Smart, Not Hard
With a dowel, one clamp suffices. No dowel, use front-to-back then side-to-side clamps to prevent sliding. Light pressure only, epoxy flows, over-clamping starves the joint.
Add Glue Blocks for Extra Strength
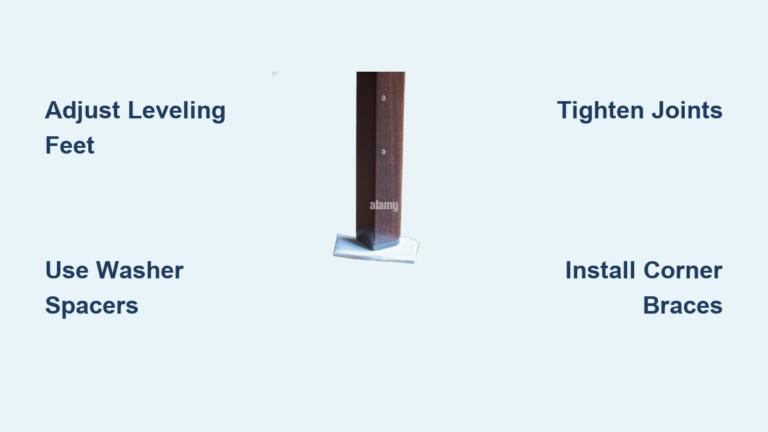
Cut a hardwood block to fit the inside corner. Attach with wood glue and one screw. Use a regular screwdriver, no impact driver. This prevents future wobble and reinforces the joint.
Restore Missing Wood in Antique Legs
When wood is lost to rot, wear, or bad past repairs.
Assess Sound vs. Compromised Wood
Tap the leg, solid wood sounds firm, decayed areas feel soft or crumble. Remove only damaged sections.
Fill with Epoxy Resin
- Clean the void.
- Mix and pour epoxy resin into missing areas.
- Let cure 24 hours.
- Shape with chisel or sandpaper.
For large gaps, use epoxy putty. It is sandable and stainable.
Consider Professional Help for Valuables
If the table is over 100 years old or has sentimental value, consult a pro. Old wood reacts unpredictably, missteps can destroy irreplaceable pieces.
Achieve Perfect Dowel Alignment
Misaligned holes weaken the joint and make repairs visible.
Use a Lathe for Flawless Centering
Best for removable legs. Mount each piece in a lathe, center using the chuck, drill from the tailstock for perfect 90-degree alignment. Glue and reassemble. Result, invisible ultra-strong repair.
Try the Oversized Hole Plus Epoxy Method
Allows correction of minor misalignments. Drill an 11/16-inch hole for a one-half-inch dowel or steel rod. Fill lower hole with epoxy, insert rod, and cure. Repeat for the upper piece. Align and mate, the epoxy gap absorbs misalignment. Ideal when tools are not perfect.
Build a Guide Block for Hand Drilling
No lathe? Make a jig. Take a thick wood block, drill a Forstner hole same diameter as leg halfway through. Drill a center hole dowel size through the rest. Insert leg into the Forstner hole. Drill through the guide hole. Ensures straight, centered drilling every time.
Use a Drill Press with Reference Fences
For square legs, use two straight sides as references. Mark equal offsets on both broken pieces. Clamp vertically against a fixed fence on the drill press. Drill at 90 degrees. Warning, any fence misalignment is doubled on the second piece, set up with care.
Finish Like a Pro
A great repair should be invisible. Finishing makes the difference.
Sand Smooth and Fill Voids
- Sand cured epoxy or dowel with 220-grit paper.
- For large gaps, apply epoxy putty, let set about one hour, then sand.
Surface should blend seamlessly.
Match Stain with Gel for Control
Epoxy and filler do not absorb stain like wood. Use gel stain. Apply with a brush, feather edges into surrounding wood. Test first on a scrap or hidden area. Apply thin layers to build color naturally. Correct drips immediately, glue and filler repel stain causing blotches.
Seal with Durable Lacquer
Apply pre-catalyzed aerosol lacquer. Spray three to four coats with 10 minutes between. Let dry completely. After staining, add two more coats to unify sheen and protect. Creates a hard, long-lasting finish.
Avoid Common Repair Mistakes
Even experienced DIYers make these errors, do not repeat them.
Never Hide Glue with Stain
Glue repels stain creating a light spot. Clean all squeeze-out before it dries or sand it off before staining.
Do Not Drill Off-Angle Holes
Dowel holes must be 90 degrees to the surface. Use a drill press or guide block. Angled holes cause misalignment and weak joints.
Do Not Over-Clamp Epoxy
Epoxy needs contact, not pressure. Heavy clamping squeezes out all glue, light pressure is enough.
Always Clean Old Surfaces
Old glue, wax, or dust prevents bonding. Scrape and wipe clean. Bond failure starts with poor prep.
Troubleshoot Failed Repairs
Even the best plans go wrong. Here is how to fix common issues.
Dowel Busts During Installation
Likely caused by off-angle drilling, too tight a fit, or forcing the dowel. Fix, use the oversized hole plus epoxy method. It allows adjustment and absorbs stress.
Joint Still Wobbles After Glue
Means wrong adhesive used, incomplete surface contact, or old glue residue. Fix, disassemble, clean thoroughly, and re-glue with epoxy.
Stain Does Not Match
Because filler and epoxy absorb differently or wrong stain type used. Fix, use gel stain or tint the epoxy putty before application with universal colorants.
Frequently Asked Questions About Fixing a Broken Table Leg
Can I fix a broken table leg without removing it
Some repairs like epoxy injection for splits can be done in place. But lateral breaks and loose joints require full disassembly for proper alignment and cleaning.
What is the strongest glue for table leg repair
Epoxy is the strongest adhesive for most situations. It bonds to dirty or old wood, fills gaps, and creates a bond stronger than the wood itself. Use CA glue with accelerator only for tight-fitting horizontal breaks.
How long does a table leg repair take to cure
CA glue sets in seconds to minutes. Epoxy and PVA wood glue require 24 hours for full strength. Lacquer needs 10 minutes between coats and several hours to cure fully.
Can I stain a repaired table leg to match the original
Yes, but use gel stain instead of liquid stain. Test on a hidden area first. Epoxy and filler absorb stain differently than wood, so feathering edges carefully is essential.
When should I hire a professional instead of DIY
Hire a pro for antiques over 100 years old, pieces with sentimental value, or if the damage involves severe rot or complex joinery. Improper techniques on old wood can cause catastrophic damage.
Key Takeaways for Fixing Your Broken Table Leg
A broken table leg is rarely a death sentence. With the right diagnosis, adhesive, and technique, you can restore strength and appearance, often better than new. Focus on clean prep, proper glue selection, and precise reinforcement. Whether using CA glue for instant hold, epoxy for loose joints, or dowels for alignment, each step builds toward a permanent fix. For antiques or high-value pieces, when in doubt, consult a pro. But for most tables, these methods deliver professional results at home with no need to replace what you can repair.