How to Sew a Table Skirt: Quick Steps
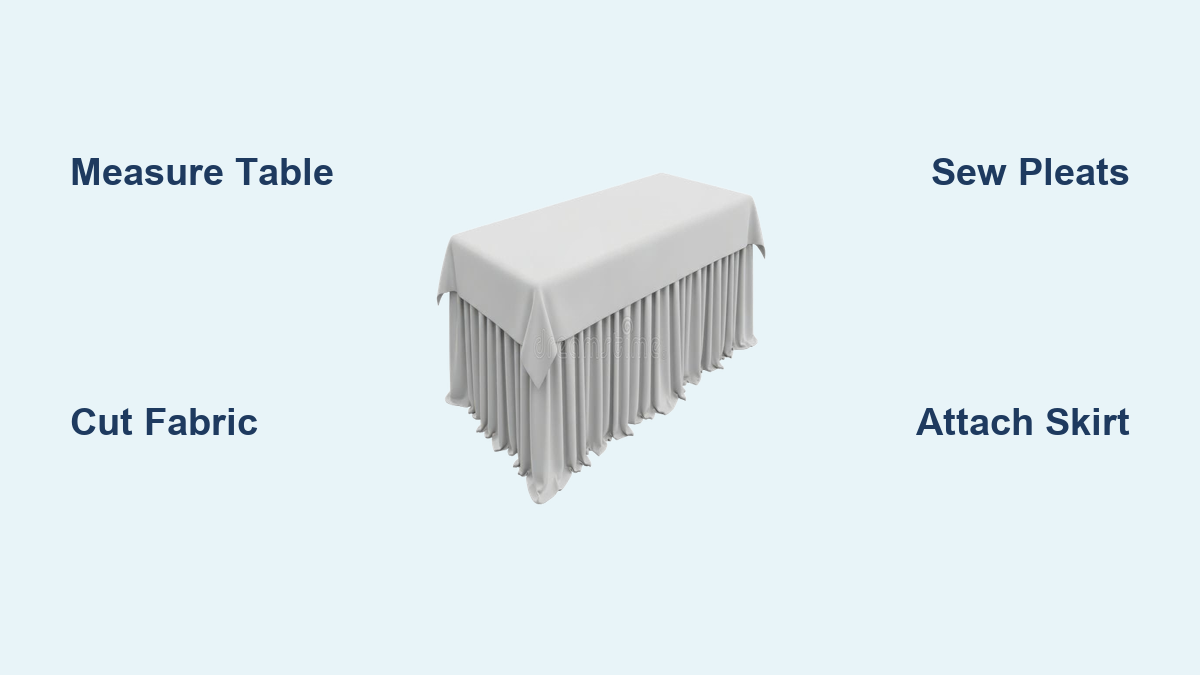
You’ve seen it in elegant dining rooms, chic entryways, and stylish event setups—a perfectly tailored table skirt that hides clutter, softens hard edges, and elevates the entire room. The good news? You don’t need a professional seamstress to achieve this polished look. With the right tools, fabric, and techniques, how to sew a table skirt is a DIY project within reach of any beginner or intermediate sewer.
A well-made table skirt transforms ordinary furniture into a design statement. Whether you’re dressing up a console table under the TV, hiding a pet crate, or creating a glamorous wedding backdrop, a custom skirt adds structure, color, and texture. This guide walks you through every step, from measuring your table and choosing fabric to sewing pleats, adding trims, and securing your skirt for a seamless finish.
Measure Your Table for a Perfect Fit
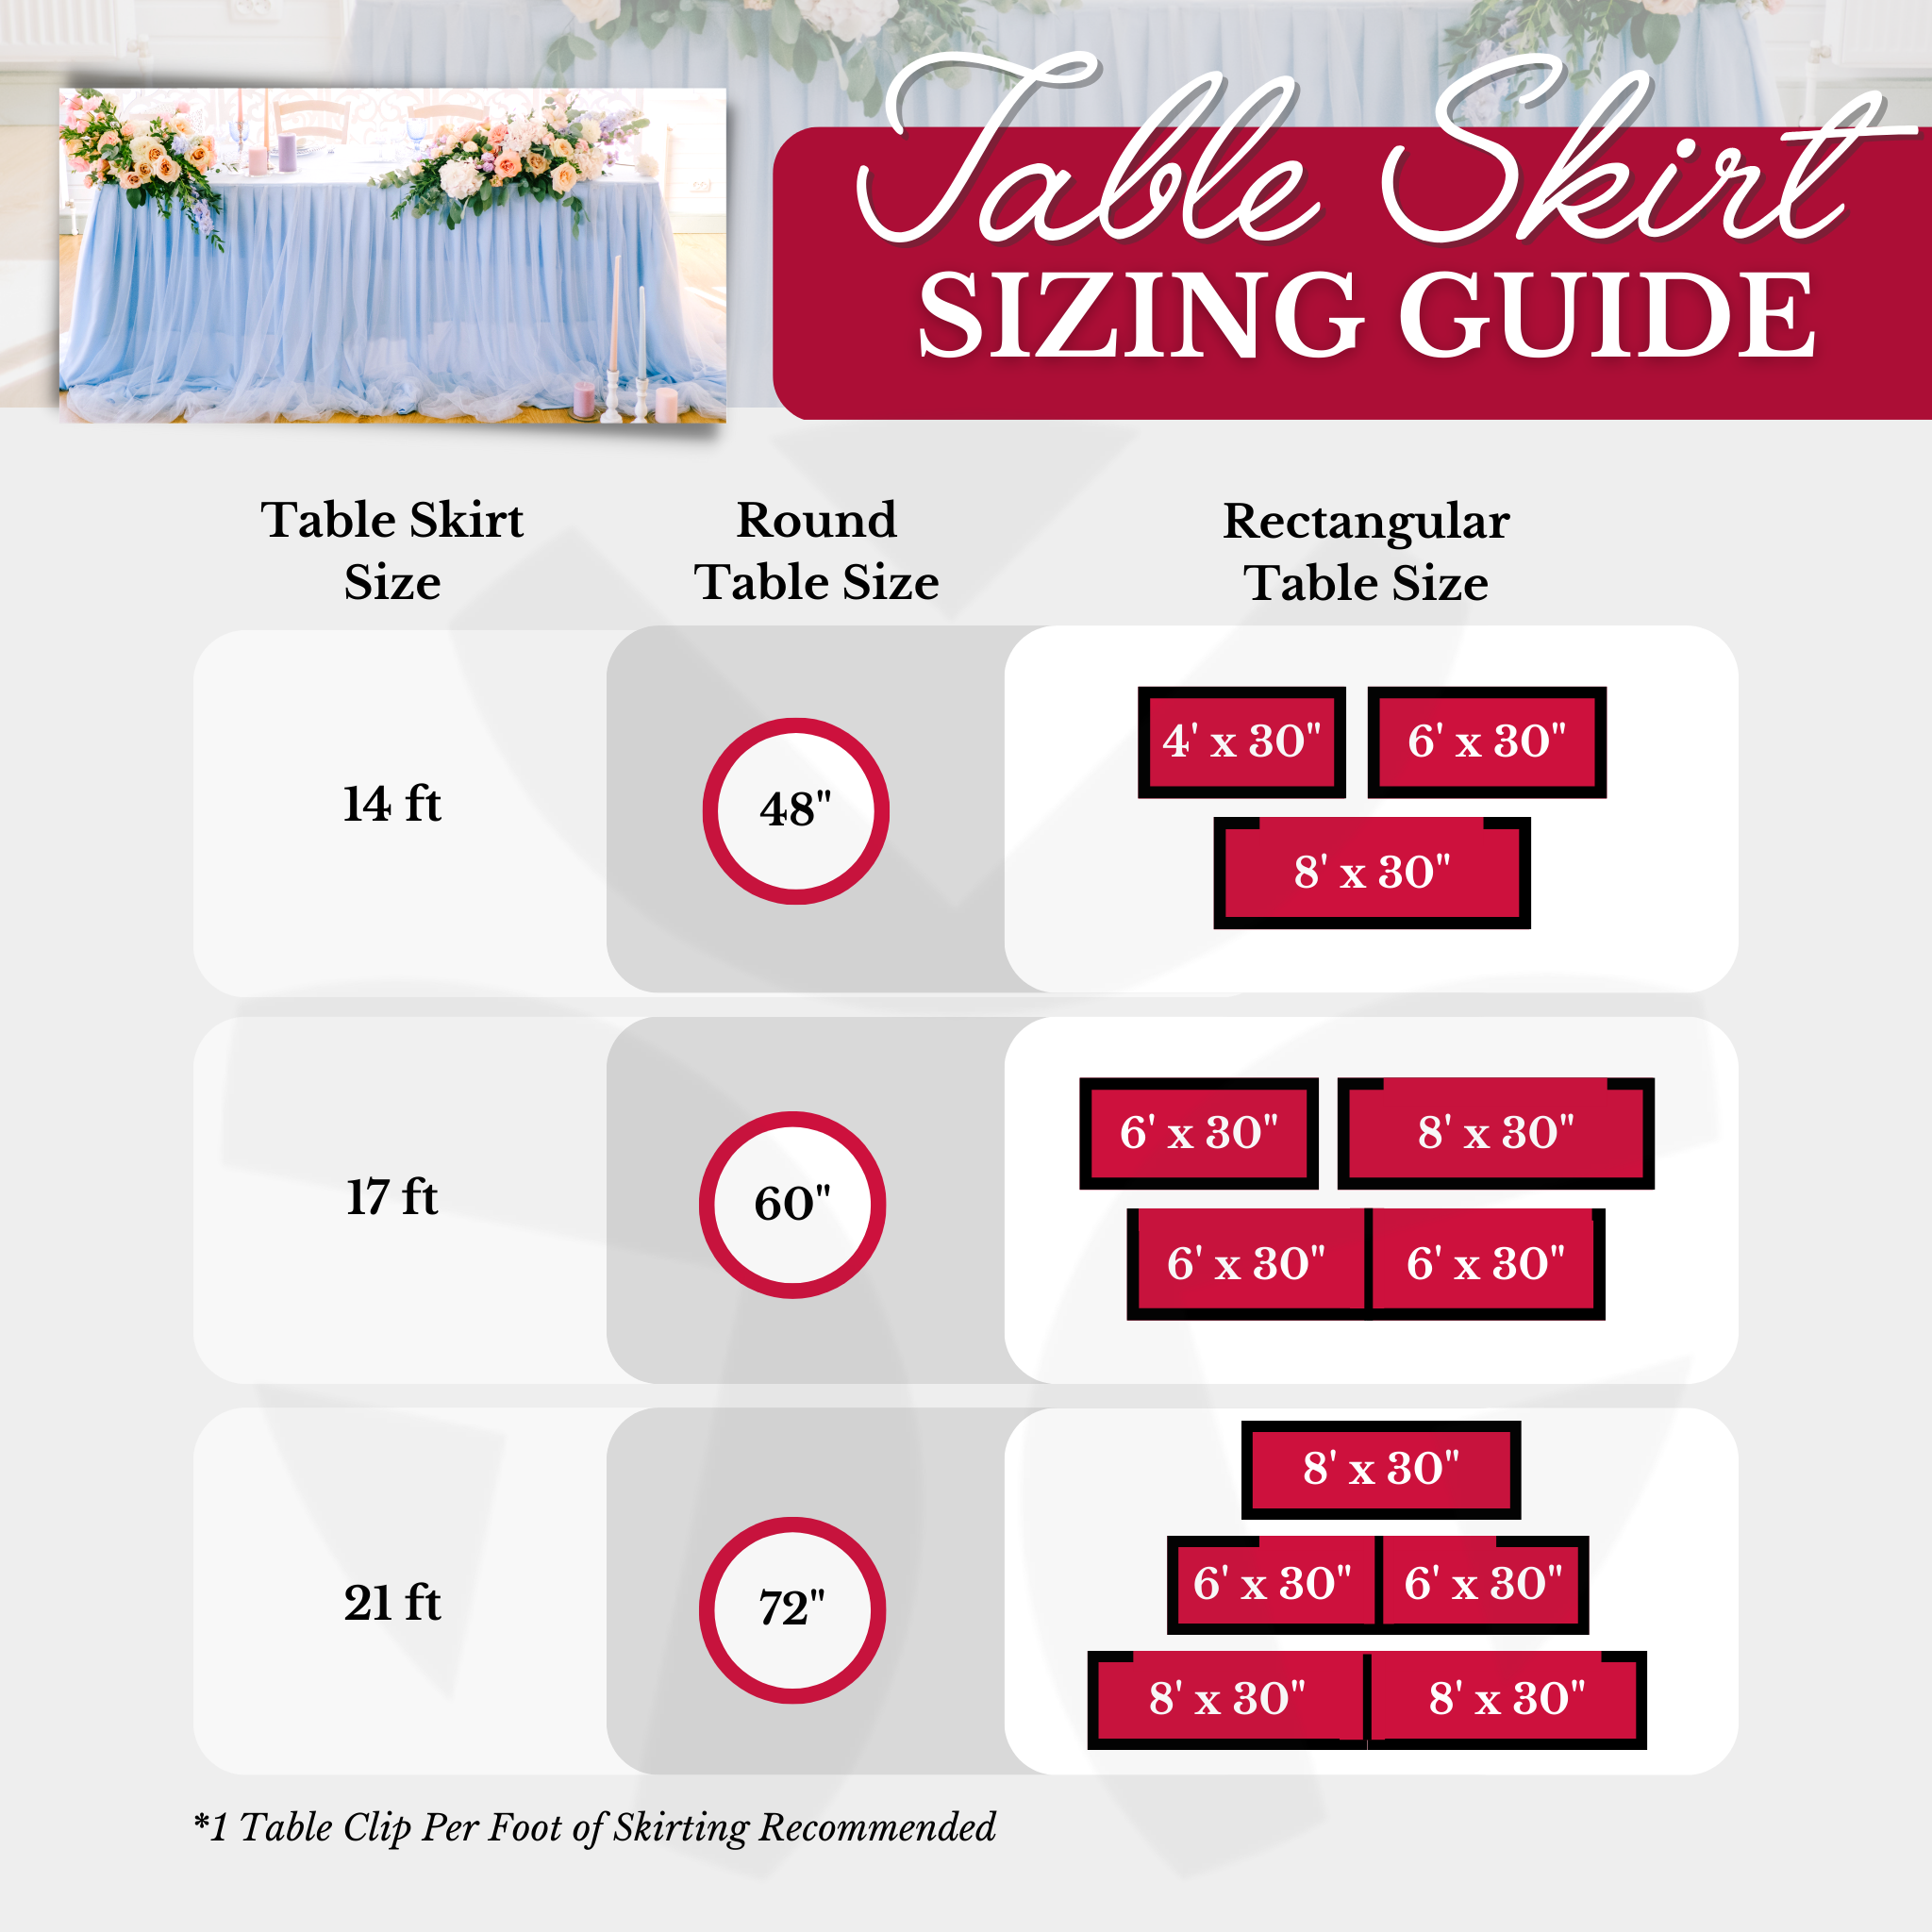
Before cutting fabric, precise measurements are non-negotiable. An ill-fitting skirt ruins the look, no matter how well it’s sewn.
Calculate Drop Length and Perimeter
Measure vertically from the tabletop edge to the floor. This is your drop length. Standard drop is 30 to 36 inches, but adjust based on table height and desired effect. For a clean, tailored look, aim for the skirt to just graze the floor.
Next, calculate the table perimeter. For rectangular tables, use this formula: length times 2, plus width times 2. For round tables, use diameter times 3.14. For example, a 72-inch by 40-inch table has a perimeter of 224 inches.
Always add seam allowances and hem allowance to the height. If using pleats or ruffles, factor in 2 to 3 times the perimeter for fullness.
Account for Fabric Widths
Standard fabric widths are 45 inches or 54 inches. If your table is wider than the fabric, you’ll need to seam panels. Plan seams to fall at the back or inside pleats to hide them. For patterned fabric, add extra yardage to match designs at seams.
Pro Tip: Use railroading—running the fabric horizontally—so the pattern spans the table width without seams. This works best with wide tables and directional prints.
Choose Fabric and Gather Supplies
The fabric you choose affects durability, drape, and final appearance.
Best Fabrics by Use Case
Select fabric based on where the table skirt will live.
• Cotton blends: Durable and easy to sew. Ideal for dining rooms and sunrooms.
• Linen: Crisp texture, classic look. Perfect for console tables and living rooms.
• Polyester or performance fabric: Stain-resistant and low-maintenance. Great for pet areas or high-traffic zones.
• Tulle, net, or satin: Lightweight and airy. Use for wedding skirts or layered ruffles.
• Ticking stripe: Casual, timeless. Excellent for classrooms or utility spaces.
Avoid heavy fabrics like velvet unless the table is sturdy. They can sag or strain attachments.
Essential Tools List
You will need fabric scissors, measuring tape, straight pins or clips, a sewing machine with all-purpose and zipper feet, an iron and pressing cloth, chalk or fabric marker, and matching thread.
For attachment, have Velcro, clips, or tension rods on hand.
Optional supplies include piping cord, grosgrain ribbon, trim, and a staple gun for no-sew versions.
Cut and Prepare Your Fabric
Prewash and iron your fabric to prevent shrinkage later. Lay it flat on a clean surface, right side down.
Cut Panels to Size
For a rectangular table, cut side panels, front, and back separately. For a continuous skirt, cut one long strip equal to the perimeter plus 1 inch for seams.
Example: A 72-inch long table needs a skirt that is 224 inches around. If using 54-inch wide fabric, you’ll need four 54-inch panels seamed together.
Mark cut lines with chalk. Use a rotary cutter and mat for straight edges. Cut with the grain for even drape, unless railroading the pattern.
Pro Tip: For pleated skirts, label each panel to avoid confusion during assembly.
Sew Panels and Finish Seams
Joining panels cleanly is key to a professional finish.
Join Panels Right Sides Together
Pin two panels with right sides facing. Sew a half-inch seam. Press seams open with an iron to reduce bulk.
Place seams strategically, ideally at the center back or inside a pleat. For patterned fabric, match motifs exactly at the join.
Prevent Fraying
Finish raw edges with a zigzag stitch, overlock on a serger, or French seams for sheer fabrics.
Warning: Skipping seam finishing leads to fraying, especially with cotton or linen.
Create a Deep Hem for Better Drape
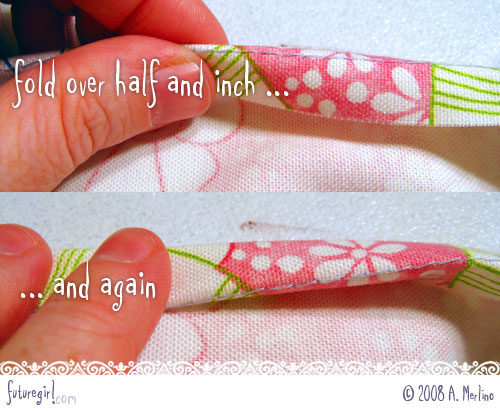
A deep hem gives weight and stability, helping the skirt hang straight.
Fold and Press Twice
Fold the bottom edge up half an inch, press. Fold again 3 to 5 inches, depending on desired depth, then pin.
Topstitch close to the inner fold using a straight stitch. For an invisible finish, hand-sew with a blind hem stitch.
Pro Tip: For sheer or lightweight fabrics, use a rolled hem or add a lining to prevent transparency.
Add Box Pleats for Structure and Style

Box pleats give a tailored, formal look and allow easy lifting for under-table access.
Mark Pleat Placement
Divide the skirt into equal sections. For a 72-inch long table, place pleats every 12 to 18 inches.
Mark fold lines with chalk. A typical box pleat is 3 to 4 inches wide, consuming 10 to 12 inches of fabric.
Iron and Pin Pleats
Fold fabric inward on both sides of the marked line so folds meet at center. Press with an iron for crispness.
Pin only at the top half-inch. Do not sew the pleat shut along the full length. This keeps the bottom open for draping.
Pro Tip: Apply trim to one side of the pleat before pinning. This reinforces the fold and adds visual interest.
Miter Corners for Clean Edges
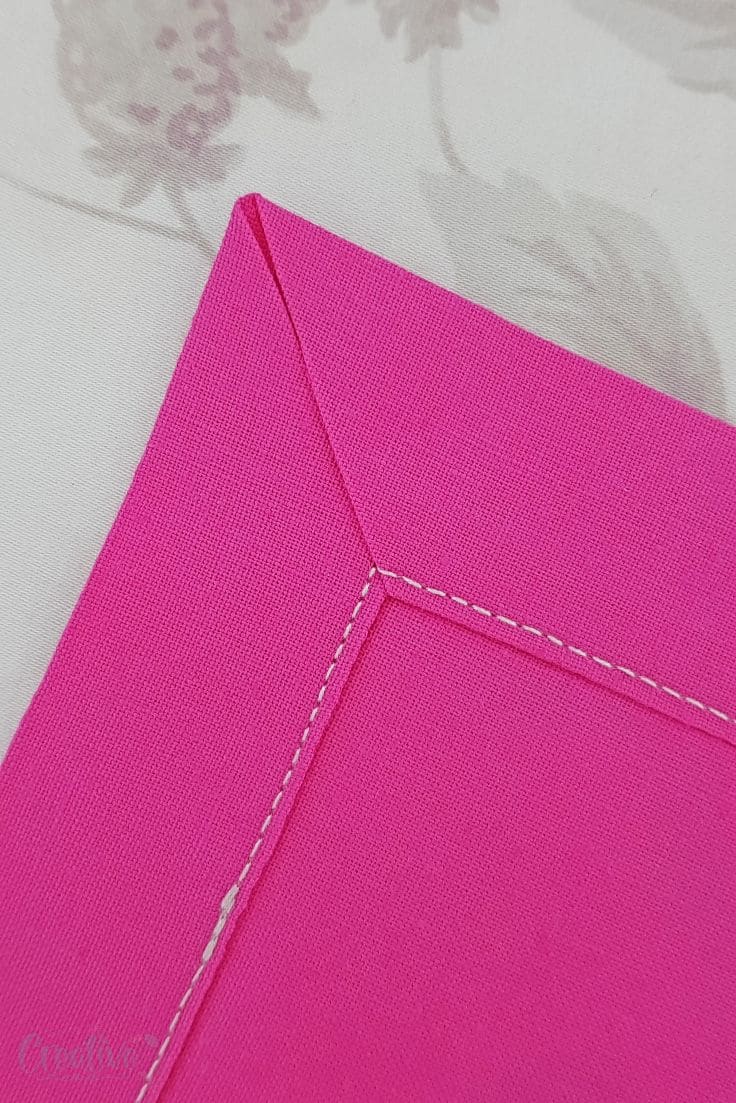
Sharp corners elevate the skirt from homemade to high-end.
Prepare and Fold
At each corner, fold the fabric at a 45-degree angle. Press. When the skirt is pinned to the table, this creates a seamless diagonal seam.
For inside corners, notch the seam allowance slightly before turning to reduce bulk.
Visual Cue: A properly mitered corner forms a clean 90-degree angle with no puckering.
Attach the Skirt Securely
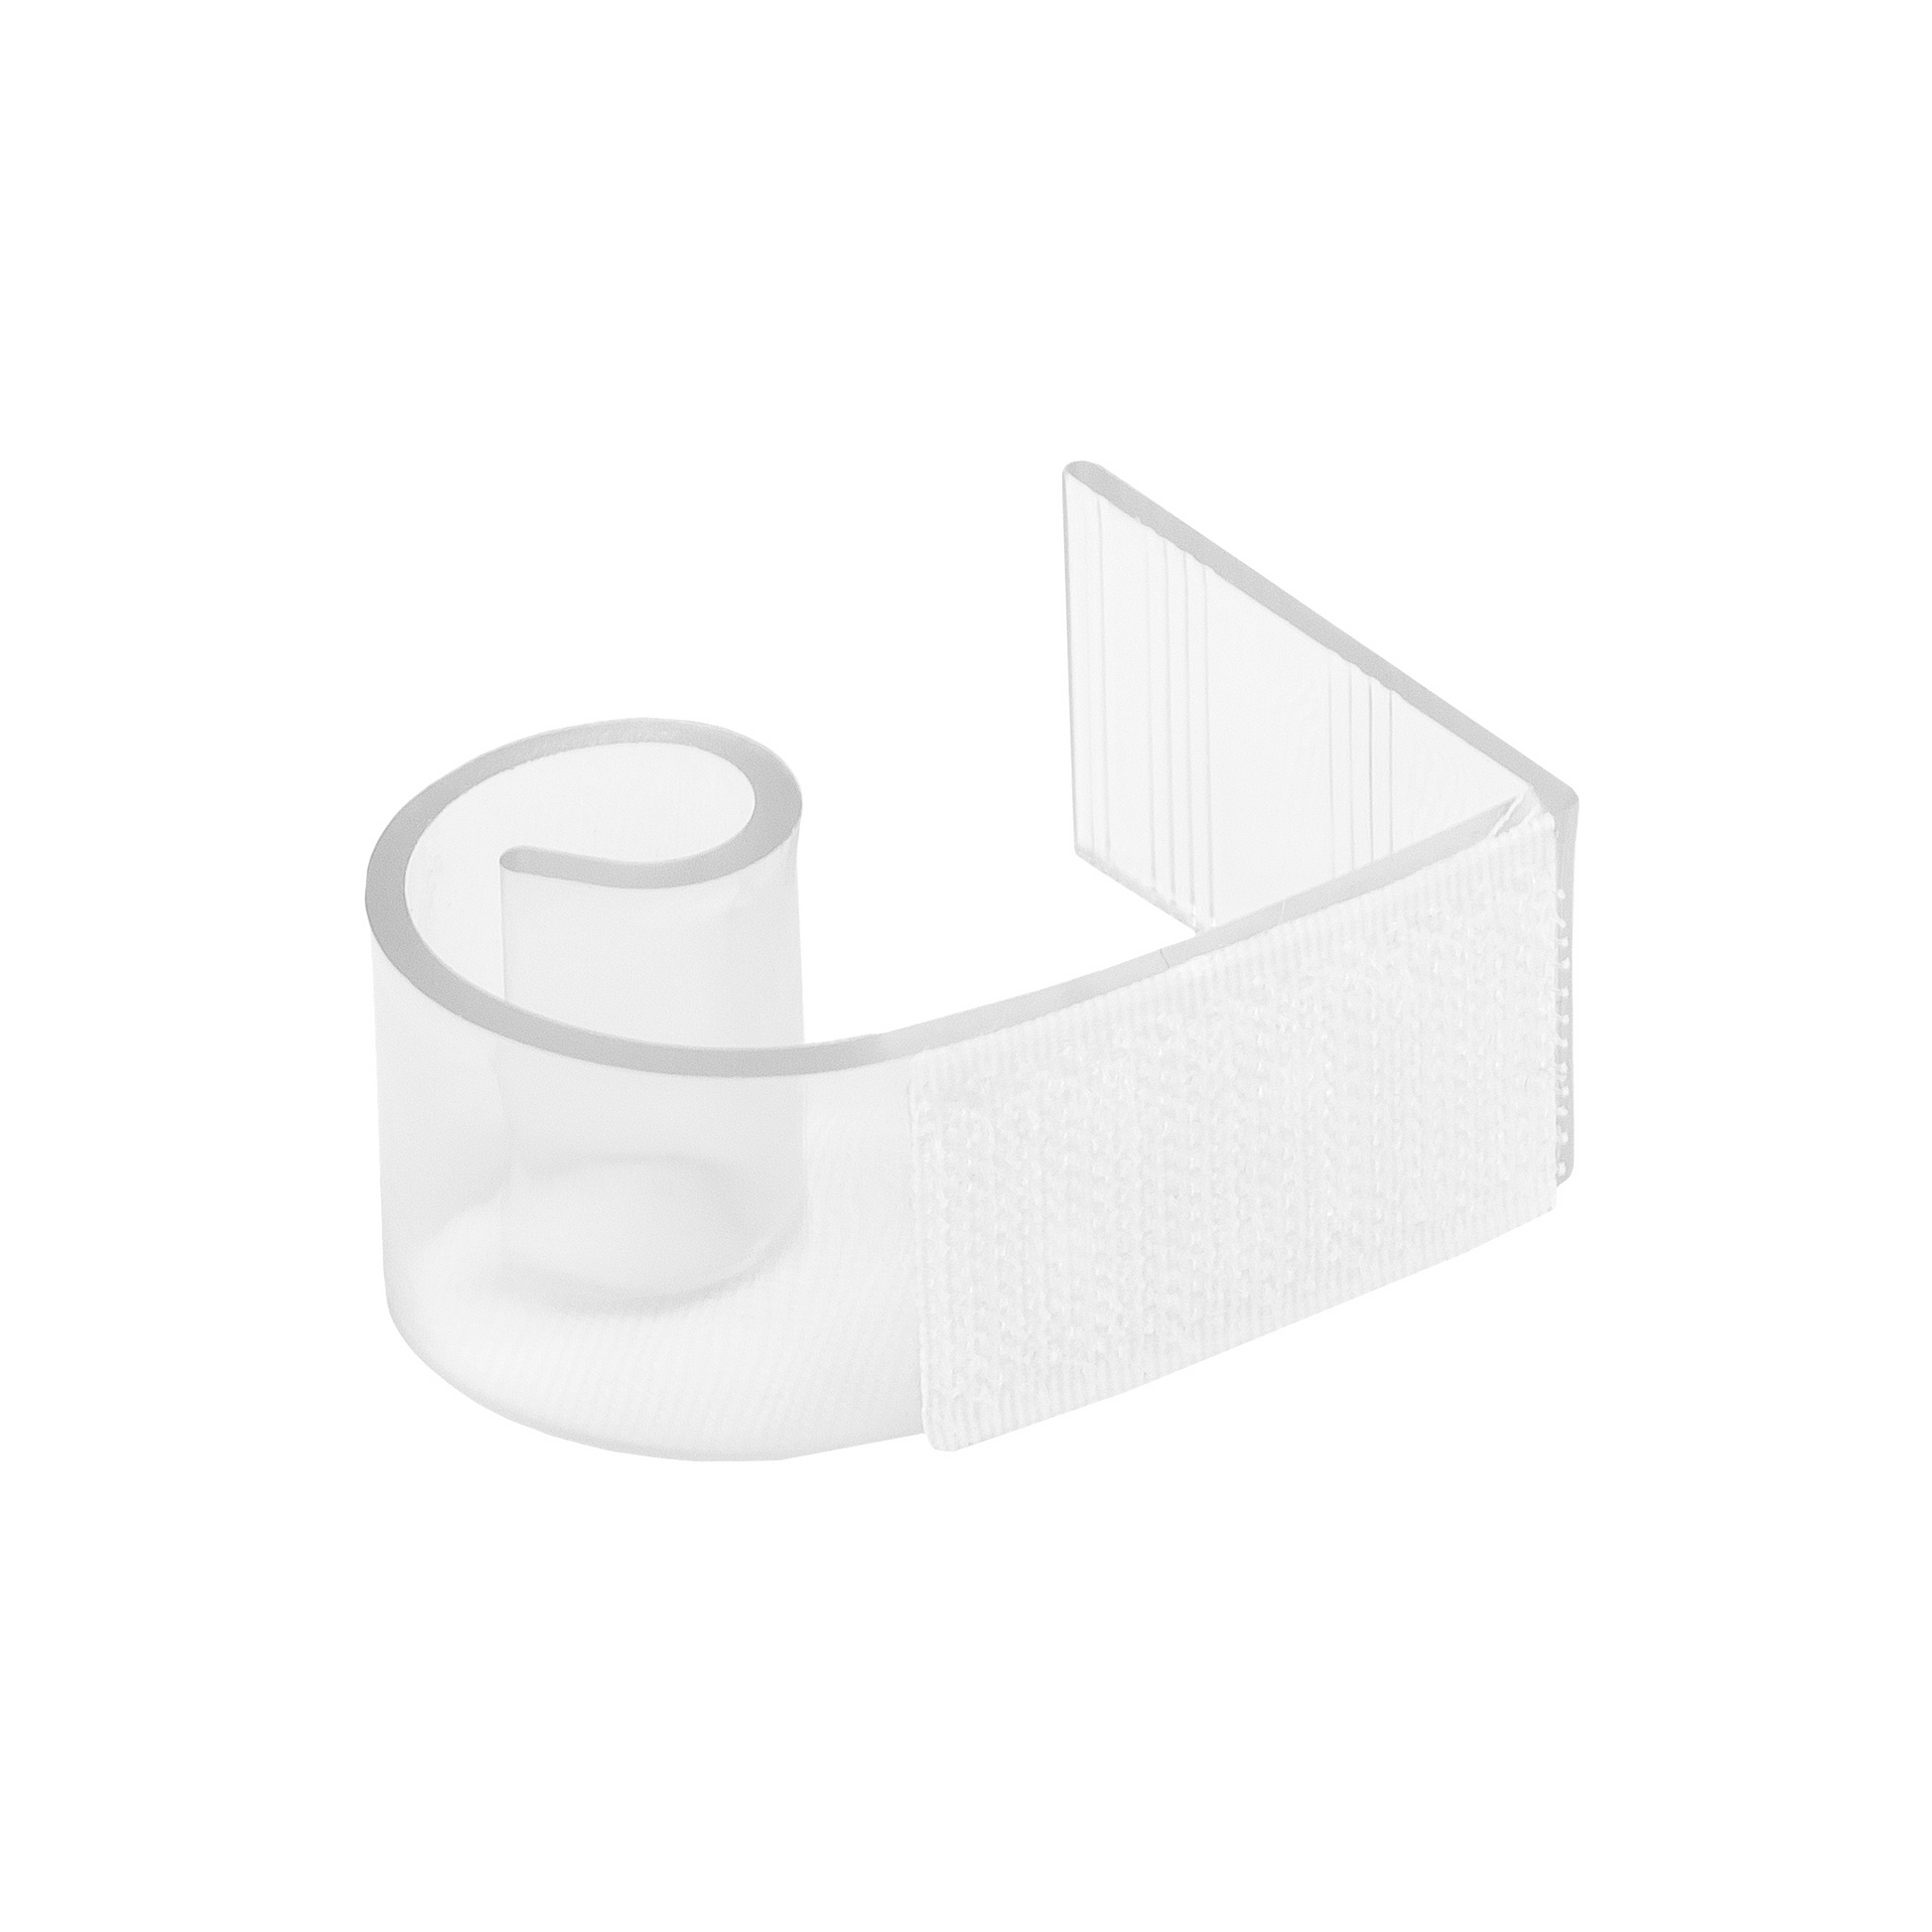
Even the best-sewn skirt fails if it is not attached properly.
Use Velcro for Removable Skirts
Cut hook-and-loop tape to match the table edge. Sew or glue one side to the top of the skirt, the other to the underside of the table.
This allows easy removal for washing or storage access.
Try Tension Rods for No-Sew Options
Insert a tension rod into a top hem pocket. Rest it on the table frame. This works well for hiding dog crates or bins.
Staple or Clip for Permanent Hold
For wooden tables, use a heavy-duty staple gun to attach the top edge. Staple between pleats or knots to hide fasteners.
For metal or laminate tables, use adhesive clips or decorative clamps.
Warning: Over-tightening clips can warp thin fabric. Adjust gently.
Customize With Piping, Ruffles, or Trim

Elevate your skirt with professional-level details.
Add Piping for Definition
Cut fabric on the bias into 2-inch wide strips. Wrap around cording and sew with a zipper foot.
Insert piping into side seams when attaching the skirt to a top band. This frames the table and adds polish.
Create a Ruffle Skirt
Cut fabric to double the table perimeter. Gather using a basting stitch or drawstring ribbon.
Sew gathered fabric to a ribbon or waistband. Attach to the table edge with clips or Velcro. Use tulle or satin for a soft, romantic effect.
Pro Tip: Layer net fabric beneath outer fabric for extra volume. This is ideal for weddings.
Apply Trim or Contrasting Bands
Sew ribbon, lace, or fringe along the bottom edge or between pleats. Use contrasting colors to highlight design elements.
Build a No-Sew Knotted Skirt
Perfect for classrooms or temporary setups, this method requires no sewing.
Cut and Knot Fabric Strips
Cut 2-inch wide strips, 48 to 50 inches long. Tie each around a grosgrain ribbon using a larks head knot.
Fold the strip in half, place the loop under the ribbon, pull ends through the loop, and tighten.
Space knots 2 to 3 inches apart. Use pinking shears to reduce fraying.
Attach to Table
Staple the ribbon to the table edge. Pull knots over staples to conceal them. This works on desks, sensory tables, or craft stations.
Time-Saver: Finish in under 2 hours with minimal tools.
Maintain and Refresh Your Skirt
A well-made skirt lasts years with proper care.
Wash When Needed
Skirts with Velcro or clips can be unhooked and machine washed on gentle cycle. Air dry to prevent shrinkage.
Press for a Crisp Finish
Steam or iron pleats and hems before reinstallation. Use a pressing cloth on delicate fabrics.
Store Properly
Avoid folding long-term to prevent crease marks. Roll around a cardboard tube instead.
Fix Common Sewing Problems
Even experienced sewers face hiccups. Here is how to fix them.
Skirt Is Too Short or Too Long
Fix: Hem after draping. Pin to the floor, mark, then sew. Always cut long and trim later.
Pleats Will Not Stay Closed
Fix: Hand-sew the top half-inch only. Use a walking foot on thick layers to prevent skipping stitches.
Fabric Puckers at Seams
Fix: Reduce presser foot pressure or use a finer needle. Ensure even tension on your machine.
Seams Do Not Match Patterns
Fix: Pin pattern elements before sewing. Use pattern weights to hold alignment.
Frequently Asked Questions About Sewing Table Skirts
What is the best fabric for a table skirt?
Cotton blends and polyester work best for high-traffic areas. Linen offers a classic look, while tulle and satin suit formal events. Choose based on your room’s style and how often the skirt will be used.
How do I calculate how much fabric I need for a table skirt?
Measure the table perimeter, add your desired drop length, and include extra for seam and hem allowances. For pleated skirts, multiply the perimeter by 2 to 3 times for fullness. A standard box pleat skirt for a 72-inch table typically needs about 6.5 yards.
Can I make a table skirt without sewing?
Yes. Use a tension rod inserted into a hem pocket, or create a knotted strip skirt using grosgrain ribbon and a staple gun. Heat-and-bond tape works for hemming without a machine.
How do I attach a table skirt to the table?
Options include Velcro for removable skirts, tension rods for no-sew versions, heavy-duty staples for wooden tables, and clips or clamps for metal or laminate surfaces. Choose based on how often you need to remove the skirt.
How do I get pleats to look professional?
Mark pleat placement with chalk, iron them crisp, and pin only the top half-inch. Apply trim to one side of each pleat before sewing to reinforce the fold and add visual interest.
Key Takeaways for Sewing Table Skirts
Now you know how to sew a table skirt, from precise measuring and fabric selection to pleating, hemming, and secure attachment. Whether you are going for a formal box pleat, a whimsical ruffle, or a no-sew knotted version, the key is planning, precision, and patience.
With under $50 in materials, you can transform any table into a design centerpiece. The skills you gain are versatile—apply them to dining tables, entryway consoles, wedding decor, or classroom furniture.
Ready to start? Grab your measuring tape, pick a fabric, and cut your first panel. In a weekend, you will have a custom skirt that looks store-bought but carries the pride of handmade.