How to Stain a Coffee Table: Quick Steps
Is your coffee table looking worn, dated, or lifeless? A fresh coat of stain can transform it from forgotten furniture to a stunning centerpiece without the cost of replacement. Staining isn’t just about color. It revives wood, enhances natural grain, and protects your piece for years of daily use. Whether you’re refinishing a thrift-store find or refreshing a family heirloom, this guide walks you through every step to achieve professional-quality results at home.
You’ll learn how to assess your table’s wood type, prep the surface like a pro, avoid blotchiness, choose the right stain, and apply a durable finish that stands up to drinks, feet, and pets. With the right tools and techniques, you can complete the project in just a few days.
Inspect and Assess Your Coffee Table

Before sanding or staining, evaluate your coffee table to determine the best approach and avoid costly mistakes down the line.
Identify Wood Type and Condition
Determine whether your table is solid wood or veneer. Solid hardwoods like oak, walnut, or maple absorb stain evenly and handle sanding well. Softwoods like pine are more prone to blotching and require extra prep. Look for consistent grain patterns. Irregular lines often signal veneer, which can be ruined by aggressive sanding.
Inspect for damage including deep scratches, water rings, dents, or chewed corners. Test structural integrity by wiggling legs and joints. If the top is attached with screws from above, consider reattaching from below to hide hardware.
Disassemble and Clean the Table
Remove legs, hardware, or drawers if possible. This gives full access to all surfaces and avoids missed spots during staining. Replace missing or damaged knobs with adjustable hardware that doesn’t require new drilling, which is ideal for vintage pieces.
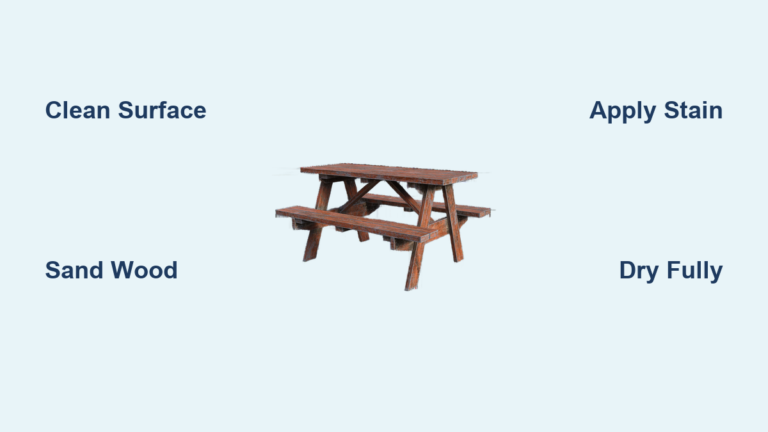
Clean the wood with mild soapy water to remove dirt, wax, and grime. This prevents sandpaper clogging and ensures proper stain adhesion. Rinse with a damp cloth and let dry completely. Moisture trapped under stain causes uneven absorption and ruin.
Set Up Your Workspace
Work in a well-ventilated area like a garage or covered patio. Lay down craft paper or a plastic-backed drop cloth, especially when using acetone or chemical strippers that can damage flooring.
Wear safety gear including gloves, safety glasses, and a respirator. Sanding creates fine dust while solvents release strong fumes. Keep acetone-soaked rags flat to dry or store in a sealed metal container to prevent spontaneous combustion.
Repair Damage Before Sanding
Fixing flaws now ensures a smooth, durable finish that lasts for years of daily use.
Fix Structural Damage
For chewed corners or broken edges, use wood epoxy, not regular filler. Epoxy bonds deeply and resists future breakage, making it ideal for pet-damaged areas on tables used in high-traffic living rooms. Apply with a putty knife, shape as needed, and let cure fully.
Fill Holes and Gouges
Use stainable wood filler for nail holes, dents, or minor dings. Press firmly into the defect with a putty knife, overfill slightly, and let dry completely. Avoid filling gaps between wood pieces caused by seasonal expansion. These move with humidity and will crack filler over time.
Remove Outdated Decorations
If your table has damaged decorative trim or protrusions, mark cut lines with painter’s tape and remove with a jigsaw. Sand cut edges smooth with 120-grit paper. This modernizes the look without altering structural integrity.
Sand the Surface Properly
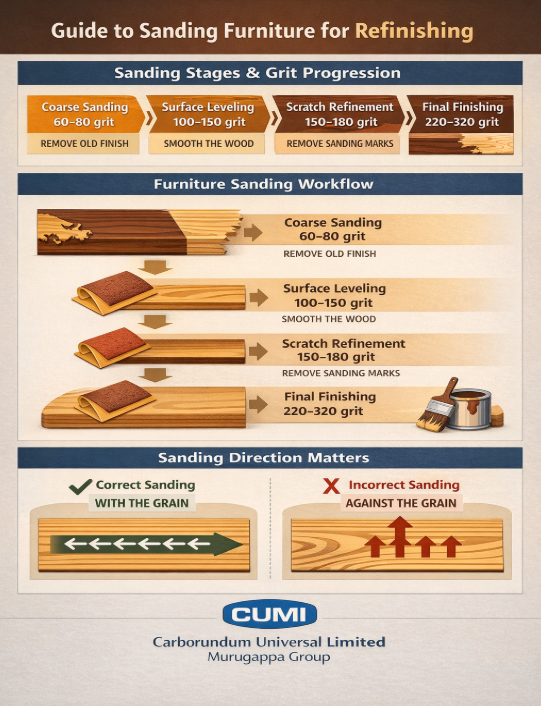
Sanding is the most critical step. Done right, it ensures even stain absorption and a flawless final result.
Follow the Grit Progression
Never skip more than one grit. Jumping from 80 to 220 leaves swirl marks and causes blotchiness. Use this sequence.
60-80 grit strips old finish and levels deep imperfections. Use a random orbit sander for speed.
120 grit smooths out coarse scratches while still aggressive enough to prepare for finer work.
150-180 grit is optional for ultra-smooth prep on fine furniture.
220 grit is the final pass. It creates a surface smooth enough for furniture but still open enough for stain to penetrate.
Sand With the Grain
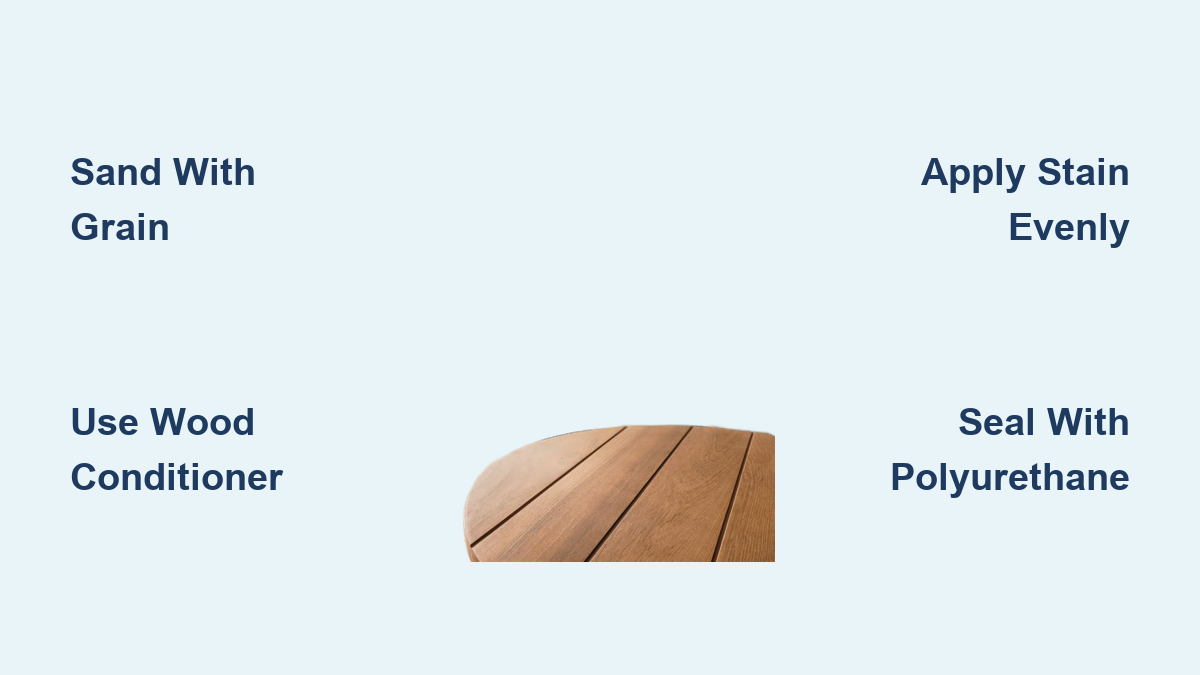
Always move the sander or sanding block with the wood grain. Cross-grain sanding leaves visible scratches that show through the stain. On edges or curves, switch to a foam pad or hand-sand for better control.
Remove All Dust Completely
After sanding, clean thoroughly in this order. Blow off loose dust with compressed air or a dry cloth. Wipe with a damp cotton rag to raise grain slightly and open pores. Finish with a tack cloth, which grabs fine particles regular rags miss. A dusty surface ruins stain and finish, so take time here.
Prevent Blotchy Stain Results
Blotching, uneven splotchy color, happens most on softwoods and uneven grain. Prevent it with these proven methods.
Apply Wood Conditioner First
For pine or blotch-prone woods, use a pre-stain wood conditioner. It seals pores so stain absorbs evenly across the entire surface. Brush or wipe on conditioner with the grain, wait 5-15 minutes, then wipe off excess. Stain within 2 hours while the surface is still receptive.
Try the Shellac Barrier Method
For tricky woods, apply a thin coat of shellac before staining. It blocks uneven absorption and acts as a sealant. Let dry 30 minutes before applying stain.
Mist With Water for Water-Based Stains
If using water-based stain, lightly mist the surface with water and let dry before applying. This pre-raises the grain and reduces blotchiness for a more uniform color.
Choose the Right Stain
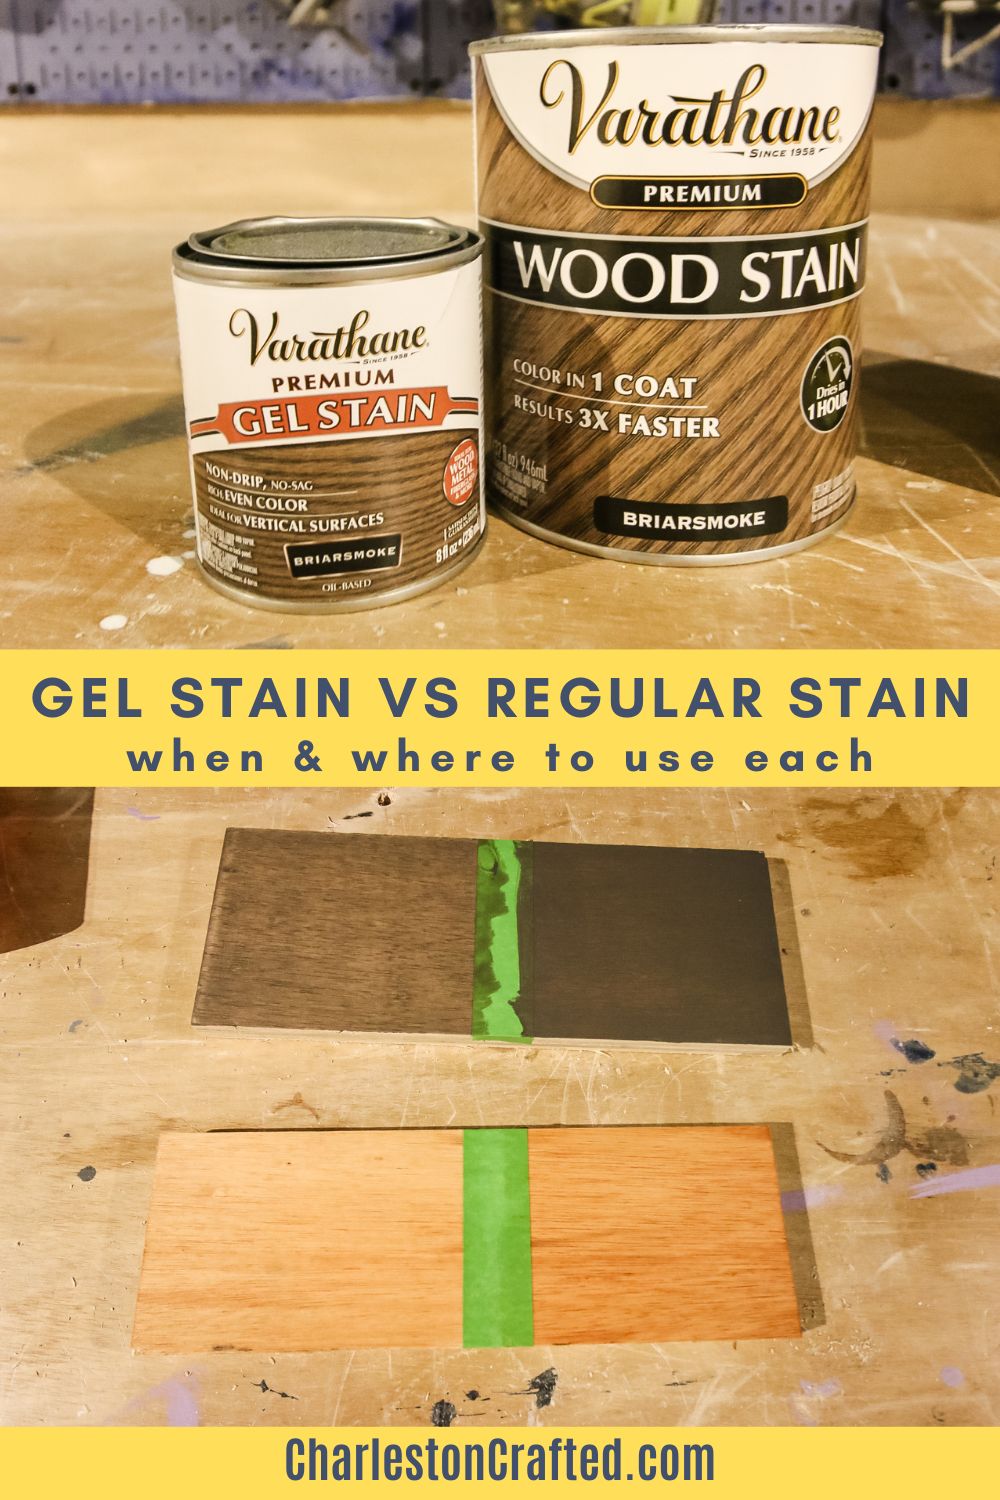
Your stain choice affects color depth, durability, and ease of application. Select the type that matches your project needs.
Compare Stain Types
Oil-based stains like Minwax penetrate deeply and offer rich, warm colors. They have stronger odor and take 8-24 hours to dry. The amber tone enhances grain beautifully.
Gel stains like Lily Moon are thicker and easier to control. They’re ideal for vertical surfaces, softwoods, and small spot repairs. Drying time is typically around 24 hours.
Water-based stains dry quickly with low odor and dry clear. They may raise wood grain and are best for fast projects. Drying time is 2-4 hours.
Pick a Complementary Color
Match existing furniture or go bold with a new look. Popular choices include Golden Oak for warm light brown on pine, Dark Walnut for rich medium-dark versatility, and Ebony for dramatic near-black modern appeal.
Test colors on an inconspicuous area or scrap wood first. Mix stains of the same base type for custom shades, starting with small amounts.
Apply Stain Like a Pro
Now it’s time to transform the wood. Work in a dust-free space with good lighting for best results.
Gather the Right Tools
Use a synthetic brush like Purdy Syntox, foam brush, lint-free cotton rag, and blue sponge for even spread. Avoid shaking the stain can, which creates bubbles. Stir gently with a stir stick instead.
Apply and Wipe Off Excess
Apply stain generously in long strokes with the grain. Let sit for 5-15 minutes. Longer dwell time produces darker color. Wipe off excess with a clean lint-free rag, moving with the grain. Don’t press hard. Leave pigment in the wood pores.
For Ebony or deep colors, one coat may suffice. If too light after drying, apply a second coat.
Fix Spot Repairs and Feather Edges
For small fixes, lightly sand the area and 2 inches around it with 220-grit. Use gel stain for better control. Let dry 12-24 hours. Feather edges by lightly sanding with 320-400 grit, then apply a thin coat extending outward. This blends repairs seamlessly.
Seal With a Protective Top Coat

Stain alone isn’t enough. A top coat protects against spills, scratches, and daily wear from mugs, feet, and pets.
Pick a Durable Finish
Oil-based polyurethane offers the highest durability and warm amber tone. It takes 24 hours to dry but handles heavy use best.
Water-based polyurethane dries clear with low odor in 2-4 hours. It’s slightly less tough but sufficient for many tables.
Wipe-on poly applies easily without brush marks. It builds slowly with 3-4 hour dry times between coats.
Paste wax provides a natural soft look but needs reapplying every 6-12 months. It’s best for low-use pieces.
For coffee tables, oil-based polyurethane in semi-gloss or satin is the best choice.
Apply Polyurethane Coats
Stir gently without shaking. Apply first coat with a foam brush or sprayer in long even strokes with the grain. Let dry 4-24 hours. Lightly sand with 220-320 grit to smooth. Wipe with tack cloth. Apply 2-3 total coats for maximum protection.
Use Wipe-On Poly for Smooth Results
Pour a small amount onto a lint-free rag. Wipe on in even layers. Let dry 3-4 hours. Buff lightly with 0000 steel wool between coats. Repeat for 3 coats.
Finish With Wax for a Hand-Rubbed Look
Apply paste wax with 0000 steel wool or cloth. Let haze over for 15 minutes. Buff off with a clean cotton rag. The table is ready for immediate use.
Final Touches and Ongoing Maintenance
Once the finish cures, your table is ready for display, but proper care extends its life for years.
Buff for Uniform Sheen
After the final coat cures, wait 24-48 hours. Gently buff the entire surface with a soft microfiber cloth. This evens out sheen and removes minor texture differences.
Protect and Clean Daily
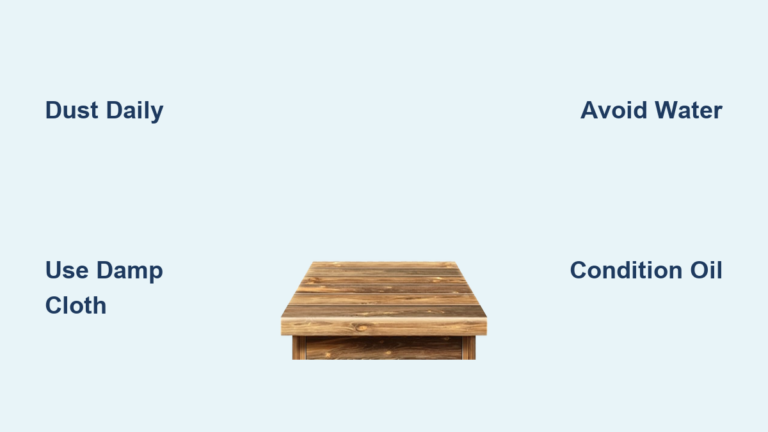
Use coasters and trays to prevent water rings and heat damage. Clean spills quickly with a damp cloth and avoid harsh cleaners.
For wax finishes, clean grime with mineral spirits, then re-wax as needed. For polyurethane, a damp cloth is enough. No wax needed.
Avoid placing hot items directly on the surface. A simple decorative tray can elevate both function and style while protecting your work.
Frequently Asked Questions About Staining a Coffee Table
Can I stain a coffee table without sanding?
Sanding is essential for removing old finish and opening wood pores for stain absorption. Skipping this step results in uneven, peeling finish. Light sanding with 120-220 grit is minimum for previously finished tables.
How long does it take to stain a coffee table?
The project takes 3-5 days total. Sanding and prep take 1-2 hours. Stain application takes 1-2 hours plus 8-24 hours drying. Polyurethane needs 2-3 coats with 4-24 hours between each. Full cure takes 24-48 hours.
What happens if I skip wood conditioner on pine?
Pine is prone to blotchiness without conditioner. The stain absorbs unevenly, creating dark spots and light areas. Using conditioner seals pores partially for more uniform color absorption.
Can I use espresso or dark stain on any wood type?
Dark stains like Ebony work on any wood but show imperfections more. They’re popular for modern looks. Test on scrap wood first. Softwoods may need extra prep with conditioner to avoid uneven results.
How do I know if my table is veneer or solid wood?
Check grain patterns. Consistent parallel lines usually mean solid wood. Irregular or repeating patterns often indicate veneer. Look at the edge. Solid wood shows the same grain on all sides. Veneer shows a thin layer over different material.
Should I use oil-based or water-based polyurethane?
For coffee tables that see daily use, oil-based polyurethane offers superior durability and warmth. Water-based dries faster with less odor but is slightly less tough. Choose based on your timeline and durability needs.
Key Takeaways for Staining Your Coffee Table
Staining a coffee table is a rewarding DIY project that combines craftsmanship with creativity. By following these steps, you’ll achieve a professional-looking finish that lasts for years.
The process breaks down into five essential phases. First, inspect your table to identify wood type and assess damage. Second, repair structural issues and fill holes with stainable filler. Third, sand methodically through the grit progression, always with the grain. Fourth, prevent blotchiness with conditioner or shellac on softwoods. Fifth, apply stain evenly and seal with 2-3 coats of polyurethane.
With about $75 in materials and 3-5 days of work, you can transform a thrift-store find into a custom centerpiece. The key is patience. Rushing the drying time between coats compromises durability. Use coasters and clean spills promptly to protect your finished work.
Start this weekend. Your living room will thank you for the transformation.