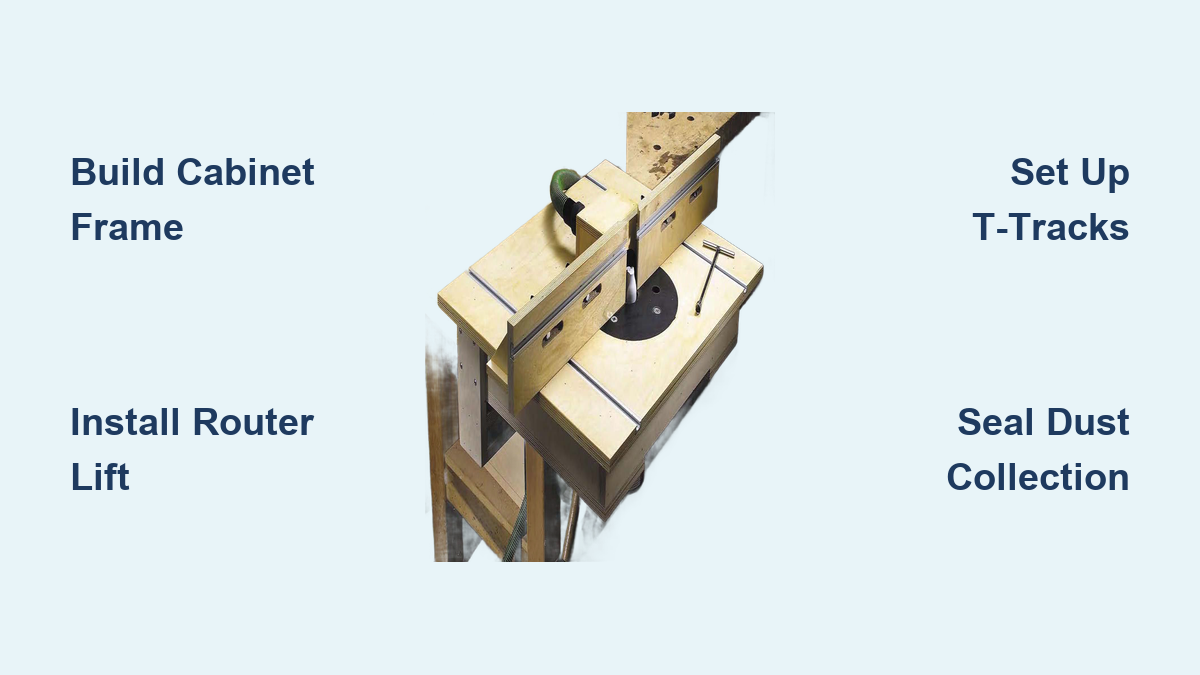
How to Build a Router Table: Quick Steps
Building a router table transforms your workshop by boosting precision, safety, and dust control. Whether you’re a hobbyist or a professional, a custom-built router table offers unmatched versatility, stability, and performance. From noise reduction to near-total dust capture, a well-constructed cabinet-style router table outperforms most off-the-shelf models. This guide walks you through every phase, from design and materials to assembly, fence setup, dust collection, and finishing, so you can build a high-performance router table tailored to your needs.
Choose Your Router Table Design Type
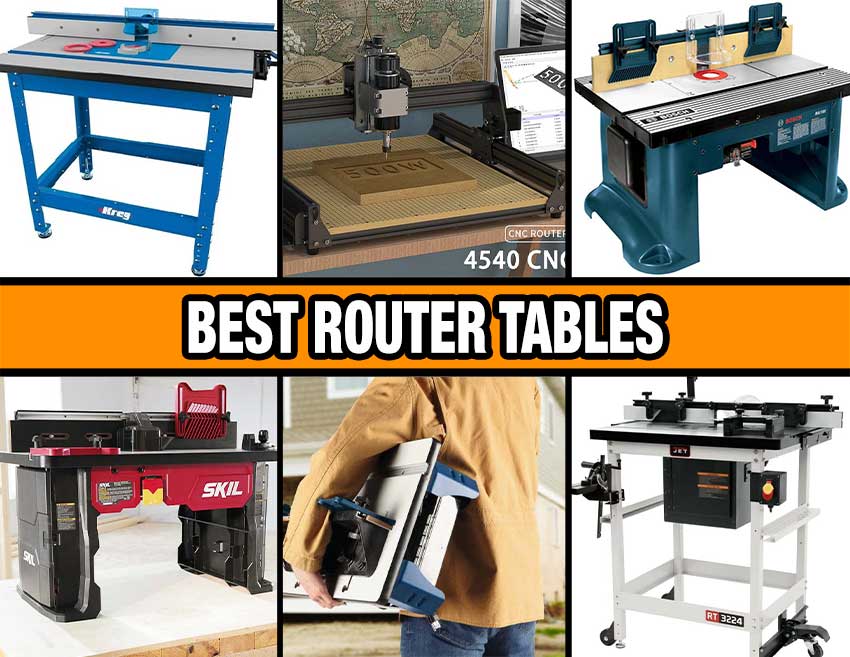
Selecting the right design type shapes your entire build. Each option serves different needs based on space, usage frequency, and budget.
Cabinet-Style Router Tables
A cabinet-style router table delivers maximum rigidity, noise dampening, and storage. Built from 3/4″ Baltic Birch plywood, it forms a solid base that minimizes vibration, which is critical for clean edge profiles and joinery. This design supports heavy router lifts, integrated dust collection, and full drawer systems. Ideal for permanent placement, it often includes casters for mobility and leveling feet for stability on uneven floors.
Compact Trim Router Setups
For smaller shops or light-duty routing, a compact table works perfectly with trim routers. These models use a 65mm-diameter base and fit into minimalist frames. They are often modular, removable from a folding stand, so you can reconfigure your workspace. Use dedicated insert plates with leveling bolts for best accuracy. Some even integrate miter channels for featherboards and end-grain work.
Portable Foldable Tables
When space is tight, go portable. Construct the frame from 1×3 or 1×4 lumber with a 3/4″ plywood top. Use hinges for foldable legs and clamps to lock the table open. A removable fence makes transport easier. While less rigid, this design is great for job-site use or occasional tasks like template routing.
Hybrid and Integrated Builds
Combine your router table with other tools. Integrate it into a folding workbench or build it as a swappable module in a multi-functional station. Some woodworkers merge it with a table saw, though this requires careful planning for dust extraction and fencing alignment. Ensure each component can be accessed independently without interference.
Select the Right Materials for Your Build

Material choice directly impacts durability, stability, and dust collection performance. Invest in quality materials for long-term results.
Baltic Birch vs. MDF for Tabletops
Use 3/4″ Baltic Birch plywood for cabinet frames and supports because its void-free layers ensure strength and screw-holding power. For the tabletop, MDF is ideal due to its flatness and stability. A 32″ x 24″ MDF top provides a smooth, warp-free surface. However, MDF produces hazardous dust, so always wear a mask when cutting or sanding it.
Reinforce with Oak and Melamine
Edge your MDF top with 1/4″ oak strips for durability and a professional look. Glue and nail them slightly proud, then flush-trim with a router. Cover the MDF face with melamine using contact cement for a wear-resistant, low-maintenance surface. This combination resists moisture, stains, and scratches, perfect for daily use.
Lightweight Alternatives
If weight is a concern, use standard 3/4″ plywood (actual thickness ~0.718″) for non-critical parts. Cutouts in side panels reduce mass without sacrificing strength. For doors or windows, 1/8″ acrylic adds visibility without bulk.
Assemble the Cabinet Frame
Proper frame assembly ensures your router table remains square and stable for years. Take time with this phase.
Cut Panels Accurately
Break down your plywood sheets using factory edges as references for square cuts. Trim final pieces clean on a table saw. Label each panel (left side, right side, top, etc.) to avoid confusion during assembly.
Use Pocket Holes and Clamps
Drill pocket holes with a Kreg Jig set for 3/4″ material. Assemble the base first: attach side panels to the bottom, using the center divider as an alignment guide. Clamp everything tightly because misaligned joints cause panel bowing. If sides start to bow, apply a center clamp and use scrap wood spacers to correct alignment before driving screws.
Install Internal Supports
Add two internal stretchers for rigidity and drawer slide mounting. Use a cabinet piece as a spacer to keep the structure square. Vertical dividers create compartments, ideal for storing dust buckets or accessories. Reinforce all joints with glue and screws for long-term durability.
Build and Attach the Tabletop
The tabletop is your work surface. Its flatness and stability directly affect cut quality.
Prepare the MDF Base
Cut the MDF slightly oversized (e.g., 33″ x 25″). Glue it to a Baltic Birch underlayment for added strength. Clamp with screws in the center to distribute pressure evenly. Let it cure for 24 hours before trimming.
Trim and Edge-Band the Top
Use a table saw to trim the top to final size. Apply 1/4″ oak strips to all edges with wood glue and finishing nails. Use painter’s tape on the strip face to prevent stain seepage into nail holes. After drying, fill holes and sand smooth.
Apply Melamine Surface
Coat both the MDF and melamine sheet with contact cement. Let the first coat absorb, then apply a second when tacky. Carefully align and press the melamine onto the MDF. Wait 24 hours, then trim excess with a flush-trim bit and router. Finally, chamfer the entire perimeter with a roundover bit for safety and aesthetics.
Install the Router Lift
The router lift provides precision depth control and bit changes without reaching under the table.
Use a Precision Template
Create or 3D-print a router lift template (4-piece main, 2-piece through-cut). Secure it with double-sided tape. Drill starter holes in the corners or use a jigsaw to cut most of the way through.
Cut the Opening Cleanly
Finish the edges with a 1/4″ flush-trim bit set to 1/4″ depth. Remove excess material in two passes to prevent tear-out and ensure accuracy. This method guarantees a perfect fit for your lift.
Mount and Level the Lift
Recess the lift slightly below the tabletop. From underneath, use the lift’s leveling pins or set screws to raise it until perfectly flush. Secure with bolts through oversized holes and large washers to distribute load. Test with a straightedge; no gaps should be visible.
Set Up T-Tracks Securely

T-tracks enable quick fence adjustments and accessory mounting. Proper installation prevents damage and ensures smooth operation.
Route the Slot with Care
Use a template and sacrificial backer board (with painter’s tape and CA glue) to prevent tear-out when routing T-track slots. A 3/8″ straight bit works well for standard 3/8″ T-tracks.
Bond with Epoxy, Not Screws
Avoid screws because they damage the thin base of T-tracks and interfere with accessories. Instead, apply TotalBoat high-performance epoxy to the track’s base. Press it into the routed slot and let it cure fully. This creates a strong, flush bond that allows future adjustments if needed.
Position for Accessory Use
Install T-tracks parallel to the fence line. This allows you to attach featherboards, hold-downs, and stop blocks (like Cats Moses style). Add threaded inserts nearby for clamps and specialized jigs.
Build a Precision Fence System
A quality fence determines cut accuracy. Invest time in building a fence that seals well and adjusts precisely.
Construct a 90° Sliding Fence
Build the fence from Baltic Birch or MDF. It should slide smoothly along the T-tracks and remain perfectly parallel to the router bit. Use a combination square or dial indicator to align it during setup.
Add Replaceable Wear Strips
Attach a replaceable MDF strip to the front face, the side that contacts the bit. This acts as a sacrificial surface. When worn or charred, simply swap it out. This also lets you create zero-clearance openings for different bit profiles, reducing tear-out.
Integrate Dust Collection
Build a cavity into the fence’s rear that channels dust toward a 3″ collection port. The airflow should pull debris sideways and down. Ensure the fence seals tightly against the table and workpiece; use rubber gaskets if needed to maximize suction.
Fix Tight Adjustment Slots
If fence screws bind, route the slots with a round-nose bit for smoother movement. If still tight, shift the slots outward slightly. This prevents binding while maintaining alignment.
Optimize Dust Collection

Effective dust collection keeps your shop clean and protects your lungs. A sealed system captures nearly all debris.
Build a Sealed Dust Box
Enclose the router lift cavity in a sealed box with a downward-facing 3″ port. This captures debris as it falls, preventing escape. Testing shows zero visible dust when properly sealed. Make the box removable for easy cleaning; no disassembly required.
Create a 3″ Port with Limited Tools
Do not have a 3″ hole saw? Start with a 2.5″ hole saw, then use a 1/2″ rabbeting bit to cut a groove around the edge. Trim the groove with a flush-trim bit to expand the hole to a clean 3″ diameter.
Prevent Hose Snagging
Route a 1/2″ roundover along the back edge between T-tracks. This smooths the transition and stops the dust hose from catching when you slide the fence.
Add 3D-Printed Vents
Install 3D-printed vents to direct airflow sideways and downward. These improve extraction efficiency, especially for fine dust and chips.
Organize with Smart Storage
Built-in storage keeps bits, wrenches, and accessories organized and within reach.
Install Drawer Systems
Use heavy-duty drawer slides. Install top slides first because they are hardest to reach. Maintain 1/8″ gaps between drawer faces using stacked playing cards or 1/4″ plywood spacers.
For small drawers, use 1/4″ dowels for alignment. Assemble three sides, insert the 1/4″ plywood bottom, secure with brad nails, then screw. For larger drawers, glue up poplar faces with biscuit joinery, chamfer edges, and attach with partial-depth screws.
Use Push-to-Open Mechanisms
Install Blum Tip-On push-to-open units. Large drawers may need two units for enough force. Dado out space on drawer sides if the mechanism interferes.
Add 3D-Printed Organizers
Design or download custom bit holders that match your drawer size. Add cord winders for the switch and router cables. Use pipe clamp supports on the front for quick access.
Include a Front Shelf
Skip narrow side drawers because they are often too tight. Instead, add a front shelf for frequently used tools, wrenches, and bits.
Wire for Safety and Control
Electrical setup affects safety and convenience. Plan routing before closing up the cabinet.
Install a Paddle Switch
Mount a paddle switch with emergency stop within easy reach. This lets you shut off power quickly. Route a slot in the cabinet to bury the female end of the switch cord; keeps it tidy and safe.
Manage Cables Neatly
Use 3D-printed cord holders to roll up excess switch cord. Add a second holder inside the cabinet to manage the router’s internal cord and prevent tangling.
Anchor the Table Securely
When mounting to a bench, use Allen-head insert nuts and bolts. Center them for stability. If freestanding, lock all 4″ heavy-duty casters, preferably Total Lock type that secures both wheel and swivel.
Finish for Durability and Looks
A proper finish protects your investment and makes the table look professional.
Apply Protective Coatings
Spray or roll on TotalBoat Halcyon Clear for the cabinet exterior. It dries fast and resists scratches, moisture, and chemicals, ideal for shop use. For poplar drawer faces, apply polyacrylic in multiple coats.
Prevent Rust on Cast Iron
If your router lift has a cast iron top, clean off factory grease and apply Boeshield T9. This prevents rust, especially in humid environments. Reapply periodically.
Add Decorative Touches
Engrave your logo into the fence or top for a custom look. The oak edge banding contrasts beautifully with the white melamine, giving a high-end finish.
Troubleshoot Common Issues
Even well-built router tables develop problems. Address these common issues quickly.
Fix Side Panel Bowing
If side panels bow outward during assembly, misaligned pocket screws are likely the cause. Use a center clamp and secondary spacers to realign before tightening. Always clamp critical joints.
Prevent T-Track Damage
Screws can deform thin T-tracks. Use epoxy instead because it bonds securely without damaging the track and allows for future removal if needed.
Align the Fence Correctly
A misaligned fence causes poor cuts and dust escape. Use a dial indicator or precision square to ensure it is parallel to the bit. Recheck after any movement.
Stop Dust Escape
If dust leaks, check: Is the fence sealed against the table? Is the lift cavity box fully enclosed? Is the port facing downward? Seal gaps with tape or gasket material.
Eliminate Vibration
Run the router at full speed with no load. If you feel vibration, tighten all mounting bolts, ensure casters are locked, and add weight under the insert plate if needed.
Upgrade with Advanced Features
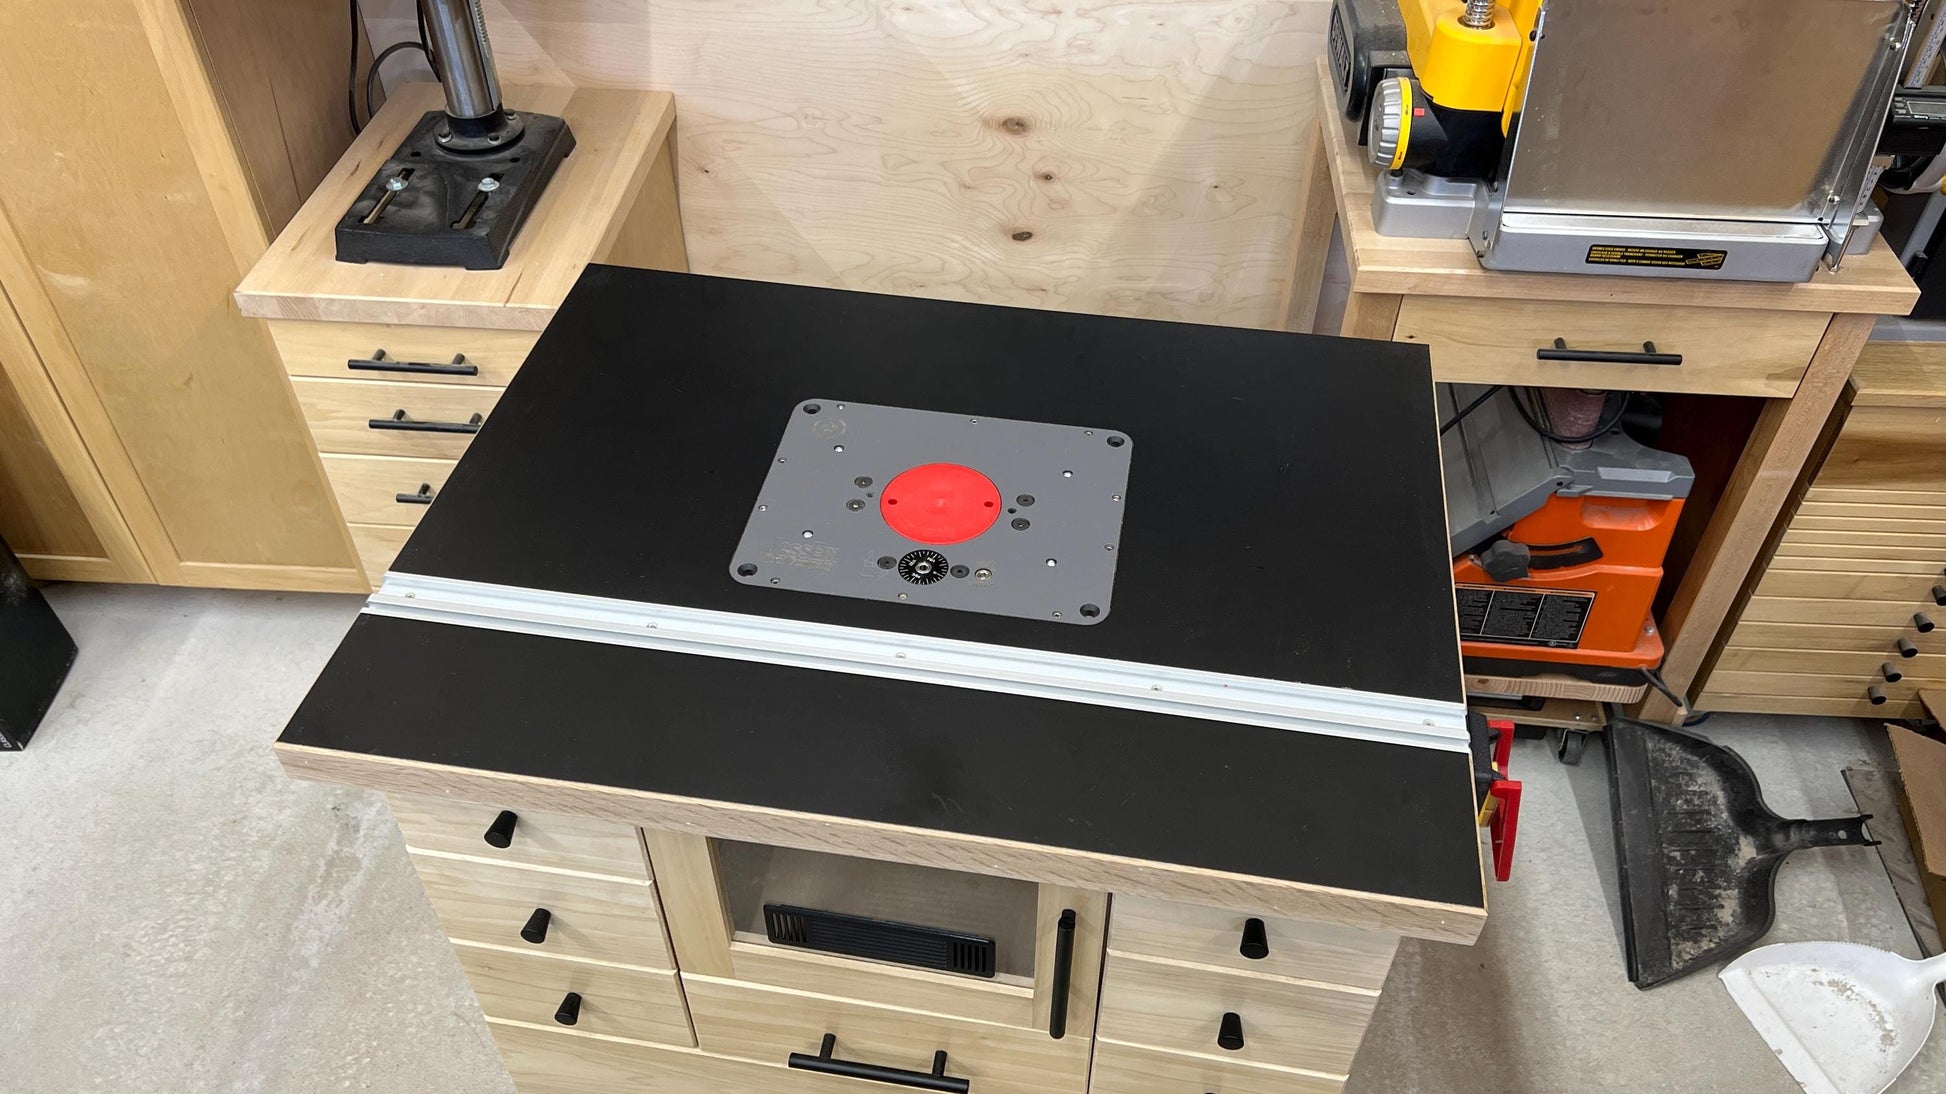
Take your router table to the next level with these enhancements.
Add Miter Channels
Route a standard miter slot into the tabletop. This allows you to use featherboards, miter gauges, and shop-made jigs for angled cuts. Highly recommended for versatility.
Mount a Power Feeder
For repetitive tasks, install a Powermatic-style power feeder. Drill and tap four holes into a cast iron or thick MDF top. It swings out of the way when not in use, ideal for long edge profiles.
Install LED Lighting
Add LED strips under the fence overhang to illuminate the cutting area. This reduces shadows and improves visibility, especially in dimly lit shops.
Use 3D-Printed Templates and Vents
Print custom router lift templates, air vents, and bit storage. These precision parts save time and enhance functionality.
Maintain Your Router Table
Regular maintenance keeps your router table performing at its best for years.
Replace Wear Strips Regularly
Swap out MDF wear strips when they show signs of charring or wear. This maintains zero-clearance safety and cut quality.
Lubricate Moving Parts
Keep router lift screws and drawer slides lightly lubricated. Use a silicone-based spray for smooth operation.
Clean the Dust Box
Empty the sealed dust box after every few uses. Its removable design makes cleaning fast; no tools required.
Check Structural Integrity
Periodically inspect caster locks, hinge tightness, and table squareness, especially if you move the unit. Adjust or tighten as needed.
Test Before Use
Before routing, perform these checks: Flatness using a straightedge across the table and lift, vibration by running the router at speed, dust test by routing MDF and inspecting for escape, fence alignment verification, and load test by placing weight on drawers and top.
Frequently Asked Questions About Building a Router Table
What is the best material for a router table top?
MDF provides the flattest, most stable surface for router table tops. Cover it with melamine for a durable, low-maintenance work surface that resists scratches and moisture.
How much does it cost to build a router table?
A quality cabinet-style router table typically costs $300-$600 in materials, depending on whether you use a premium router lift. This is often less than comparable commercial units with fewer features.
Do I need a router lift for my router table?
A router lift is highly recommended because it provides precise bit depth adjustment without reaching under the table. It also enables using the table as a stable platform for joinery operations.
How do I achieve zero-clearance on my fence?
Attach a replaceable MDF strip to the fence face. Cut a test piece with your desired bit, then use that as a template to create a zero-clearance opening in the MDF strip.
What is the ideal router table height?
The ideal height depends on your workbench. Most woodworkers prefer 34″-36″, matching standard workbench height. Adjust to your elbow height for comfortable operation.
Key Takeaways for Building Your Router Table
Building a router table is a game-changer for any woodworking shop. The cabinet-style design offers superior noise reduction (up to 80% compared to open setups), near-perfect dust collection when properly sealed, and rock-solid stability for precision cuts. Choose 3/4″ Baltic Birch plywood for the frame and MDF with melamine for the tabletop surface. Invest in a quality router lift, use epoxy (not screws) for T-track installation, and build a sealed dust box around the lift cavity for maximum debris capture. Follow this guide to create a professional-grade router table that outperforms store-bought models while providing customized storage, improved safety, and years of reliable service.