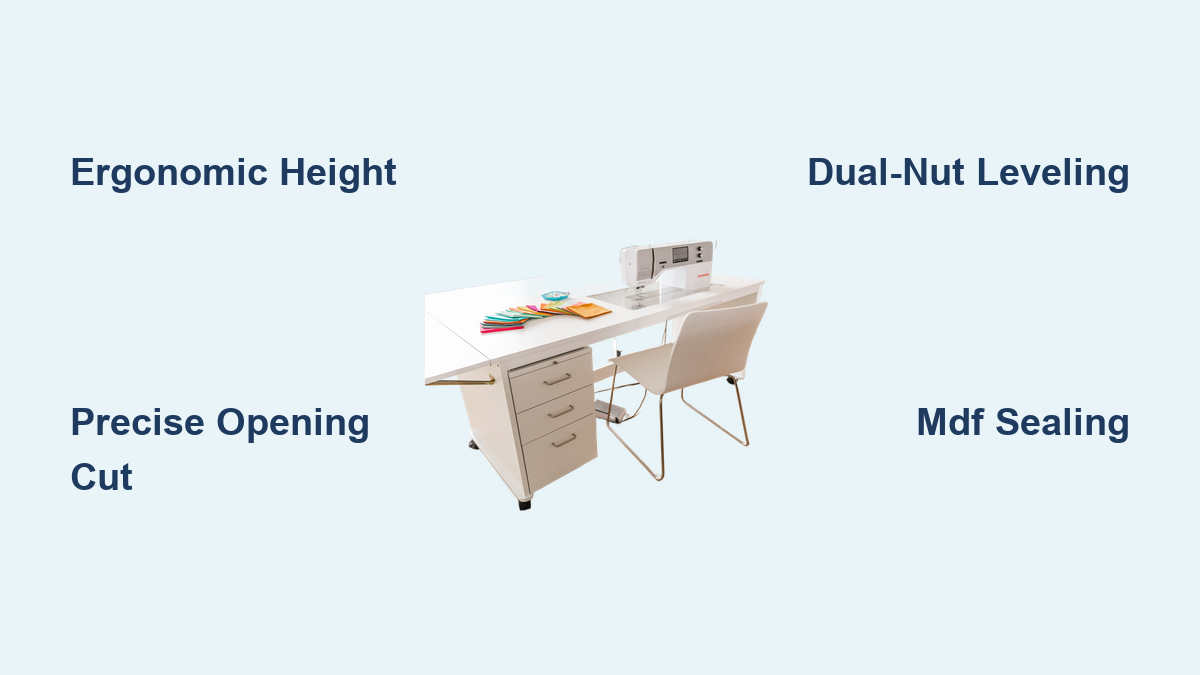
How to Make a Sewing Table
If you have ever struggled with a wobbly kitchen table while trying to finish a sewing project, you already know how frustrating an improper workspace can be. A well-built sewing table transforms your experience by providing a stable, ergonomic surface that supports your machine, protects your back, and gives you room to maneuver fabric. Whether you need a compact foldable unit for a small apartment or a professional drafting station for quilting, building your own table lets you customize every dimension to fit your body and workflow. This guide walks you through proven construction methods, from selecting materials to installing the final upgrades.
In this article, you will learn how to choose the right table design for your space, measure for ergonomic height, select durable materials, cut precise machine openings, and add functional upgrades like knee lifts and LED lighting. Every method here comes from real-world builds tested by makers and sewists.
Choose Your Sewing Table Design

The first step in your build is selecting a design that matches your available space and how you sew. Each type serves a different purpose, so consider your primary activities before committing to a blueprint.
Drop-In Flush Mount Table
This design modifies an existing table to hold your sewing machine flush with the tabletop surface. You cut an opening in the table, reinforce it with support rails, and install an adjustable shelf underneath. The result is a seamless transition between your machine bed and the table surface, which prevents fabric from catching on edges. This works well with tables like the IKEA Ingo or any sturdy table at least 36 inches wide.
Foldable Space-Saver Table
A foldable table maximizes a single 4×8 sheet of plywood and folds flat against the wall when not in use. This design includes shelves, casters for mobility, and counterbalance weights to prevent tipping. It is ideal for renters, homesteaders, or anyone working in a multi-purpose room where the table must disappear when finished.
Professional Drafting and Cutting Table
This large 4×8-foot stationary table serves pattern makers and quilters who need maximum surface area. The construction layers plywood at the base, Homasote board in the middle for pinning patterns, and brown craft paper on top for drafting. The paper is replaceable, and the Homasote stays loose so you never hit screws with your pins.
Custom Insert Hybrid Table
This approach combines a solid wood tabletop with a removable MDF box that holds your machine. You can swap different top inserts for various machines, such as a serger or embroidery unit, without rebuilding the entire table. This offers the highest versatility and a premium finish, especially when using tabletops like the IKEA Gerton.
Measure for Ergonomic Height
Ergonomics determine how long you can sew comfortably. Getting this wrong leads to back pain, shoulder strain, and fatigue that cuts your sewing sessions short.
Standard 34-Inch Working Height
The widely recommended height of 34 inches aligns the table edge with your hip bones when standing straight. This position reduces back strain during long cutting or drafting sessions. At this height, your elbows rest about 3 inches above the surface when standing upright, which provides comfortable arm positioning for guiding fabric.
Customize Based on Your Body
Height is personal. Stand at a kitchen counter or bathroom vanity to find your ideal working height. If you are over 5’8″, you may prefer 36 to 38 inches. For seated sewing, ensure at least 24 inches of leg clearance under the table. You can fine-tune the final height later using shims in the machine box or adjustable leg extensions.
Account for Machine Deck Alignment
Even with a perfectly measured table, the sewing machine bed must sit flush with the surface. Any gap, no matter how small, causes fabric to catch and affects stitch quality. Use an adjustable support shelf with a dual-nut leveling system to fine-tune the machine height after installation. This is the difference between a functional workspace and a frustrating one.
Select the Right Materials
Material choice affects durability, vibration control, and how well your table ages. Using the wrong materials leads to sagging, splintering, and damage from machine vibration.
Choose Strong, Stable Sheet Goods
Three-quarter-inch plywood serves as the standard for tabletops and frames. Maple or birch plywood offers the best combination of strength and clean edges. For foldable tables, use maple plywood from a single 4×8 sheet to ensure structural consistency. Avoid particleboard entirely, as it sags under vibration and cannot support heavy machines.
Use MDF for Machine Inserts
MDF cuts cleanly, sands smooth, and accepts paint or lacquer beautifully, making it ideal for the internal box that holds your sewing machine. However, MDF absorbs oil from machine leaks. Seal the interior with finishing wax or apply six coats of matte lacquer to protect it from degradation.
Reinforce With Solid Lumber
Two-by-two hardwood lumber, such as poplar or beech, creates stable support rails under drop-in tables. Cut two pieces to span the front-to-back distance and attach them with pocket hole screws. This creates a solid platform for the machine shelf. For edge trim, cedar scrap adds weight, aroma, and a finished look. Seal cedar with shellac to prevent splintering.
Layer for Professional Surfaces
For drafting tables, stack these layers from bottom to top. Start with 3/4-inch plywood as the structural base. Place Homasote board loosely on top, never screwing through it. Cover with brown craft paper secured with packing tape. The Homasote allows you to pin patterns directly into the surface, and the paper protects it while providing a clean drafting area.
Cut the Machine Opening
Cutting the opening for your sewing machine requires precision. A poorly cut hole leads to fabric snagging, machine instability, and an unprofessional appearance.
Trace With Quarter-Inch Clearance
Place your sewing machine face-down on the tabletop or use a template. Trace its footprint, then add exactly 1/4 inch on all sides. This clearance allows room for cords, easy insertion, and minor alignment errors. For interchangeable inserts, trace the MDF box instead of the machine.
Drill Starter Holes for Jigsaw
Drill a 1/2-inch starter hole inside each corner of your traced line. Insert a jigsaw with a fine-tooth wood blade and cut slowly, following the line precisely. Keep the blade perpendicular to avoid angled edges. Apply masking tape over the cut line to prevent veneer tear-out on plywood surfaces.
Route for Precision Fit
After rough-cutting with a jigsaw, use a router with a template bit to achieve a perfect, smooth edge. Create a hardboard template of the opening, clamp it over the cutout, and rout the final shape. This method is essential for custom insert tables where flush alignment matters most.
Round All Edges for Safety
Use a 3/4-inch roundover bit on all exposed edges of the machine opening and MDF box. Rounded edges prevent knee injuries and stop fabric from snagging. Sand edges smooth with 220-grit paper before applying any finish.
Install Support Rails and Shelf

The support system holds your machine at the correct height and absorbs vibration. Skipping this step or doing it incorrectly leads to wobbling and uneven stitching.
Attach Support Rails
After cutting the hole, install two 2×2 support rails parallel to the front and back of the opening. Position them about 2 inches outside the hole is short sides. Drill pocket holes on each end using a Kreg jig, then secure the rails to the table is internal frame with 1 1/4-inch pocket screws.
Build the Adjustable Machine Shelf
Cut a 3/4-inch plywood shelf slightly larger than the machine opening. This supports the machine from below. Drill four 1/4-inch holes through the support rails, then countersink the top of each hole so bolt heads sit flush.
Use Dual-Nut Leveling System
Insert 3-inch bolts through the support rails and into the shelf. Assemble in this order: nut on bottom, washer, shelf, washer, then nut on top. This dual-nut system allows you to fine-tune the shelf height. Tighten the lower nut to raise the shelf, loosen to lower. Adjust until the machine bed sits perfectly flush with the table surface. Cover bolts with plastic caps for safety.
Build a Foldable Table
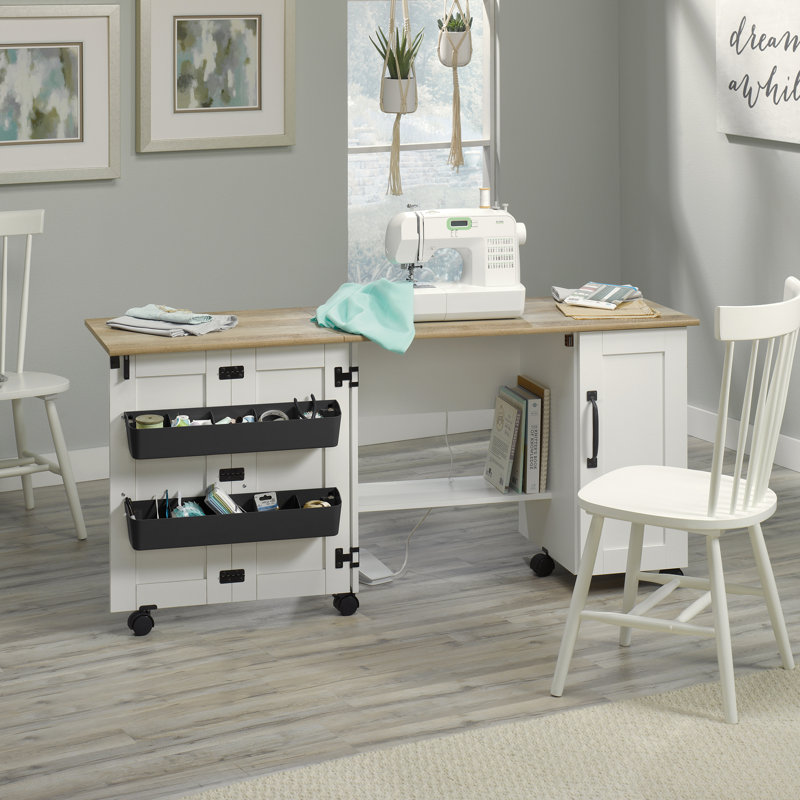
A foldable table solves space constraints without sacrificing functionality. This design uses a single 4×8 sheet of plywood and folds flat against the wall.
Cut Panels From One Sheet
Break down a single sheet of maple plywood into these pieces. Two side panels measuring 32 inches tall by 24 inches wide. Three shelf panels measuring 24 inches deep by the appropriate width. This maximizes material use and ensures structural balance. Drill pocket holes on shelf edges for hidden joinery.
Assemble With Glue and Screws
Apply wood glue to all joints and secure shelves to side panels with 1 1/4-inch pocket screws. Reinforce leg connections with 1-inch structural screws and washers to prevent wobbling under machine vibration.
Add Counterbalance Weight
Attach scrap cedar blocks to the base interior using a pin nailer. Cedar is dense and aromatic, ideal for adding weight without bulk. This prevents tipping when the table is fully loaded. Test stability by applying pressure to the far edge.
Install Folding Brackets
Use heavy-duty foldable brackets rated for at least 150 pounds on both sides. Position brackets so the folded unit is no more than 6 inches thick. Secure with magnetic catch strips or a simple latch to keep it closed during storage.
Add Casters for Mobility
Attach locking casters to the base so you can roll the table into position. Choose swivel wheels for easy maneuvering. Ensure casters are rated for at least 100 pounds each.
Construct a Professional Drafting Table
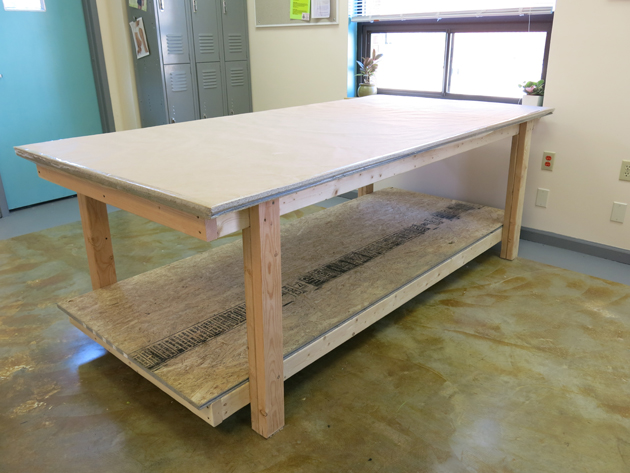
A professional drafting table provides the largest working surface and specialized features for pattern making and cutting.
Build a 34-Inch High Frame
Use 2×4 lumber to construct a rectangular base frame. Set legs or corner brackets to achieve a 34-inch finished height. Reinforce corners with gussets or cross-braces to handle heavy fabric rolls and frequent use.
Layer the Top Surface
Stack these materials in order. First layer is 3/4-inch plywood, 4×8 feet, for structural base. Second layer is Homasote board, laid loose, not screwed. Third layer is brown craft paper taped securely with packing tape around all edges.
Maintain the Pin-Friendly Surface
Never screw through the Homasote, because pins will hit hardware. Keep the middle layer floating. When the paper gets marked or torn, peel it off and apply a new layer. Over time, the tape buildup creates a unique history on your table.
Create Interchangeable Machine Inserts
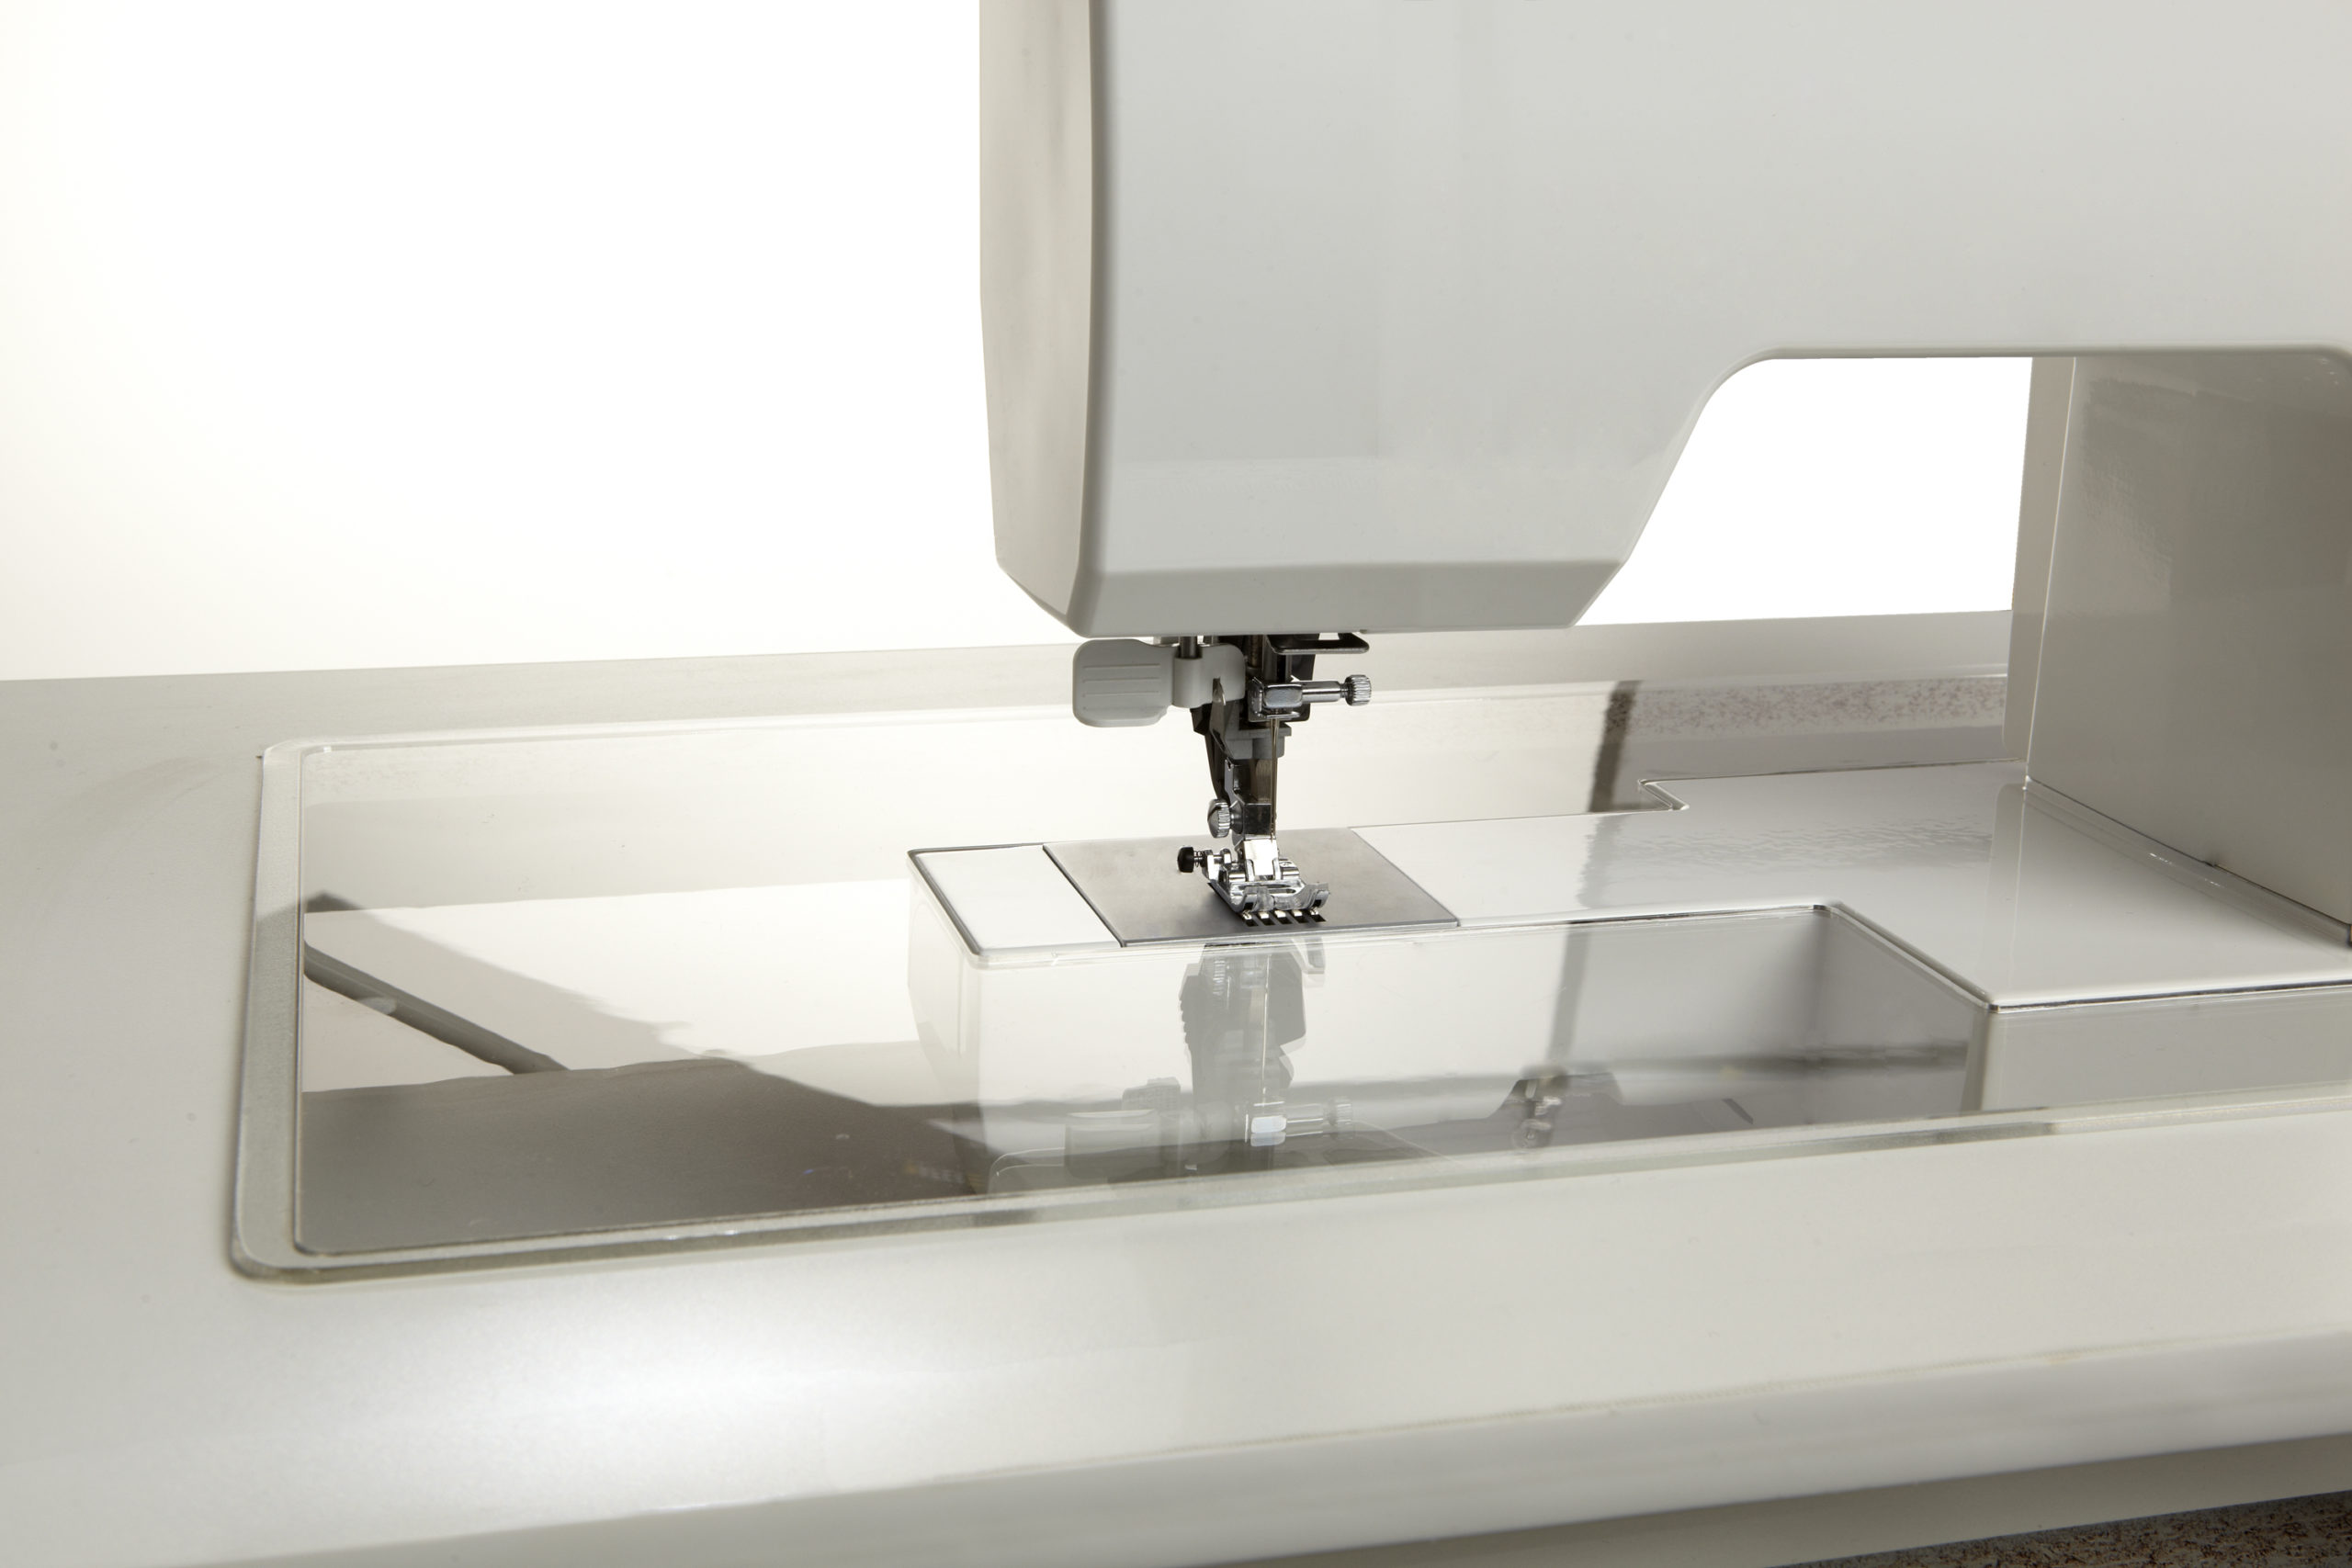
Interchangeable inserts let you switch between machines without rebuilding the table. This is perfect if you use a serger, embroidery machine, and regular sewing machine.
Build an MDF Insert Box
Cut four sides from 3/4-inch MDF to form a box. Internal dimensions should be 2 inches larger than your machine for cord space. Calculate depth as machine deck height minus insert thickness. Round all edges with a router.
Template Machine Footprints
Use cardstock or paper to trace each machine is exact footprint. Cut the insert slightly oversized, then refine with a Dremel, rasp, and sanding drum until it fits flush.
Avoid Plywood for Inserts
Plywood edges splinter and snag fabric. Use MDF or acrylic for top inserts instead. Both materials are smoother and more durable. Finish MDF inserts with six coats of matte lacquer, sanding between coats.
Secure With Threaded Inserts
Epoxy threaded brass inserts into the MDF box. This allows you to screw interchangeable tops in place. For the box-to-table connection, use T-nuts and machine screws through the tabletop back edge.
Add Functional Upgrades
Beyond the basic structure, functional upgrades transform your table into a complete workstation that supports your creative workflow.
Install a Knee Lift Lever
Measure your machine is knee lift position. Drill a 5/8-inch hole through the front support rail. Making the hole larger than the lever ensures smooth operation. Test before final assembly.
Integrate LED Task Lighting
Attach LED strips under the front overhang or mount an adjustable swing-arm light. Choose warm white at 3000K for accurate fabric color matching. Run wires through internal channels or use adhesive clips.
Build in Tool Storage
Consider these storage solutions. Magnetic strips for scissors, seam rippers, and pins. Wooden slots for rulers and seam gauges. Labeled bins under the table for bobbins and thread. Cork or magnetic board on the side for pattern pins and inspiration.
Manage Cables and Clippings
Use cable sleeves or clips to route power cords neatly. Add a thread catcher made from mesh or fabric under the machine. Install a pull-out bin for fabric scraps and clippings.
Finish and Protect Your Table
The finish protects your work and determines how well the table resists stains, oil, and wear.
Sand Between Coats
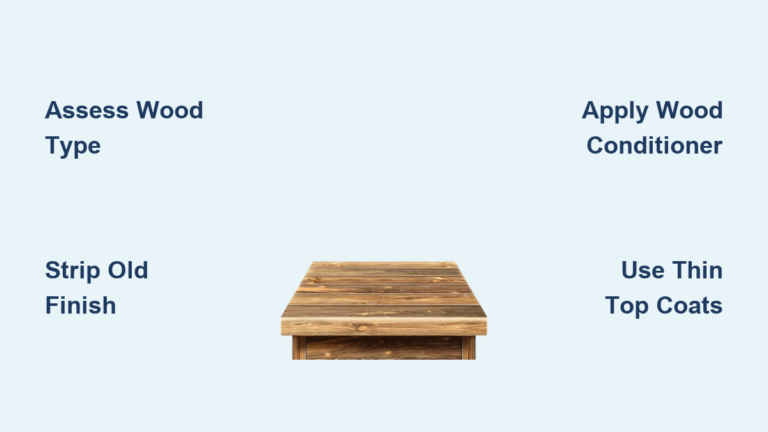
Sand thoroughly with 220-grit, then 320-grit between each finish coat. For water-based finishes, use the grain popping method. Apply a 50/50 mix of water and alcohol to raise wood fibers, let dry, then sand smooth before applying finish.
Apply Durable Topcoats
Use polyurethane with four or more coats for a tough, wipeable surface. For MDF boxes, matte lacquer prevents shine and resists snagging. For warmth, try TotalBoat Halcyon, an amber-tinted water-based finish.
Seal Against Oil and Moisture
Sewing machines drip oil. Seal MDF interiors with finishing wax, which repels oil without strong fumes. Avoid oil-based finishes if you are sensitive to VOCs.
Finish Exposed Edges
Use iron-on edge banding for plywood edges. Apply with a standard iron on low heat with no steam. Trim excess with a sharp chisel, not a trimmer, to avoid tear-out on real-wood veneers.
Final Assembly and Safety Check
Before using your table, perform these checks to ensure safety and functionality.
Cover All Hardware
Ensure no screw tips or bolt heads protrude. Countersink all fasteners. Use plastic caps on bolt ends to prevent injury. Polish screw heads or use flush-mount hardware.
Test for Stability and Vibration
Place the machine on the table and run it at high speed. Check for wobbling. Add extra 2×2 cross-braces between legs if needed. Foldable tables should not tip when extended. Add weight if necessary.
Run a Snag Test
Drag a piece of silk or lightweight fabric over the entire surface, especially around the machine opening. If it catches, sand the area smooth or round the edge further.
Verify Machine Alignment
With the machine installed, place a ruler across the bed and table surface. There should be no gap or lip. Use the dual-nut system to adjust the shelf height until perfectly flush.
Frequently Asked Questions About Making a Sewing Table
What is the best height for a sewing table?
The standard recommended height is 34 inches for standing tasks. This aligns the table edge with your hip bones when standing straight, reducing back strain. However, taller users may prefer 36 to 38 inches, and seated users need at least 24 inches of leg clearance underneath.
Can I use an IKEA table for a sewing table?
Yes, tables like the IKEA Ingo and Gerton are popular choices for conversion. The Ingo works well for drop-in flush mount designs, while the Gerton provides a solid wood top suitable for custom insert boxes. Both offer sturdy bases that can be modified with machine openings.
What materials should I avoid for a sewing table?
Avoid particleboard for the main structure, as it sags under vibration and cannot support heavy machines. Also avoid plywood for machine inserts, as the edges splinter and snag fabric. MDF or acrylic are better choices for inserts.
How do I make my sewing table portable?
Add heavy-duty folding brackets rated for at least 150 pounds and locking casters rated for 100 pounds each. Include counterbalance weights, such as scrap cedar blocks, inside the base to prevent tipping when the table is extended.
Do I need to seal MDF inside my sewing table?
Yes, MDF absorbs oil from sewing machines and degrades. Seal the interior with finishing wax or apply six coats of matte lacquer to protect it from oil damage and moisture.
Key Takeaways for Building Your Own Sewing Table
Building your own sewing table gives you complete control over size, height, storage, and machine integration. The most critical steps are getting the ergonomic height right, cutting a precise machine opening with 1/4-inch clearance, and using a dual-nut leveling system to ensure your machine bed sits flush with the tabletop surface. Choose 3/4-inch maple or birch plywood for the main structure, MDF for internal boxes and inserts, and 2×2 hardwood for support rails. Never skip the finishing steps, including sealing MDF against oil and sanding between coats for a durable surface. With quality materials and careful measurements, your custom sewing table will provide years of comfortable, efficient sewing.