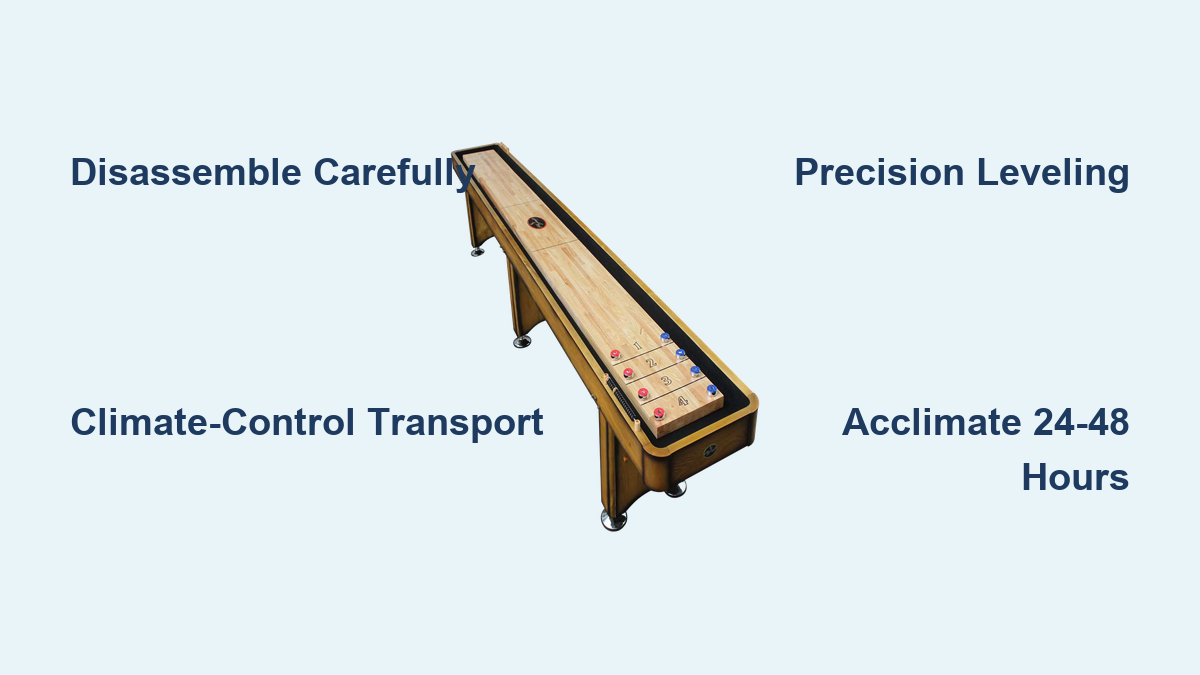
How to Move a Shuffleboard Table: Quick Steps
Moving a shuffleboard table isn’t like shifting a bookshelf or sofa. It’s a precision task involving heavy, climate-sensitive components and exacting playfield requirements. A single misstep during disassembly, transport, or reinstallation can warp the surface, throw off leveling, or damage electronic scoring systems, ruining gameplay and devaluing your investment. This guide breaks down every phase, from space planning to final leveling, so you understand what it takes to protect your table and ensure it plays perfectly in its new location.
Why Moving a Shuffleboard Table Requires Professional Help
Shuffleboard tables demand specialized handling that general movers cannot provide. The playing surface, whether made of maple wood or polymer (Slatron), responds to temperature and humidity changes. Improper handling causes warping, joint loosening, or finish damage that permanently affects puck trajectory. Unlike standard furniture, these tables require precise leveling to within 1/16-inch accuracy. Even slight deviations alter game dynamics.
Professional movers understand these sensitivities. They possess the tools, climate-controlled vehicles, and expertise to disassemble, protect, transport, and reinstall your table correctly. Most importantly, certified professionals offer written guarantees that protect your investment. General moving crews lack this specialized knowledge and typically won’t warranty their work on shuffleboard equipment.
Assess Table and Move Logistics Before Booking
Gathering critical details upfront determines feasibility, cost, and risk. A professional mover needs this information to build an accurate plan.
Measure Your Table and Document Features
Identify your table’s exact length, which ranges from 8 to 22 feet. Record whether it has electronic scoring, built-in lights, or custom finishes. Brand and model matter because construction varies between manufacturers. Note the playing surface type, as wood and polymer respond differently to climate shifts during transport.
Evaluate Access at Both Locations
Document floor levels at origin and destination. Is the table in a basement with narrow stairs? Will movers navigate tight hallways, sharp corners, or fragile flooring? Measure doorways, stairwells, and elevators. Most disassembled sections still require 30-plus inches of clearance. Flag obstacles like chandeliers, wall art, or low ceilings that could interfere during transport.
Schedule Around Climate Conditions
Avoid moving during extreme weather. High humidity or freezing temperatures stress wood and adhesives. Schedule moves during mild seasons when possible. Confirm your preferred service date early. Top-tier shuffleboard movers often book weeks in advance, especially on weekends.
Choose the Right Room for Shuffleboard Table Installation
Even a flawless move fails if the destination room cannot support the table. Poor placement leads to gameplay issues and safety hazards.
Ensure Minimum Clearance Requirements
Allow at least 2 feet of open space on all sides. This clearance gives players room to slide pucks without hitting walls or furniture. For a 14-foot table, the room must be at least 18 feet long and 6 feet wide. Compact 9- to 12-foot models fit better in apartments or game rooms but still require full perimeter clearance.
Check Overhead and Floor Conditions
Verify ceiling height, especially if the table has a hanging scoreboard. Ceiling fans, light fixtures, or exposed beams must not interfere with play or installation. Test floor stability. Uneven or springy floors make leveling impossible. Concrete or solid hardwood is ideal. Carpeted or floating floors may require underlayment reinforcement.
Avoid High-Risk Placement Zones
Never place the table near windows, sliding glass doors, or high-traffic walkways. Accidental bumps or temperature swings from direct sunlight damage the surface. Keep the table away from kitchens or bathrooms where humidity fluctuates significantly.
Hire Certified Shuffleboard Table Movers
This isn’t a job for a general moving crew. Shuffleboard tables demand specialized tools, techniques, and insurance coverage most moving companies don’t offer.
Choose ABIA-Certified Professionals
Select movers affiliated with the American Billiard Installers Association (ABIA). ABIA members follow strict industry standards and provide a 1-year written service guarantee. This critical safeguard is absent with non-certified crews. Their training ensures proper disassembly, climate-aware transport, and precision re-leveling.
Verify Experience and Equipment
Ask about the team’s experience with shuffleboard tables specifically. Top movers have 20 or more years in the niche. Confirm they use air-ride suspension trucks, climate-controlled vans, specialized dollies and padding, and full valuation insurance. Avoid movers who offer unrealistically low quotes. These often skip proper protection or lack insurance coverage.
Get a Written Estimate
Reputable providers give free, no-obligation quotes after reviewing your table and access points. The estimate should itemize disassembly and reassembly, transport distance, difficulty factors like stairs or tight turns, leveling and testing, and insurance options. Expect no hidden fees and no surprises.
Prepare Your Table for Professional Disassembly
Once the pro team is booked, prepare the area to speed up the move and reduce risk.
Clear the Surrounding Area
Remove furniture, rugs, decor, and electronics within 5 feet of the table. This creates a safe workspace and prevents accidental damage during disassembly. Cover nearby walls and floors with moving blankets if needed.
Document Current Setup
Take photos of the table’s position, leg placement, and electronic wiring. If it’s already slightly unlevel, note which legs are extended. This helps the installer replicate or improve the setup later.
Power Down Electronics
If your table has lights or a digital scoreboard, unplug it 24 hours before the move. Label cords and store batteries separately. Don’t attempt to remove the scoreboard yourself. Professionals handle this delicate step.
How Professionals Disassemble a Shuffleboard Table

Only trained technicians should dismantle a shuffleboard table. The process varies by model but follows a strict sequence to prevent warping or misalignment.
Remove Scoring Units and Accessories
The electronic scoreboard is detached first. Technicians carefully disconnect wiring and pad the unit for transport. Cups, puck trays, and lighting fixtures are removed and packed separately.
Separate Playing Surface Panels Carefully
The playfield, often made of maple or Slatron, is the most sensitive part. Technicians lift each panel with two people, placing them on padded supports. They avoid leaning panels against walls or stacking them flat, which causes bowing.
Detach Legs and Support Frame Systematically
Legs are unbolted starting from one end. The support beam or cabinet base stays intact if possible. All bolts and hardware are bagged and labeled by section.
Wrap and Protect Every Component
Each part receives custom protection. The playing surface gets wrapped in foam padding and sealed in a moisture-resistant cover. Legs and frame are bundled in heavy-duty moving blankets and secured. Electronics are packed in original or custom-fit boxes with bubble wrap.
Transport Your Shuffleboard Table With Climate Control
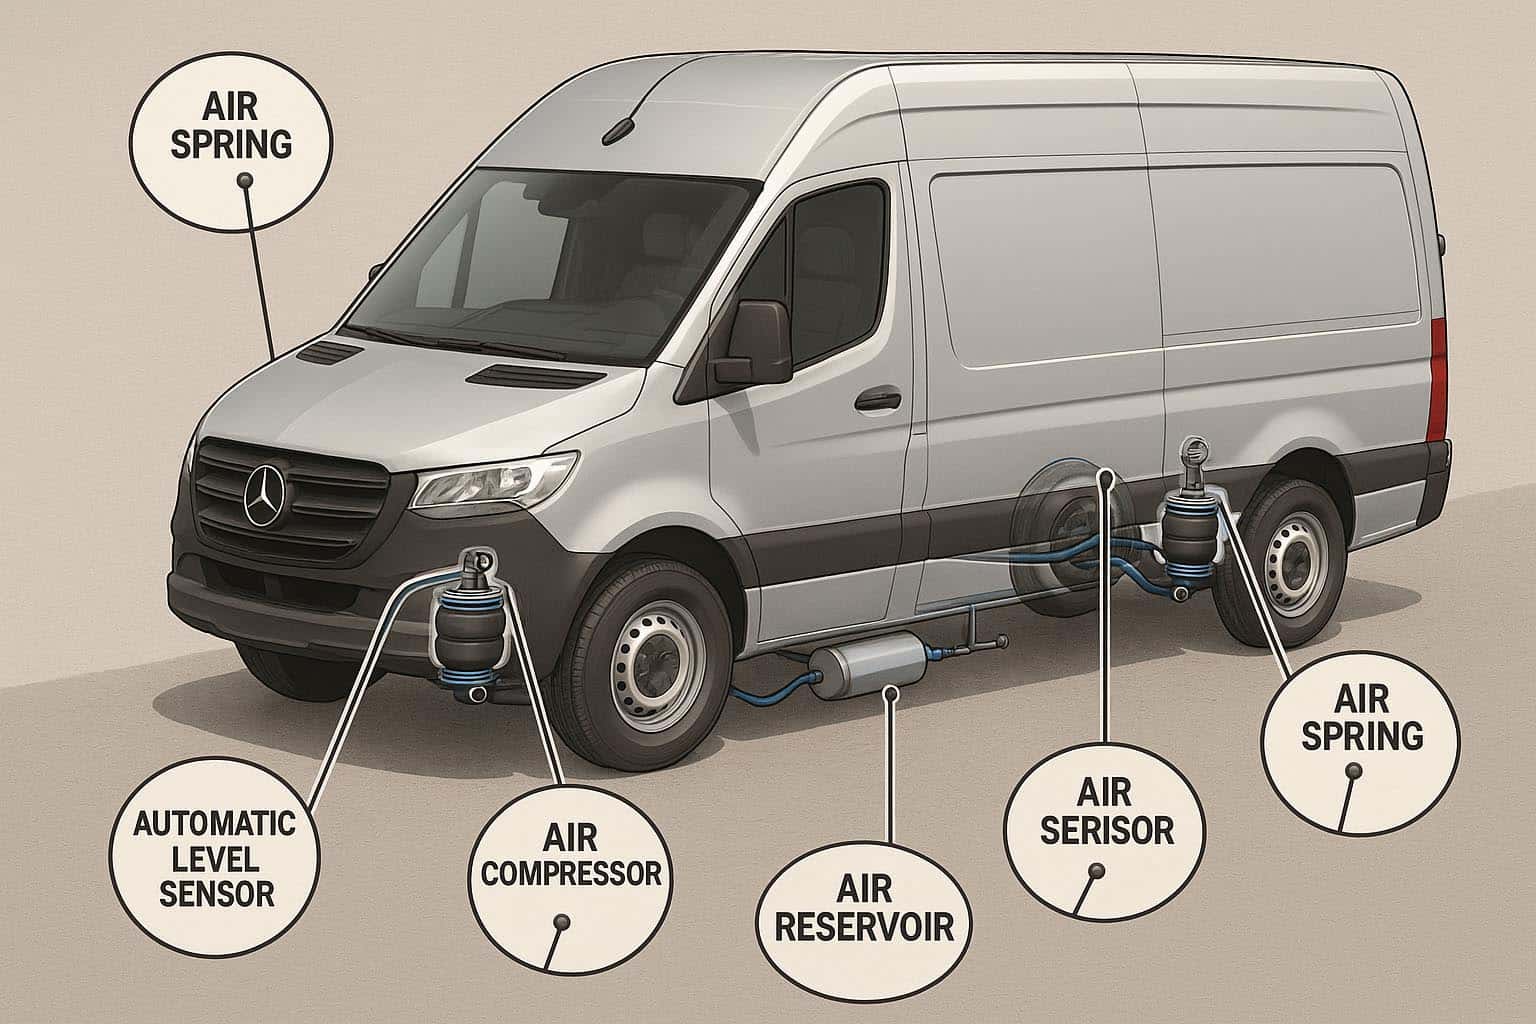
How the table travels matters as much as how it’s packed. Poor transport causes warping, joint loosening, and finish damage.
Use Air-Ride Suspension Vehicles
Standard box trucks transmit road vibration directly to cargo. Air-ride suspension absorbs shocks, protecting the table’s joints and flatness. This is non-negotiable for high-end tables.
Maintain Stable Temperature and Humidity
Wood and composite materials expand and contract with temperature and humidity changes. Transport in a climate-controlled vehicle set to 65 to 75 degrees Fahrenheit and 40 to 50 percent humidity. Avoid leaving the truck parked in direct sun or freezing conditions.
Secure the Load to Prevent Shifting
Components are strapped to truck walls or floor using ratchet straps. Never stack parts haphazardly. The playing surface is stored flat and elevated off the floor. Drivers avoid sudden stops or sharp turns.
Reassemble and Level Your Shuffleboard Table
Reinstallation isn’t just bolting parts back together. It’s restoring a precision game surface.
Rebuild the Table from the Ground Up
Technicians reattach legs and support beams first, ensuring all joints are tight. Playing surface panels are then lowered into place, aligned perfectly at the seams. No force is used. Misaligned panels indicate a structural issue.
Perform Precision Leveling
Using a high-accuracy spirit level or laser level, installers check the table in multiple directions lengthwise, widthwise, and diagonally. Adjustable legs are fine-tuned until the surface is perfectly flat. Even a 1/16-inch deviation alters puck trajectory. Some pros use a plumb bob test or roll a puck across the surface to verify consistency.
Reinstall Electronics and Test Functionality
Scoreboards, lights, and wiring are reconnected. The system is powered on and tested for full functionality. Any flickering or unresponsive buttons are addressed immediately.
Test and Acclimate Your Table After the Move
The move isn’t complete the moment the table is level. Wood needs time to adjust to its new environment.
Allow 24 to 48 Hours of Acclimation
After installation, let the table sit for 24 to 48 hours before play. This allows the wood or composite to stabilize with the room’s temperature and humidity. Playing too soon leads to premature wear or warping.
Conduct a Surface Speed Test
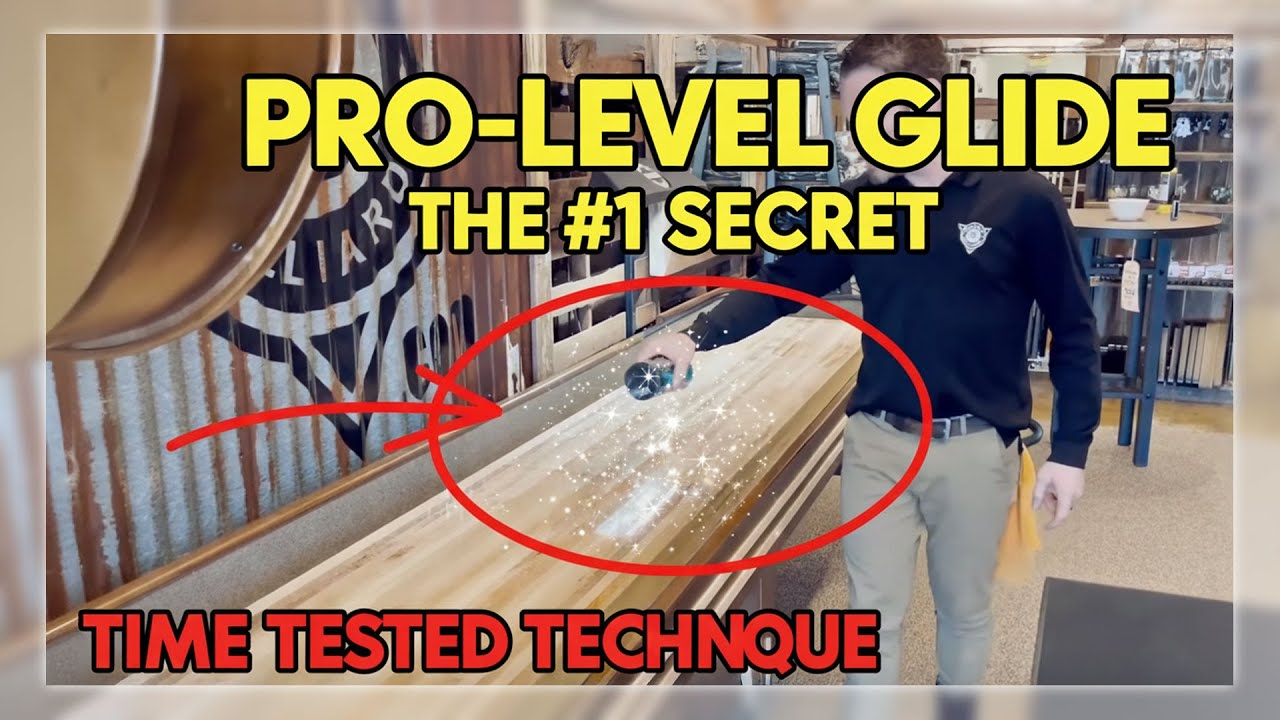
Technicians often apply shuffleboard wax (silicon beads) and slide pucks to test speed and consistency. The surface should offer smooth, even glide from end to end. Adjustments may be made to leg height or wax application.
Perform Final Inspection with the Installer
Walk through the table with the installer. Check stability (no wobbling), level (re-verify with a level), surface smoothness (no gaps or raised seams), electronics (fully functional), and clearance (adequate player space). Sign off only when satisfied.
Frequently Asked Questions About Moving Shuffleboard Tables
Can I move my shuffleboard table myself?
Moving a shuffleboard table yourself is not recommended. The playing surface can warp easily, and achieving proper leveling requires specialized tools and expertise. Improper handling often results in permanent damage that affects gameplay.
How much does professional shuffleboard table moving cost?
Costs vary based on distance, table size, and complexity. Local moves typically cost less than long-distance or interstate moves. Electronic features and difficult access points increase the price. Reputable movers provide clear, upfront quotes with no hidden fees.
How long does the entire move process take?
The process typically takes one day for disassembly and transport, plus another day for reassembly and leveling. Plan for 24 to 48 hours of acclimation time before playing. Total time from start to playable is approximately three to four days.
What happens if my table gets damaged during the move?
ABIA-certified movers provide a 1-year written service guarantee that covers damage. Always verify insurance coverage before booking. Professional movers with proper certification offer valuation protection that general movers cannot match.
Do I need to do anything before the movers arrive?
Clear the area around the table and remove all accessories. Take photos of the current setup for reference. Unplug electronic components 24 hours before the move. Your mover will handle the rest.
Key Takeaways for Successfully Moving Your Shuffleboard Table
Moving a shuffleboard table is a high-stakes process best left to certified professionals. From precise disassembly to climate-controlled transport and laser-guided leveling, every step protects your investment and ensures years of reliable play. The playing surface is extremely sensitive to temperature and humidity changes, making climate control during transport essential. Always choose ABIA-certified movers who offer written guarantees and have specific experience with shuffleboard tables.
Before scheduling your move, verify that your destination room meets clearance requirements. Allow at least 2 feet of space on all sides and ensure the floor is stable enough for precision leveling. After installation, permit 24 to 48 hours of acclimation time before using the table. By following these guidelines and working with qualified professionals, you guarantee a seamless transition whether moving a 9-foot game room centerpiece or a 22-foot tournament-grade table.