How to Remove Water Stains From Wood Table
You set down a cold glass, only to discover a cloudy white ring left behind on your beautiful wood table. It is frustrating, but not hopeless. Most water stains on wood tables are surface-level moisture trapped under the finish, not permanent damage. With the right method, you can often erase these blemishes in minutes using tools you already have at home.
The key is diagnosing the stain correctly. White, hazy spots are usually fixable without sanding. Dark or black marks mean water has soaked into the wood and requires refinishing. Your table’s finish type also determines which fix will work. Using the wrong method can ruin the finish entirely.
Diagnose Your Water Stain Type First
Before treating the stain, identify what you are dealing with. The wrong fix can make it worse.
White Hazy Rings vs. Dark Stains
White or cloudy spots mean moisture is trapped under the finish but has not damaged the wood. This is common on dining tables from condensation. The finish swells slightly, creating tiny air pockets that scatter light, resulting in the milky look.
Dark or black stains indicate water penetrated into the wood fibers. This causes swelling, discoloration, or even rot. Surface fixes will not work on these deeper stains.
Fixable with home methods: White, gray, or hazy rings
Requires sanding or refinishing: Dark brown or black spots, rough texture, or pitting
Check for Mineral Deposits
Hard water leaves behind chalky white residue on the surface. Unlike trapped moisture, this sits on top of the finish. Test by wiping with a vinegar-dampened cloth. If the mark lifts easily, it is mineral buildup, not a true water stain.
Identify Your Table’s Finish Type Before Treating
The finish determines which removal method will work and which could damage it. Always test in a hidden spot first.
Quick Spot-Test for Finish Type
Use these tests on an inconspicuous area like the underside of the table apron or back leg:
Lacquer: Dab with lacquer thinner. If it softens or dissolves, it is lacquer.
Shellac: Rub with denatured alcohol. If it gets sticky or dissolves, it is shellac.
Polyurethane or Varnish: Resists both alcohol and thinner. No change means it is likely polyurethane.
Oil Finish: No hard film exists. Wood feels slightly porous and absorbs oil quickly.
Water-Based Finish: Modern finish often on newer furniture. Resists solvents but can bubble under heat.
Avoid ammonia-based cleaners on shellac or antiques, as they can strip the finish completely.
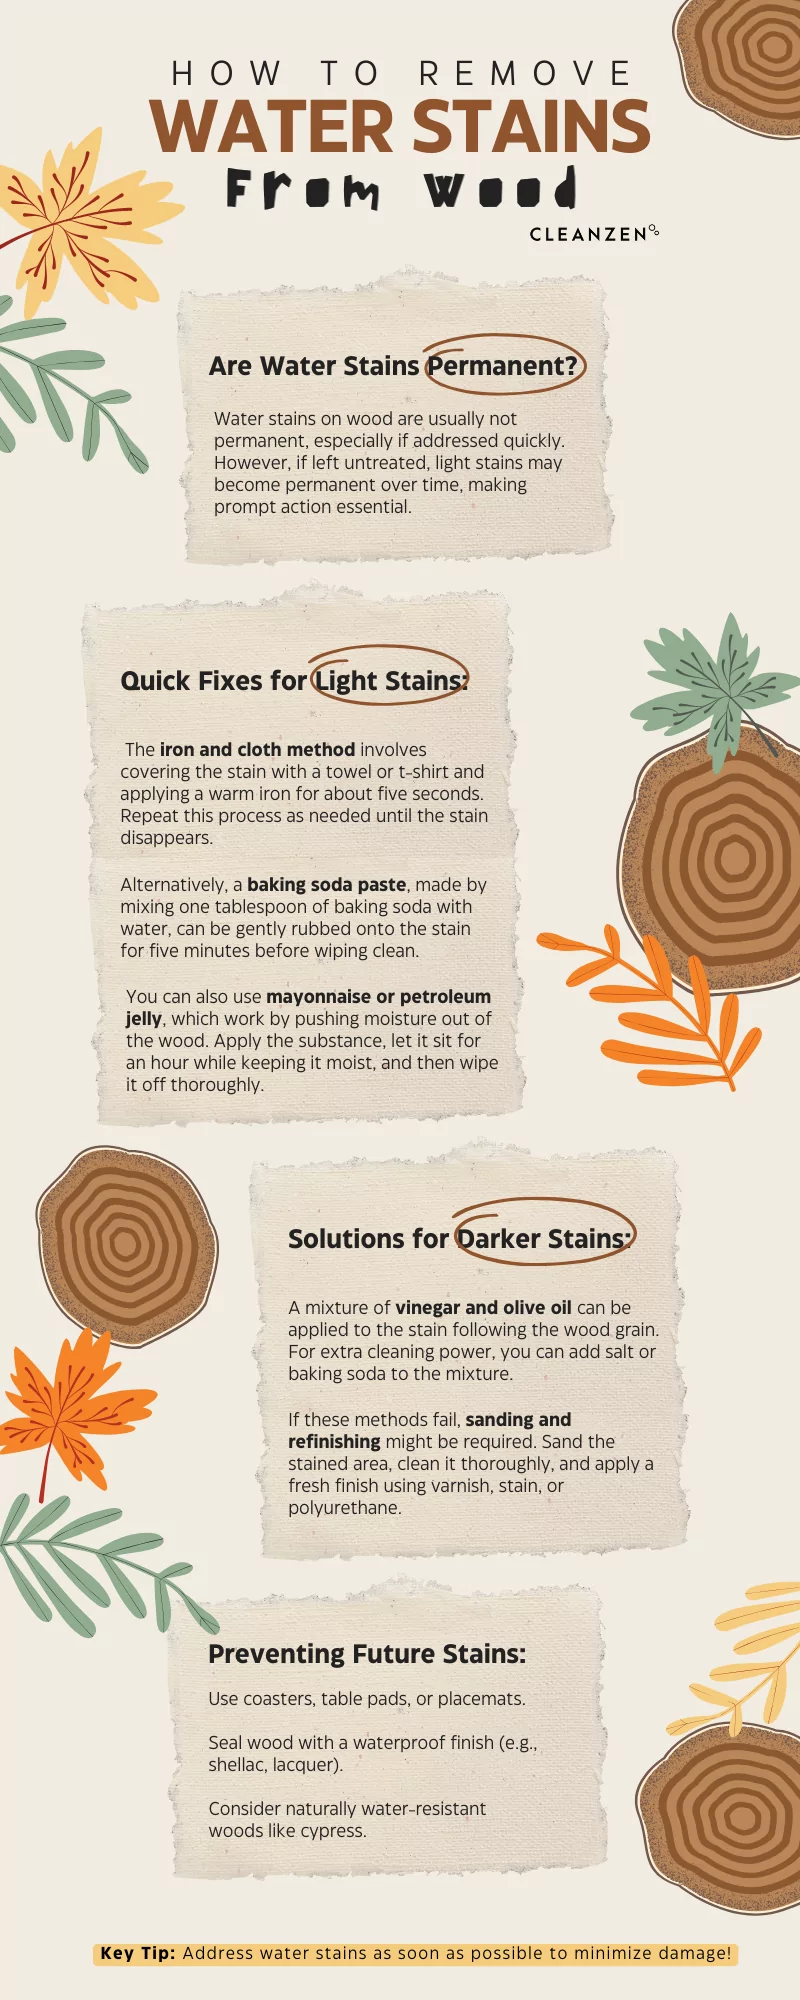
Use Heat to Remove White Water Rings

Heat is the most effective method for clearing white stains on sealed wood surfaces.
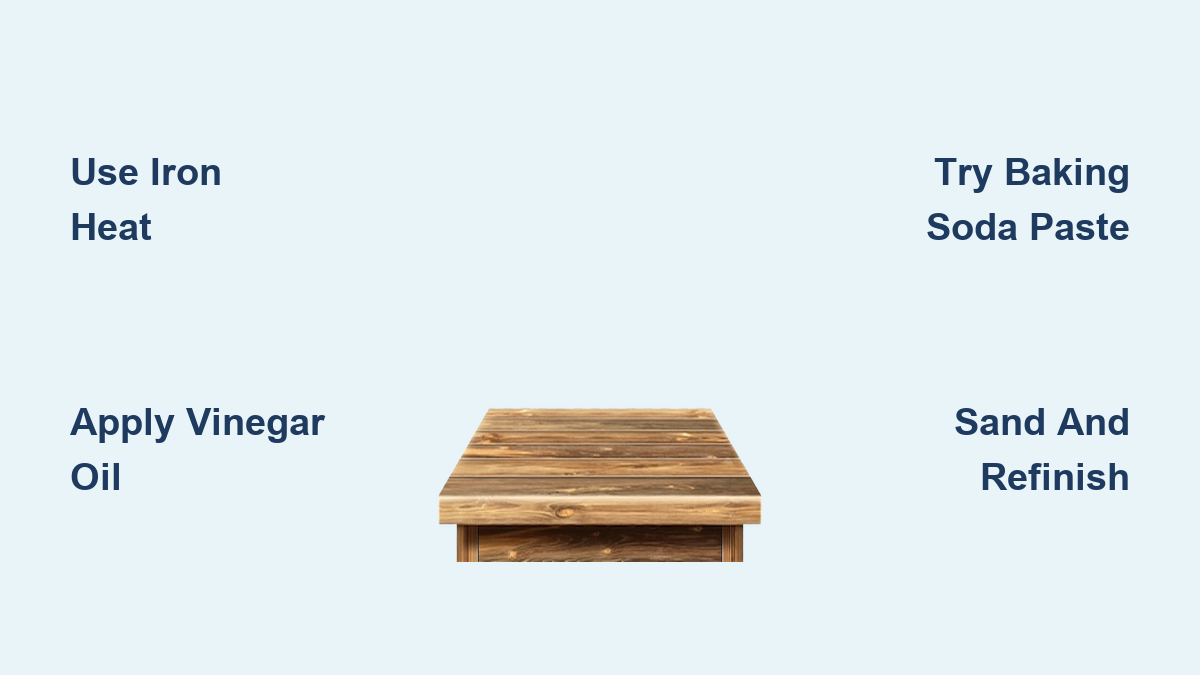
Iron and Cloth Method
This technique uses gentle heat to evaporate trapped moisture and reflow the finish.
You will need:
– Household iron
– Clean, dry cotton cloth (tea towel or dishcloth)
Steps:
1. Place the dry cloth over the stain.
2. Set iron to medium heat with steam turned OFF.
3. Press gently for 5 to 10 seconds, then lift and check.
4. Repeat, moving in small sections across the stain.
5. Let cool completely before evaluating. Clarity often improves as it cools.
Works best on: Polyurethane, lacquer, and oil finishes
Avoid on: Water-based finishes (risk of bubbling) or veneer (use low heat only)
Try Oil-Based Remedies for Light Stains
Oils can penetrate the finish, displace moisture, and restore shine. These work best for fresh or faint marks.
Vinegar and Olive Oil Mix
A safe, effective combination for dining tables.
Mix: Equal parts white vinegar and olive oil
Apply:
1. Dampen a soft cloth with the mixture.
2. Rub gently along the grain.
3. Wait 1 to 5 minutes.
4. Wipe off excess and buff to shine.
This method can reduce white ring appearance by 80 to 90 percent. Do not overuse, as excess oil leaves a greasy film.
Mayonnaise for Quick Fixes
The oil and mild acidity in mayonnaise can lift light stains.
Steps:
1. Spread a thick layer over the stain.
2. Cover with paper towel or leave exposed.
3. Wait 1 to 3 hours, or overnight for tough marks.
4. Wipe clean and buff.
This method can leave residue and is not recommended for antiques or porous finishes.
Apply Mild Abrasives for Stubborn Marks
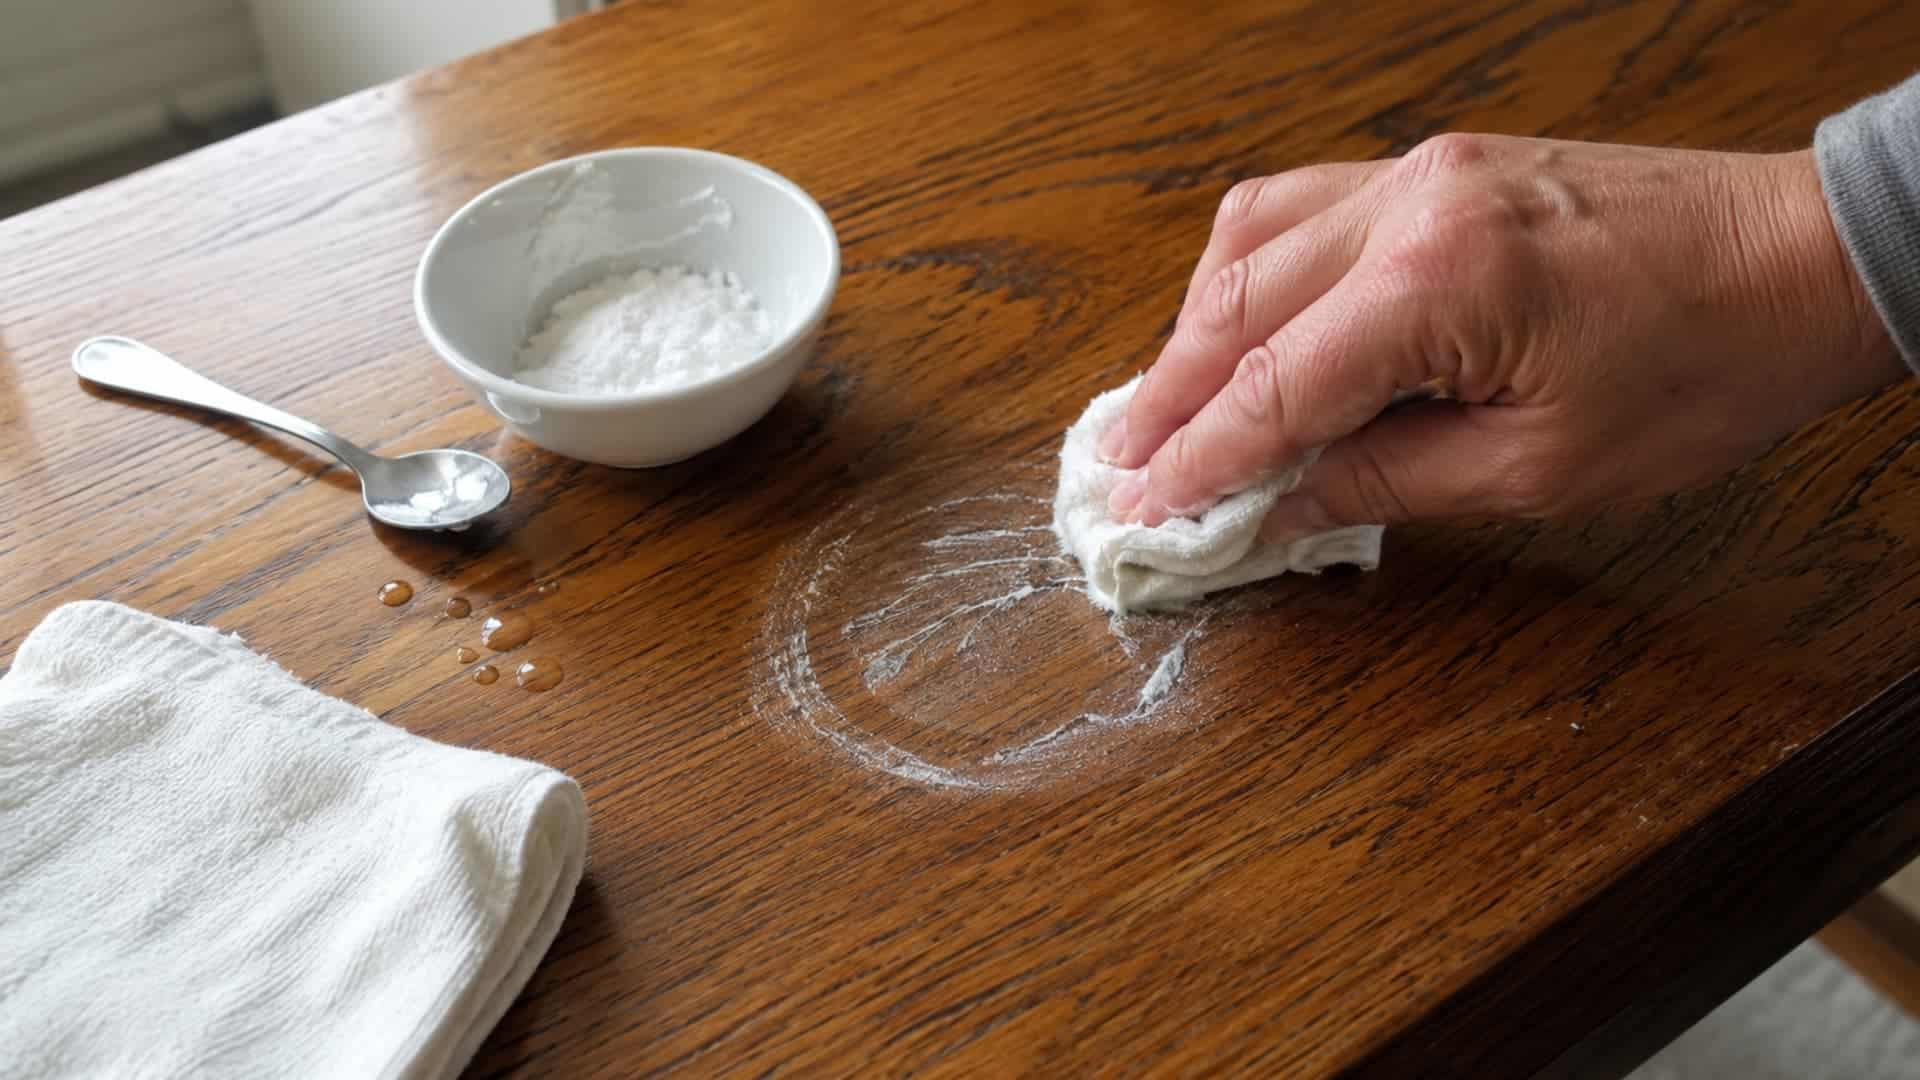
When oils and heat fail, gentle abrasion can lift surface deposits.
Baking Soda Paste
A safe scrub for lacquer or shellac finishes.
Mix: 2 parts baking soda to 1 part water (thick paste)
Steps:
1. Apply directly to the stain.
2. Let sit 2 to 5 minutes. Do not let dry completely.
3. Rub gently in circles or along the grain.
4. Wipe with damp cloth, then dry thoroughly.
Works on mineral rings and light scuffs. Avoid on soft woods like pine or water-based finishes, as these can scratch.
Non-Gel Toothpaste
Mild abrasive with minimal results.
Apply:
1. Use white, non-gel toothpaste.
2. Rub gently for 1 to 2 minutes.
3. Wipe clean with a damp cloth.
Risk of micro-scratches exists. Less effective than baking soda paste.
Use Solvents for Specific Finish Types
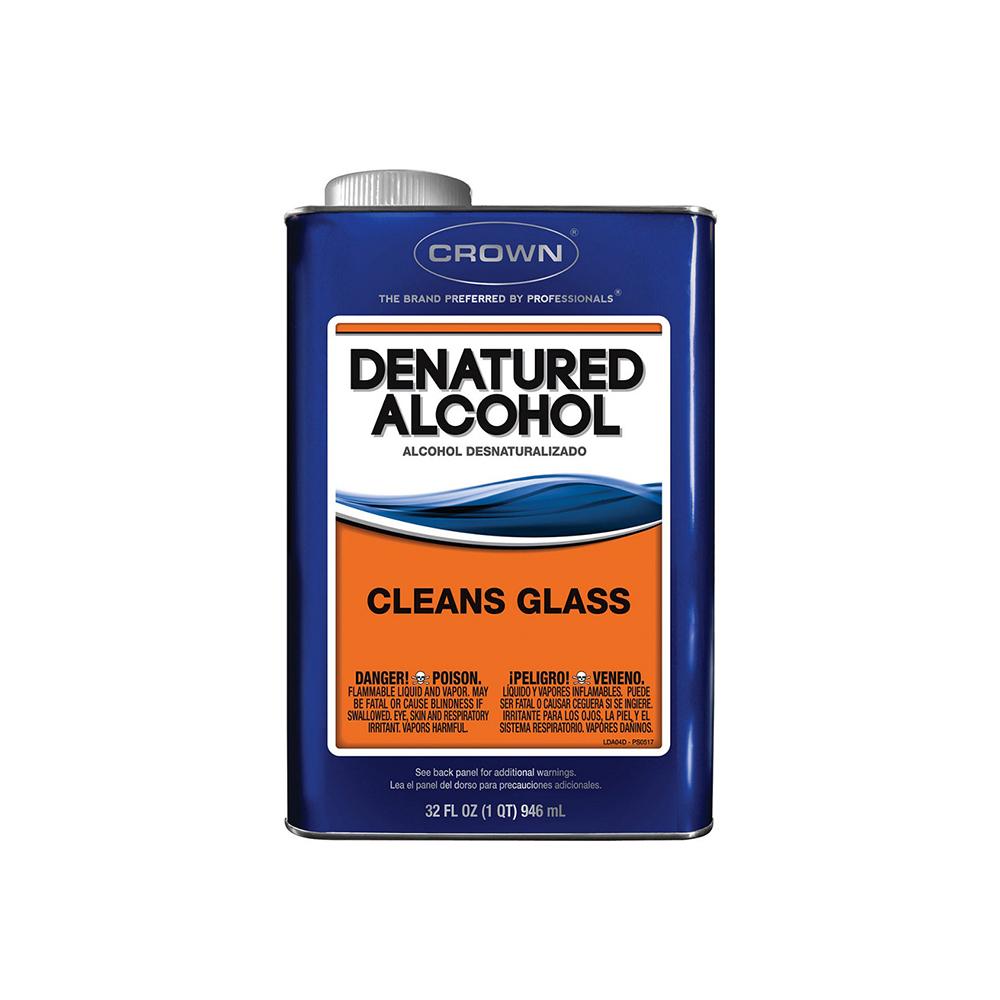
Chemical solutions work only if matched to your finish type.
Denatured Alcohol for Shellac
Dissolves the finish slightly, releasing trapped moisture.
Steps:
1. Dampen cloth with denatured alcohol.
2. Rub the stain gently.
3. Wipe dry and polish.
Clears “blushing” on shellac. Never use on lacquer or polyurethane.
Lacquer Thinner for Lacquer Finishes
Reactivates the finish to release moisture.
Methods:
– Spray a heavy coat over the stain and let dry.
– Or apply a fresh coat of lacquer to blend the spot.
High risk exists. Can damage surrounding finish if over-applied. Use in a well-ventilated area only.
Restore with Commercial Products
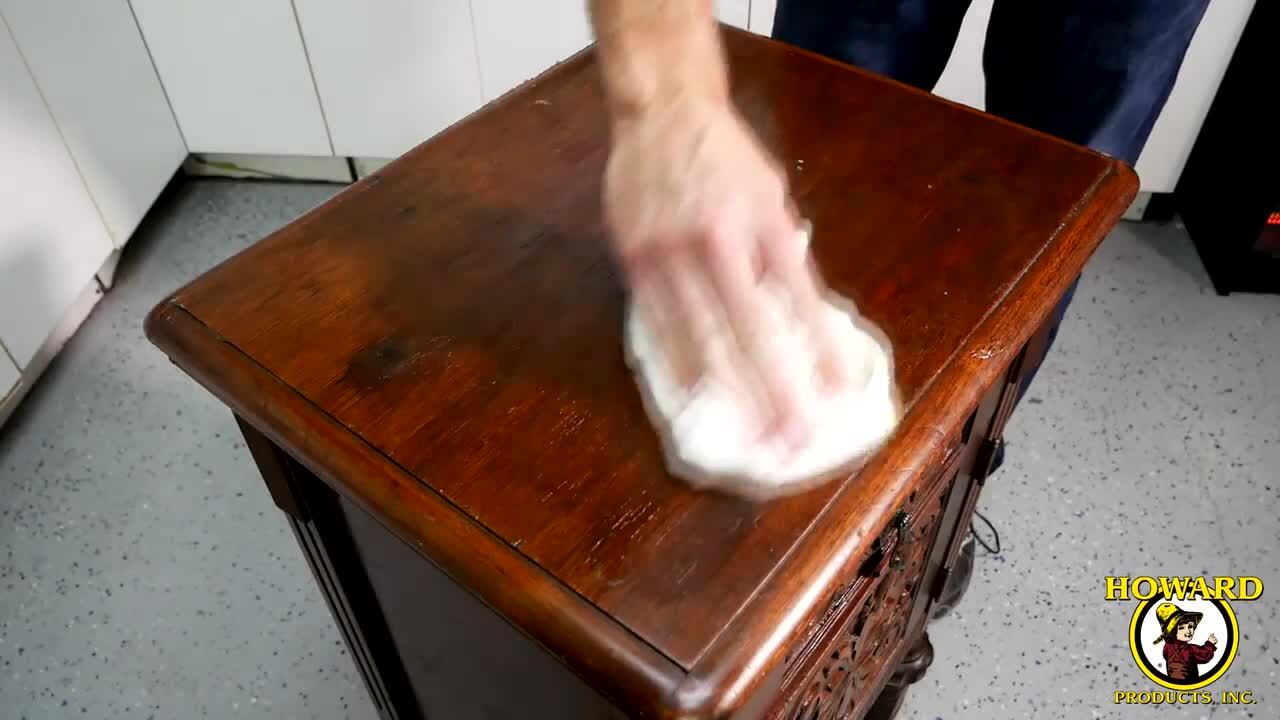
Professional solutions offer consistent results across finish types.
Howard’s Restore-A-Finish
Penetrates micro-voids to restore clarity.
Apply:
1. Rub in with soft cloth using circular motion.
2. Wait 5 to 10 minutes.
3. Buff thoroughly.
Safe for polyurethane, lacquer, shellac, and oil finishes. Overuse causes sticky residue. Use sparingly.
Pre-Moistened Repair Wipes
Convenient for minor spots. Available at hardware stores for around $5. Oil-based and easy to apply. Good for maintenance between deeper cleanings.
Sand and Refinish for Deep Damage
Dark stains or failed surface fixes require full restoration.
When Sanding Is Necessary
Sand the table if the stain is dark or black, the wood feels soft or pitted, or the surface is cracked or dull. Spot sanding rarely blends well. For best results, refinish the entire surface.
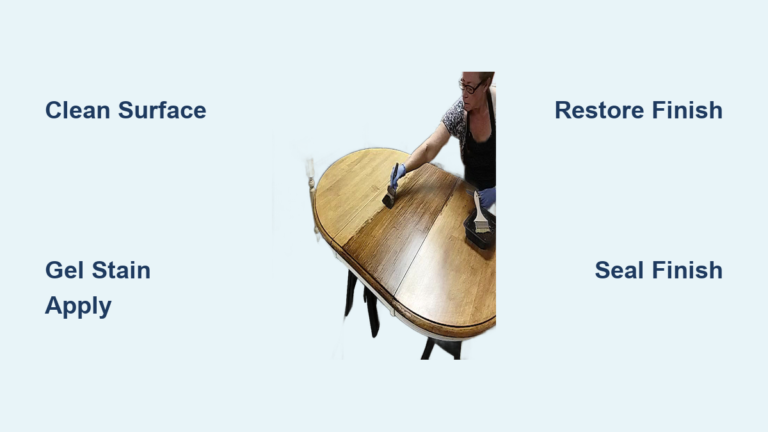
Full Refinishing Steps
Sand the entire surface:
1. Start with 120-grit to remove old finish.
2. Progress to 220-grit for smoothness.
3. Always sand with the grain.
Clean the surface:
1. Vacuum all dust.
2. Wipe with white spirit (mineral spirits) to reveal true wood color.
Apply new finish:
1. Danish oil is recommended. It enhances grain, provides natural sheen, and is easy to apply.
2. Apply 2 to 3 coats, drying fully between each.
Buff to shine:
1. Lightly buff with 0000 steel wool or microfiber cloth.
Result is a like-new table free of stains and scratches. Use fine grit (220 or higher) and light pressure on veneer to avoid sanding through.
Prevent Future Water Stains
Once the stain is gone, protect your table from repeat damage.
Immediate Spill Response
Wipe spills immediately. Do not let moisture sit. Use coasters and trivets for glasses and hot dishes. Place felt pads under lamps or decor.
Protective Coatings
Apply Danish oil or furniture wax every 3 to 6 months. This creates a moisture-resistant barrier, though it is not waterproof.
Environmental Control
Maintain stable humidity between 40 and 60 percent. Avoid placing tables near windows, radiators, or AC vents. Temperature swings stress finishes and cause damage.
Safety and Testing Guidelines
Never skip these critical steps before treating your table.
Always Test in a Hidden Area
Try every method (heat, oil, solvent) on a hidden spot first. Wait 24 hours if possible before treating visible areas.
Heat Safety
Never use steam on the iron, as it adds moisture and worsens damage. Monitor iron temperature. Too hot melts the finish.
Chemical Safety
Ventilate the area when using solvents. Wear gloves with lacquer thinner or alcohol. Keep all products away from children and pets.
Frequently Asked Questions About Removing Water Stains from Wood Tables
Does the iron method work on all types of water stains?
The iron method works only on white or hazy surface stains where moisture is trapped under the finish. It does not work on dark or black stains that have penetrated into the wood fibers. Those require sanding and refinishing.
Can I use mayonnaise to remove water stains from my dining table?
Mayonnaise can work on light, fresh stains on oil-finished or sealed wood. Apply a thick layer, wait 1 to 3 hours, then wipe clean. Results are mixed, and the method can leave a greasy residue. It is not recommended for antiques or valuable pieces.
How do I know if my table has a lacquer or polyurethane finish?
Test an inconspicuous area with lacquer thinner. If the finish softens or dissolves, it is lacquer. For polyurethane, the finish will resist both lacquer thinner and denatured alcohol. When in doubt, start with the gentlest methods (heat or oil) before trying solvents.
Will water stains come back after I remove them?
Water stains can return if moisture contacts the table again. Prevention is key. Use coasters, wipe spills immediately, and reapply protective oil or wax every 3 to 6 months to maintain a moisture-resistant barrier.
Can I remove dark water stains without sanding?
No. Dark or black water stains indicate the water has penetrated into the wood fibers and caused damage. Surface treatments like heat, oil, or solvents cannot reach this depth. Sanding to bare wood and refinishing is the only effective solution for deep stains.
Key Takeaways for Removing Water Stains from Wood Tables
Most water stains on wood tables are fixable without refinishing. Start with the iron method for white rings, as it is the most effective non-invasive technique. Use vinegar and olive oil for light marks or regular maintenance. Always match solvents to your finish type, using denatured alcohol for shellac and lacquer thinner for lacquer finishes.
If the stain is dark or deep, sand and refinish the entire surface for a uniform look. Prevention through coasters, quick spill cleanup, and protective oil applications keeps your table looking new. Test every method in a hidden spot first, and never use steam when applying heat.
With the right diagnosis and method, your wood table can be stain-free again without professional help.