How to Restore a Veneer Table
You’ve inherited a beautiful old table, but the surface is dull, scratched, or peeling. Before you write it off as ruined, know this: veneer tables can be restored—even when damaged. With the right techniques, patience, and respect for the material, you can revive its luster without destroying the thin layer of real wood that gives it character. The key is understanding that veneer is fragile, not solid wood, and treating it accordingly. This guide walks you step by step through diagnosing damage, repairing flaws, refinishing safely, and preserving your piece for years to come.
Assess Veneer Condition First
Before touching tools, inspect your table like a conservator. What looks like wear may actually be irreversible damage—or surprisingly fixable. Taking time to understand what you’re working with prevents costly mistakes.
Check Veneer Thickness and Age
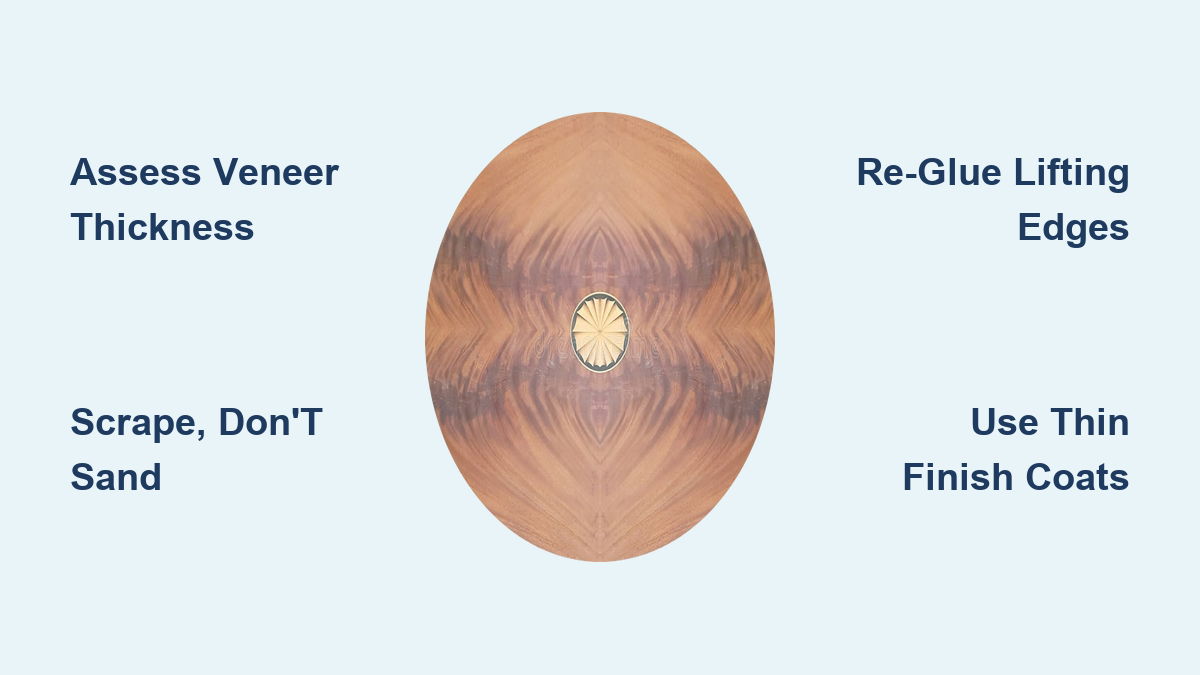
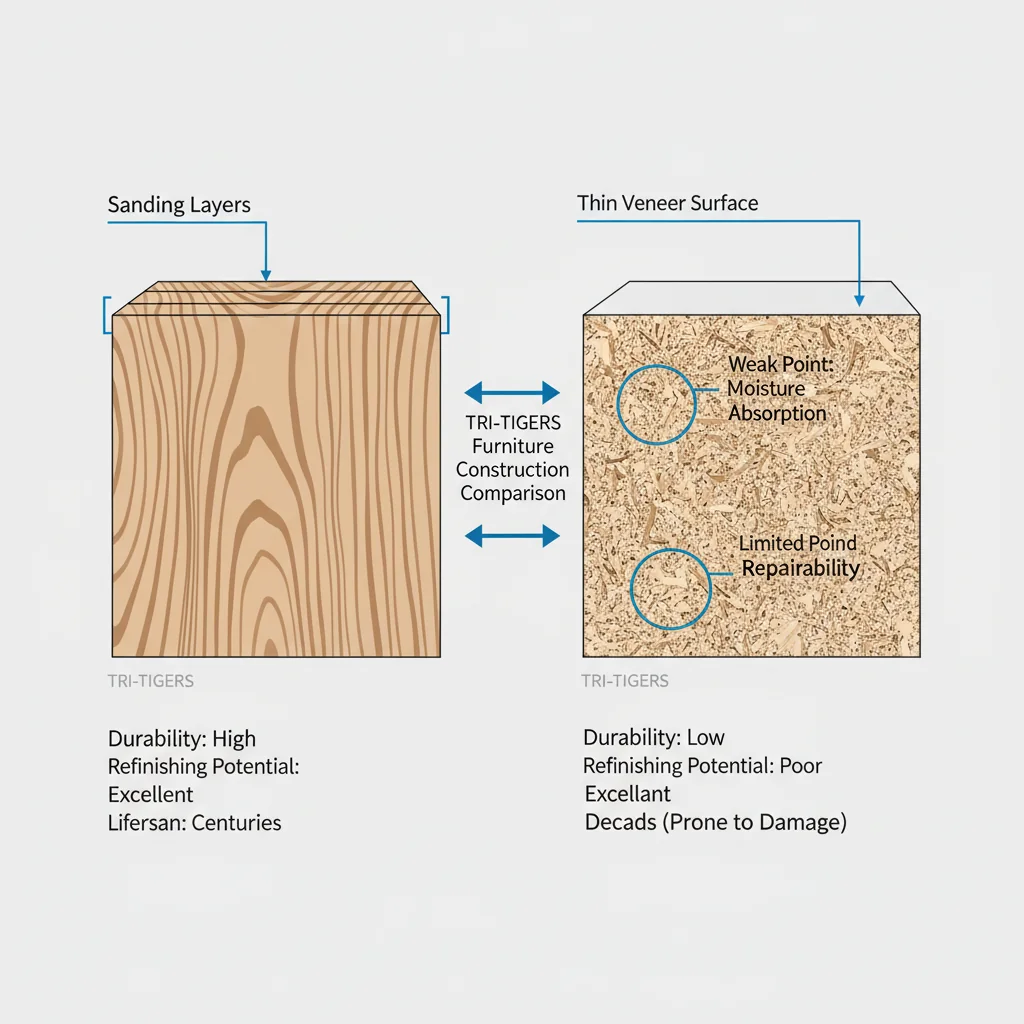
Begin by determining how much veneer you’re working with. Modern veneer is often just 1/32″ (0.8mm) thick—barely more than paper. Older pieces, especially pre-20th century, may have hand-cut veneer thick enough to sand lightly. To test thickness, look at the edges: if the grain wraps around and continues into the core, it’s likely solid wood or thick veneer. If it stops abruptly and reveals particle board or plywood, you’re dealing with thin modern veneer. Use a magnifying glass to examine the surface. If the wood grain looks consistent and deep, it’s high-quality. If it appears flat or plastic-like, it’s likely a laminate.
Identify Damage Type Accurately
Not all damage requires the same fix. Misdiagnosis leads to over-correction.
- Surface wear? Dull finish, light scratches, scuffs respond well to cleaning or light refinishing.
- Deep scratches or gouges? Darker lines where the finish and veneer are cut need filling and color matching.
- Peeling or lifting? Common on edges exposed to heat and moisture signals adhesive failure.
- Chips or missing sections? Exposed substrate means patching is essential.
- Sanded-through areas? Bare core material shows previous over-aggressive stripping.
Use a bright light at an angle to reveal subtle lifting or uneven surfaces. Run your fingers across the grain to feel for gaps or loose edges.
Locate Vulnerable Areas
Edges, corners, and joints are weakest. Pay special attention to:
- Table perimeter where cups and plates sit
- Ends of drawer fronts
- Areas near heat sources like radiators
- Places with visible glue lines or discoloration
These spots telegraph stress from expansion and contraction cycles. Address them early to prevent worsening.
Remove Old Finish Safely
Stripping the old finish is the most critical phase. One wrong move—too much pressure, wrong grit, or aggressive chemicals—can sand through veneer in seconds. Patience here saves the entire piece.
Scrape, Don’t Sand (Preferred Method)
For flat surfaces, a card scraper is your best tool. It removes finish without removing wood. Hold it at a 15 to 30 degree angle and pull with the grain. You’ll feel resistance as it lifts the varnish. Dust should be fine and dry—any wood fibers mean you’re cutting too deep. For tight corners or carved details, use a carbide scraper. These stay sharp longer and handle hard-to-reach spots better than metal scrapers.
Pro Tip: Tape off adjacent areas to protect undamaged finish during spot repairs.
Sand Only When Necessary
If the finish won’t scrape off, light sanding is acceptable but only with extreme caution.
- Start with 120-grit on a random orbital sander, keeping the tool moving constantly.
- Never let the sander dwell in one spot—swirls and burn-through happen fast.
- On curves or edges, switch to hand sanding with 100-grit paper, always following the grain direction.
- Finish with 220-grit hand sanding to smooth the surface.
Warning: Skip heavy grits like 60 to 80. They remove material too quickly and risk exposing the substrate.
Clean After Stripping
Dust, wax, and old polish residue interfere with new finishes. Wipe the entire surface with mineral spirits using a lint-free cloth. This removes grime and tests for remaining finish. If the wood darkens slightly and grain pops, you’re clean. If it beads or feels sticky, repeat. If the table was treated with silicone-based products like Pledge, perform a silicone wash using denatured alcohol mixed with water. Apply, then buff dry, and follow with a final mineral spirits wipe. Failure to remove silicone causes fish-eyes—tiny craters in your new finish.
Repair Scratches and Minor Damage
Not every flaw needs surgery. Most surface issues can be fixed with simple, reversible methods that preserve the original character.
Fix Hairline Scratches Fast
For shallow marks that haven’t broken the finish:
- Furniture marker: Use a brown Sharpie or professional marker matched to the wood tone. Color lightly, then blot excess with a white spirit-dampened cloth.
- Wax stick: Rub a color-matched wax filler into the scratch. Buff immediately with a soft cloth to blend.
- Polish boost: High-quality beeswax or non-silicone polish fills micro-scratches and restores shine temporarily.
Test first: Try on an inconspicuous area. Some markers leave a glossy patch.
Fill Small Chips and Dents
When veneer is missing but the hole is shallow:
- Choose a wax filler stick for tiny voids less than 1/8 inch.
- Press firmly into the chip until overfilled.
- Shave flush with a plastic scraper like a credit card edge.
- Buff lightly.
For deeper damage, use solvent-based wood filler. Apply with a small putty knife. Let dry completely. Sand with 320 to 400 grit paper until level. Stain to match using diluted walnut stain and white spirit, building color slowly.
Avoid water-based fillers. They raise the grain and swell thin veneer.
Re-Glue Lifting Veneer Sections
Peeling edges are common in kitchens or sun-exposed rooms. Heat and humidity break down glue bonds over time. Catching this early prevents major repairs.
Lift and Clean Carefully
Use a utility knife or razor blade to gently lift the loose edge. Don’t force it—veneer tears easily. Once open, scrape off old crumbly glue with a chisel. Soften hide glue with hot water or denatured alcohol. Wipe both the substrate and veneer back with mineral spirits.
Note: Denatured alcohol crystallizes old hide glue, making it easier to remove.
Apply Adhesive and Clamp
Use one of these glues depending on size:
- Wood glue (PVA): For small areas, apply to both surfaces.
- Hot hide glue: Traditional, reversible, strong. Requires heating.
- Epoxy: For gaps or weak substrates. Thickens well.
- Super glue (cyanoacrylate): For pin-sized lifts. Apply a drop, press, and wipe excess instantly.
After application, lay veneer flat. Place wax paper over the repair to protect the surface. Use a clamp or heavy object for even pressure. Wait 6 to 24 hours before handling. Wipe squeeze-out immediately with a damp cloth—dried glue creates ridges.
Patch Missing Veneer Like a Pro

When chunks are missing, a Dutchman repair—inserting a new piece—is the gold standard. This technique has been used for centuries to restore fine furniture.
Prepare the Damaged Area
Cut away loose or damaged material. Use a sharp knife to square the edges—straight cuts fit better than curves. Remove any compromised substrate like MDF or particle board so the patch bonds to solid material.
Cut and Fit the Patch
Find matching veneer. Salvage from hidden areas like the underside or drawer interiors. Buy pre-cut veneer sheets in walnut, oak, or maple. For thick antique veneer, cut from solid wood of the same species. Cut the patch slightly oversized. Use the removed piece as a template if available. Tape one edge with blue painter’s tape to create a hinge. This lets you flip the patch up to apply glue, then close it precisely. Refine fit with a chisel until snug with no gaps.
Bond and Level the Patch
Apply epoxy slightly thickened or wood glue. Epoxy fills minor gaps and resists moisture. Use clamps for 10 minutes or apply firm hand pressure. Once cured, trim overhang with a sharp knife. Level the patch using a block plane or card scraper—not sandpaper, which creates heat and uneven wear. Protect surrounding veneer with masking tape to avoid cutting into aged wood. Sand progressively: 100 to 240 grit, always with the grain. Stain to match using diluted walnut stain. Test on scrap first with boiled linseed oil to simulate final appearance.
Sand Veneer Without Burning Through
Sanding is where most restorations fail. The goal is smoothing, not material removal. Thin veneer disappears quickly under aggressive sanding.
Follow the Grain Rule
Veneer sheets are joined side-by-side, each with its own grain direction. Sanding across grain creates visible scratches that no finish can hide. Inspect the surface under angled light. Note grain changes. Adjust your hand or tool direction accordingly for each section.
Use the Right Grit Progression
- Start: 100 to 120 grit (only if finish is stubborn or deep scratches exist)
- Mid: 150 to 180 grit to remove previous scratches
- Finish: 220 to 240 grit by hand for silky smoothness
Never jump from 100 to 400 grit. Each step prepares the surface for the next.
Hand Sand Final Surfaces
Power sanders are too aggressive for final passes. Use a soft sanding block or fingers with 220-grit paper. On edges and corners, reduce pressure. These areas wear fastest. When the surface reflects light evenly with no swirls or flat spots, you’re ready to finish.
Choose and Apply the Right Finish

The wrong finish ruins durability. The right one protects for decades. Your choice depends on the table’s intended use and the wood species.
Pick a Durable Topcoat
Avoid shellac for dining tables. It fails under water, heat, and alcohol. Best options include:
- Oil-based polyurethane or spar urethane: Tough, ambering, ideal for high-use surfaces. Apply 5 coats.
- Water-based polyurethane: Clear, low odor. Cures in about 4 weeks. Use 3 to 4 coats.
- Waterlox or Behlen’s Rockhard: Tung oil-based, penetrates deeply, excellent for dark woods.
- Acrylic spray varnish: Great for intricate shapes. Hard, heat-resistant finish.
- Wax: Traditional, low protection. Use only on antique pieces where authenticity matters.
Apply Finish in Thin Coats
- Optional barrier coat: Brush on shellac to lock in contaminants. Let dry 24 hours, then sand with 400 grit.
- Stain if desired: Apply with rag, wipe excess, let dry overnight.
- Topcoats: Apply thin, even layers. Let dry overnight between coats. Sand lightly with 320 to 400 grit between coats. Wipe with tack cloth to remove dust.
- Final cure: Wait 2 to 4 weeks before heavy use, especially for water-based finishes.
Buff final surface with fine steel wool or soft cloth for desired sheen.
Fix Sanded-Through Veneer Areas
If the core is exposed—MDF, particle board, or plywood—you can’t sand it away. But you can disguise it. This is a common beginner mistake that’s fixable.
Spot Repair with Stain or Paint
- Sand surrounding veneer with 400 grit to feather edges.
- Use satin oil-based stain or spray paint in espresso.
- Mist lightly over the exposed area, blending outward.
- Let dry, then apply 5 coats of spar urethane, sanding between.
Pro tip: Spray paint gives a more uniform match than brush-on.
Replace All Veneer (Last Resort)
If large areas are damaged, strip remaining veneer with a heat gun and putty knife. Apply new veneer sheet using contact cement or veneer glue. Press with roller, clamp, or vacuum press. Finish with polyurethane.
Turn Damage into Design
Route out deep gouges and insert contrasting wood inlay, resin fill with decorative elements, or brass markers. This kintsugi approach embraces flaws as part of the table’s story.
Maintain Your Restored Table
A beautiful finish won’t last without proper care. Your restoration work pays off only with ongoing attention.
Clean Gently and Regularly
- Dust daily with a dry microfiber cloth—dust scratches over time.
- Spills? Wipe immediately with a barely damp cloth, then dry.
- Never use ammonia, Windex, or abrasive cleaners.
Use mild soap only when necessary, and always dry thoroughly.
Wax for Protection
Apply beeswax or non-silicone furniture polish every 6 to 12 months. It adds a soft sheen and repels moisture.
Avoid silicone-based polishes. They build up, prevent future refinishing, and cause fish-eyes.
Control the Environment
- Humidity: Keep between 40 and 60 percent. Use a humidifier in winter.
- Sunlight: UV rays fade wood unevenly. Use curtains or UV window film.
- Heat: Keep away from radiators, stoves, and direct sunlight.
- Coasters and trivets: Always use them. Even warm mugs can cause checking.
Inspect edges monthly. If you see lifting, re-glue immediately before moisture seeps in.
Frequently Asked Questions About Restoring a Veneer Table
Can a veneer table be restored if it’s peeling?
Yes. Peeling veneer can be re-glued using wood glue, hot hide glue, or epoxy. Gently lift the loose section, clean off old adhesive, apply fresh glue, and clamp for 6 to 24 hours. Address peeling early to prevent tears.
How do I know if my veneer is too thin to sand?
Modern veneer is typically 1/32 inch thick. If you can see the substrate (MDF or particle board) at the edges, it’s thin. Test an inconspicuous area with light 220-grit sanding. If the wood fibers lift easily, stop and switch to scraping or chemical stripping.
What’s the fastest way to fix scratches on a veneer table?
For hairline scratches, use a color-matched furniture marker or wax stick. Apply carefully, then blot excess with white spirit. For deeper scratches, fill with solvent-based wood filler, sand smooth, and stain to match.
Should I use oil-based or water-based polyurethane on a veneer table?
Oil-based polyurethane offers better durability and richer amber tones. Water-based dries clear with low odor but takes longer to fully cure. For dining tables, oil-based or spar urethane with 5 coats provides the best protection.
Can I paint over a damaged veneer table instead of restoring it?
Yes. If the damage is extensive or the veneer is unsalvageable, painting is a viable option. Sand lightly, apply a quality primer, then use furniture paint. This covers damage but removes the wood grain character permanently.
Key Takeaways for Restoring Your Veneer Table
Restoring a veneer table isn’t about making it look new. It’s about honoring its age while ensuring longevity. The most common mistake is rushing. Take your time, respect the material, and let each step cure fully. Assess your veneer thickness before choosing repair methods. Use scraping instead of sanding whenever possible to preserve material. Apply thin coats of a durable finish like spar urethane, and maintain the piece with gentle cleaning and periodic waxing. Whether it’s a family heirloom or a thrift store find, a well-restored veneer table becomes more than furniture—it becomes legacy.