How to Build a Poker Table
Building a poker table from scratch is a rewarding DIY project that combines craftsmanship, functionality, and personal style. Whether you’re creating a centerpiece for game nights or building a permanent fixture in your man cave, a custom poker table offers significant savings—often under $500—compared to retail models that can exceed $2,000. With the right tools, materials, and step-by-step guidance, you can construct a professional-grade table tailored to your space, design preferences, and playing needs.
This guide walks you through every phase: from choosing between a raised or standard rail, selecting the ideal materials, and cutting precise shapes, to upholstering with speed cloth and vinyl, integrating LED lighting, and ensuring long-term durability. You’ll also learn how to avoid common pitfalls like blade snapping during circle cuts or wrinkled felt due to improper tension. By the end, you’ll have a sleek, functional poker table built to last—perfect for hosting tournaments or casual Friday games.
Choose Your Table Shape and Size
Pick Rectangular, Oval, or Octagonal
The shape of your poker table affects both aesthetics and player comfort. Rectangular tables are classic and space-efficient, ideal for tight rooms. Oval designs offer a softer look and better sightlines, while octagonal tables mimic casino layouts and promote equal player access.
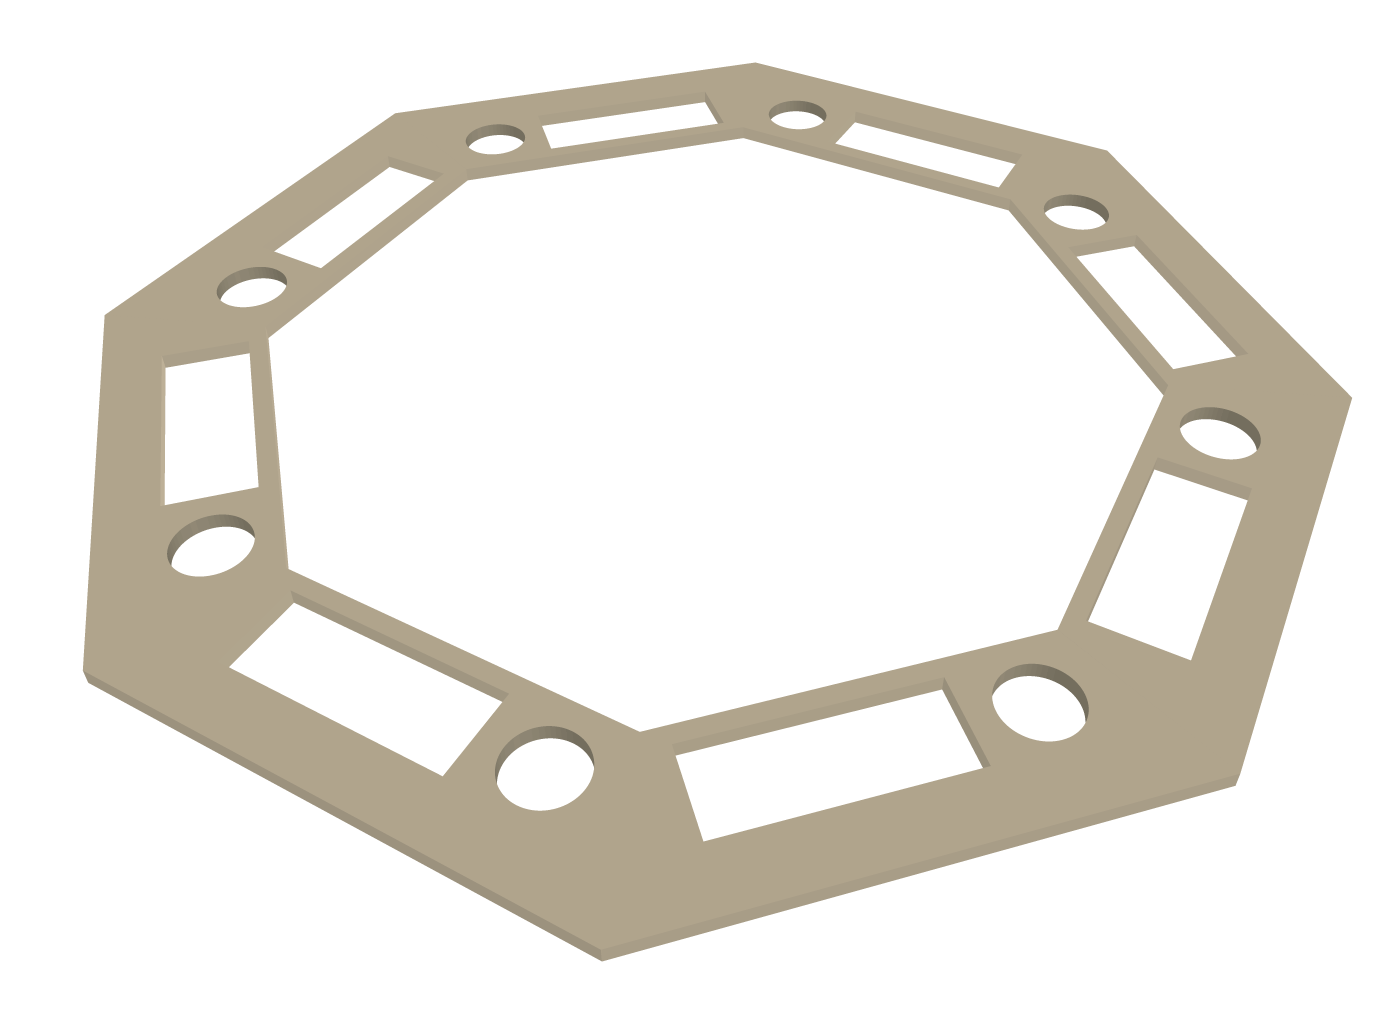
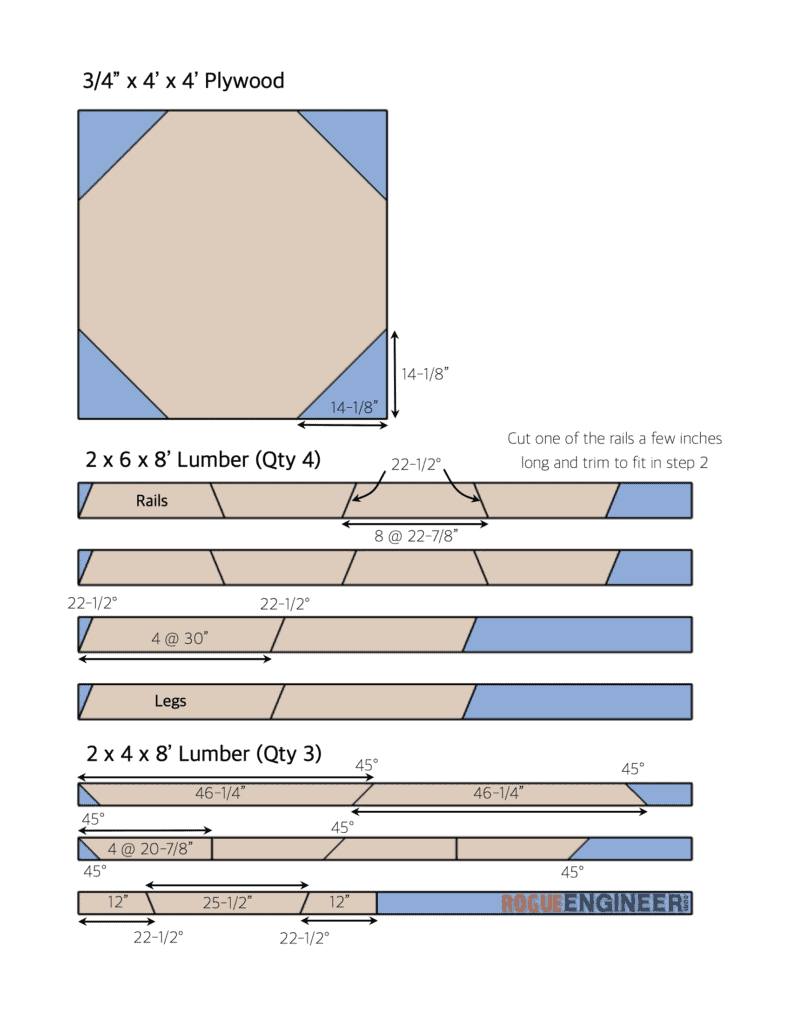
For an octagonal build, each of the 8 sides should be cut at a 45-degree angle, with outer edges measuring approximately 10.4 inches. This results in a 48-inch outer diameter and a 36-inch inner chip rail diameter, fitting 8–10 players comfortably.
Set Standard Dimensions
A full-sized rectangular table typically measures 95.5″ x 44″, providing ample space for 10 players. The playing surface is often a 48-inch square, centered within the larger frame.
The rail width is usually 6 inches, giving players room for arms and drinks. If using a raised rail, plan for a 1-inch height difference between the playing field and armrest area. This adds a premium feel but requires careful layering during assembly.
Select Materials for Durability and Style

Use High-Quality Plywood
The substrate forms the table’s backbone and must be flat and stable. Baltic birch (18mm / 3/4″) is top-tier—knot-free, warp-resistant, and ideal for clean edges. Expect to pay $85–$120 per sheet, but the investment pays off in finish quality.
For budget builds, cabinet-grade UV-coated plywood at 3/4″ thickness costs $38–$45 per sheet and offers a smooth, prefinished surface. Use 1/2″ material for upper layers to reduce weight without sacrificing strength.
Avoid standard particle board unless it’s walnut-veneered over a particle core, which hides edge grain but adds weight.
Add Foam for Comfort
Padding ensures smooth card handling and comfortable armrests. On the playing surface, apply 1/4-inch high-density closed-cell foam. It provides slight bounce and a firm base for speed cloth.
For the rail, wrap a 1-inch thick rail foam (47 lb density) around the wood frame. This creates a soft, supportive armrest that resists compression over time.
Pick Felt and Vinyl Upholstery
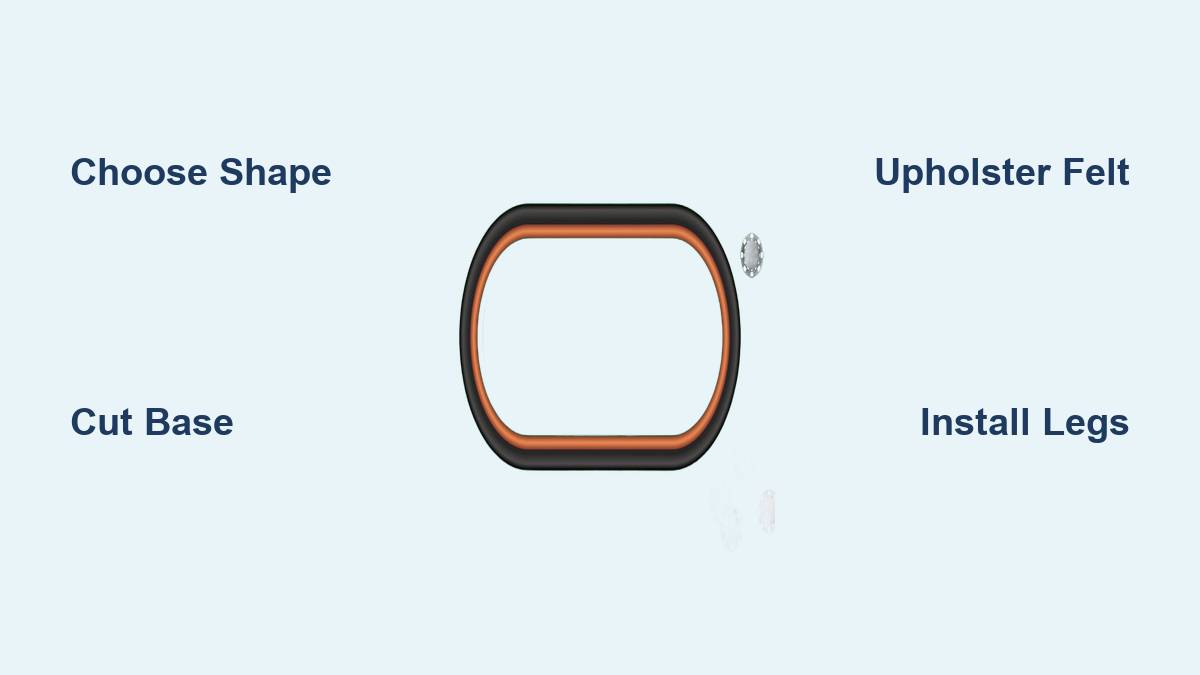
The playing surface demands a non-stretch material like speed cloth or custom velveteen felt. British Racing Green is a popular choice for its authentic casino look. You’ll need a piece around 48″ x 100″ for an octagon.
For the rail, use four-way stretch vinyl (such as Black Whisper Plus) to handle curves without wrinkles. Vinyl is spill-resistant and easy to clean, making it ideal for drink-heavy game nights.
Assemble the Table Base
Cut the Base to Final Size
Start with a 96″ x 48″ sheet of plywood. Trim it to 95.5″ x 44″ using a track saw to remove factory edges and ensure perfect squareness. Always cut oversized first, then flush-trim later for alignment.
For rectangular tables, round the corners using a spiral-down router bit and a circle-cutting jig. Mark the center point 22″ from each end, drill a pilot hole, and pivot the router for smooth arcs.
Build an Octagonal Top
Cut 8 identical trapezoidal segments with 45-degree mitered ends. Assemble them into a ring using Clamx connectors for even clamping pressure. Once glued, sand the edges smooth and use the completed top as a template for the substrate.
Place the top on a second sheet of plywood and trace around it. Then, use a flush trim router bit to cut the substrate layer exactly to size.
Create a Raised Rail Base
To elevate the rail, build a 1-inch riser from stacked plywood strips: 3/4″, 1/2″, and 1/4″ layers glued together. Attach these to the main base to support the rail structure.
This creates a step-up design that separates the playing surface from the armrest, enhancing both function and appearance. Ensure the riser is perfectly level to prevent wobble during play.
Fabricate the Rail and Playing Surface
Cut the Rail Ring
Using a circle-cutting jig, cut a 6-inch wide ring from 1/2″ plywood. The inner diameter should match your playing field, typically 48 inches.
Smooth all edges with a 1/8-inch roundover bit to prevent chipping and improve comfort. This ring will sit atop the riser and form the foundation for foam and vinyl.
Prepare the Playing Field
Cut the inner playing surface from 1/2″ plywood, slightly smaller than the rail opening (1/8″ to 1/4″ inset) to allow for fabric overlap and diffuser installation if adding lights.
Sand the surface lightly with 220-grit paper, avoiding aggressive passes that could burn through veneer. Wipe clean before applying foam.
Install Cup Holders
Drill holes for 8–10 stainless steel cup holders using actual measurements—never rely on manufacturer specs. Test-fit on scrap wood first.
Use a CNC machine or hole saw to cut precise openings. Depth should match the combined thickness of rail and substrate. If too shallow, the modular design allows for easy replacement of the affected rail section.
Upholster with Precision

Glue Down Playing Surface Foam
Apply 3M All-Purpose Adhesive liberally to the substrate. Lay the 1/4″ foam sheet and let it sit under its own weight for 24 hours—no clamps needed.
Trim excess foam with a sharp utility knife and straightedge. A clean, wrinkle-free surface ensures the felt lies flat.
Stretch and Staple the Felt
Lay the speed cloth or felt face-down. Place the foam-covered board on top and pull tightly in all directions before stapling.
Start at the center of each side, working outward. Use a heavy-duty stapler and check for even tension—wrinkles mean insufficient stretch.
For corners, slightly undercut the felt before folding to avoid bulky creases. This creates a clean, professional finish.
Wrap and Cover the Rail
Wrap the 1-inch rail foam around the wooden ring and secure with adhesive. Then, apply four-way stretch vinyl over it.
Begin at the center of one side. Stretch the vinyl tightly over the outside edge, where curvature is most challenging. Staple every 2–3 inches, adjusting tension as you go.
Pay extra attention to transition zones where the rail meets the playing surface. Trim excess carefully and tuck edges neatly.
Assemble and Finish the Table
Glue Layers Together
Align the racetrack (rail + playing surface) with the base. Use Titebond Quick and Thick glue on the riser and clamp with Clamx connectors for even pressure.
Tape the underside seams to catch squeeze-out. Let cure for at least 6 hours before removing clamps.
Secure Substrate and Trim
Once glued, reinforce the bond by screwing the substrate to the base from below. Use 5mm euro screws that don’t penetrate through the top layer—preserving the finish.
Install internal trim pieces cut from offcuts to create a smooth step-down between layers. Glue lightly and pin with brad nails.
For external aprons, dry-fit them 1/8 inch proud of the racetrack. This creates a visual separation and enhances the custom look.
Round All Edges
Use a 1/8-inch roundover bit on all exposed edges—base, apron, and rail. This softens the look and prevents splinters.
Run the router slowly to avoid burning the veneer. If minor burns occur, touch up with matching oil or stain.
Attach Legs and Mounting Hardware
Install Gorilla Legs or Casino-Style Supports
Choose Gorilla legs or similar casino-grade supports for stability and knee clearance. These are lightweight, strong, and designed for frequent use.
Drill holes in the base to accept 5mm euro screws or 1/4″-20 bolts with T-nuts. Euro screws are preferred—they grip tightly and don’t protrude.
Add Threaded Inserts for Disassembly
Install threaded inserts into the substrate so legs can be removed easily. This enables transport and storage without damaging the table.
Use a drill press or guide to ensure straight holes. Insert with a hex key or impact driver.
Mount for Vertical Storage
Build a French cleat from two layers of 3/4-inch Baltic birch to match the apron height. Attach one piece to the table’s underside, the other to the wall.
This allows the table to be mounted vertically, saving floor space. The cleat holds over 300 lbs, making it safe and stable.
Add Advanced Features

Integrate LED Lighting
Install continuous COB LED strips (like DAYBETTER) under the rail for ambient glow. Choose strips with built-in diffusion to avoid visible dots.
Route wires through a channel in the base. Add a remote-controlled dimmer for mood lighting—especially effective in home theater rooms.
For power, consider adding USB ports (up to 10) in the rail for charging phones and tablets. This turns your table into a modern entertainment hub.
Design for Multi-Function Use
Create a removable plywood topper that sits flush on the rail foam. This transforms the table into a dining or workspace.
No spacers needed—the foam compresses slightly but rebounds fully. Ensure the topper is flat and evenly weighted to avoid permanent compression.
Avoid Common Building Mistakes
Prevent Blade Snapping During Cuts
When using a jigsaw with a circle-cutting attachment, ensure the pivot point is set 1.5 inches back from the blade. If too close, the blade binds, overheats, and snaps.
Always consult your jig’s manual and test on scrap wood first. A smooth, slow cut prevents smoke and tear-out.
Fix Cup Holder Fit Issues
Never trust published hole sizes. Measure your actual cup holders upon delivery and test-cut on scrap material.
If the hole is too small, widen it with a router. If too large, replace the rail segment—modular design makes this easy.
Eliminate Felt Wrinkles
Wrinkles come from insufficient tension or using non-stretch fabric on curved rails. Stick to speed cloth for the playing surface and four-way stretch vinyl for the rail.
Pull felt taut from the center outward. Staple gradually, checking alignment frequently.
Stop Veneer Burning During Sanding
Aggressive sanding or tilting the sander can burn through thin veneers. Use a detail sander with fine-grit paper (220+) and light pressure.
If minor burns occur, clean with Rubio Rawwood Cleaner and reapply oil or stain.
Frequently Asked Questions About Building a Poker Table
How much does it cost to build a poker table?
Building a professional-grade poker table typically costs under $500, including materials like Baltic birch plywood, foam, speed cloth, and vinyl. Retail models with similar quality can cost $2,000 or more. Ultra-budget builds can come in under $200 with basic materials.
What tools do I need to build a poker table?
Essential tools include a jigsaw with circle-cutting attachment, a router with flush trim and roundover bits, a track saw for precision cuts, and heavy-duty staplers for upholstery. A detail sander, drill press for threaded inserts, and Clamx connectors for clamping are also recommended.
How long does it take to build a poker table?
The project can be completed in an afternoon with two people, or approximately 1.5 days for a solo builder. Complex builds with custom finishes, LED integration, or elaborate designs may take several weeks due to drying times and additional detailing.
What is the best plywood for a poker table?
Baltic birch (18mm/3/4″) is the top choice for its knot-free layers and warp resistance, though it costs $85–$120 per sheet. Cabinet-grade UV-coated plywood offers a budget-friendly alternative at $38–$45 per sheet while still providing a smooth, prefinished surface.
How do I prevent wrinkles when installing felt?
Use speed cloth (non-stretch material) for the playing surface and pull it extremely tight before stapling. Start stapling at the center of each side and work outward. For the rail, always use four-way stretch vinyl, which handles curves much better than fabric.
Can I add LED lighting to my poker table?
Yes, continuous COB LED strips can be installed under the rail for ambient glow. Choose strips with built-in diffusion to avoid visible dots. Add a remote-controlled dimmer for adjustable lighting, and consider integrating USB ports into the rail for charging devices.
Key Takeaways for Building Your Own Poker Table
Building a poker table is a blend of precision and creativity that rewards careful planning and attention to detail. The most critical factors for success are selecting quality materials (Baltic birch for the base, high-density foam for comfort, and speed cloth for the playing surface), making accurate cuts using proper jig setups (especially the circle-cutting attachment pivot point), and applying upholstery with proper tension to avoid wrinkles.
With proper planning, quality materials, and attention to detail, you can create a durable, beautiful centerpiece that rivals commercial models. Prioritize accurate cuts, proper tension during upholstery, and modular design for future repairs. Whether you opt for a simple rectangular build or a high-end octagon with LED lighting, your custom table will deliver years of entertainment—and pride in craftsmanship. Start with a clear budget, gather your tools, and tackle one section at a time for the best results.