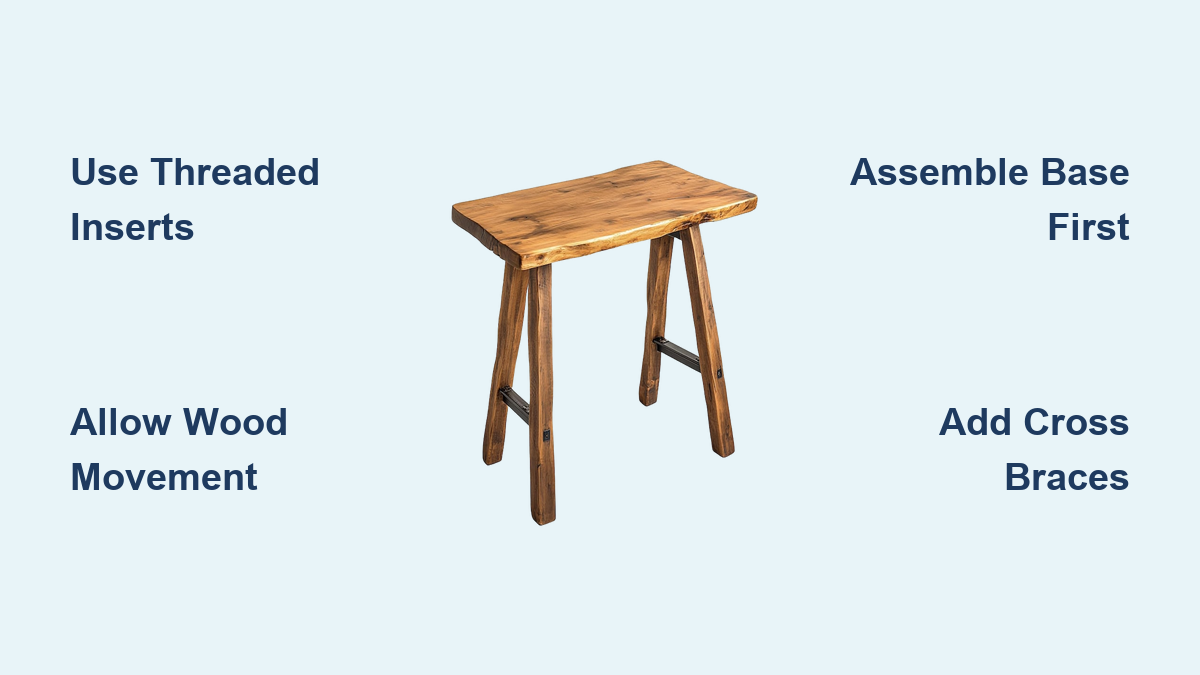
How to Attach Legs to a Table: Quick Steps
You’ve built or bought a beautiful tabletop, but now comes the critical step that determines whether your table stays stable for years or becomes a wobbly nightmare. Choosing the right method to attach legs to a table isn’t just about screwing parts together. It affects stability, longevity, and whether your tabletop cracks over time. Different tables demand different approaches, from simple hardware for portable pieces to traditional joinery for heirloom dining tables.
This guide covers every major technique, from beginner-friendly hardware to expert-level methods. You’ll learn which attachment system matches your table type, how to account for wood movement, and which tools ensure lasting strength. By the end, you’ll know exactly how to attach legs to a table correctly, whether you’re building a sleek coffee table or a sturdy family dining table.
Choose the Right Attachment Method for Your Table
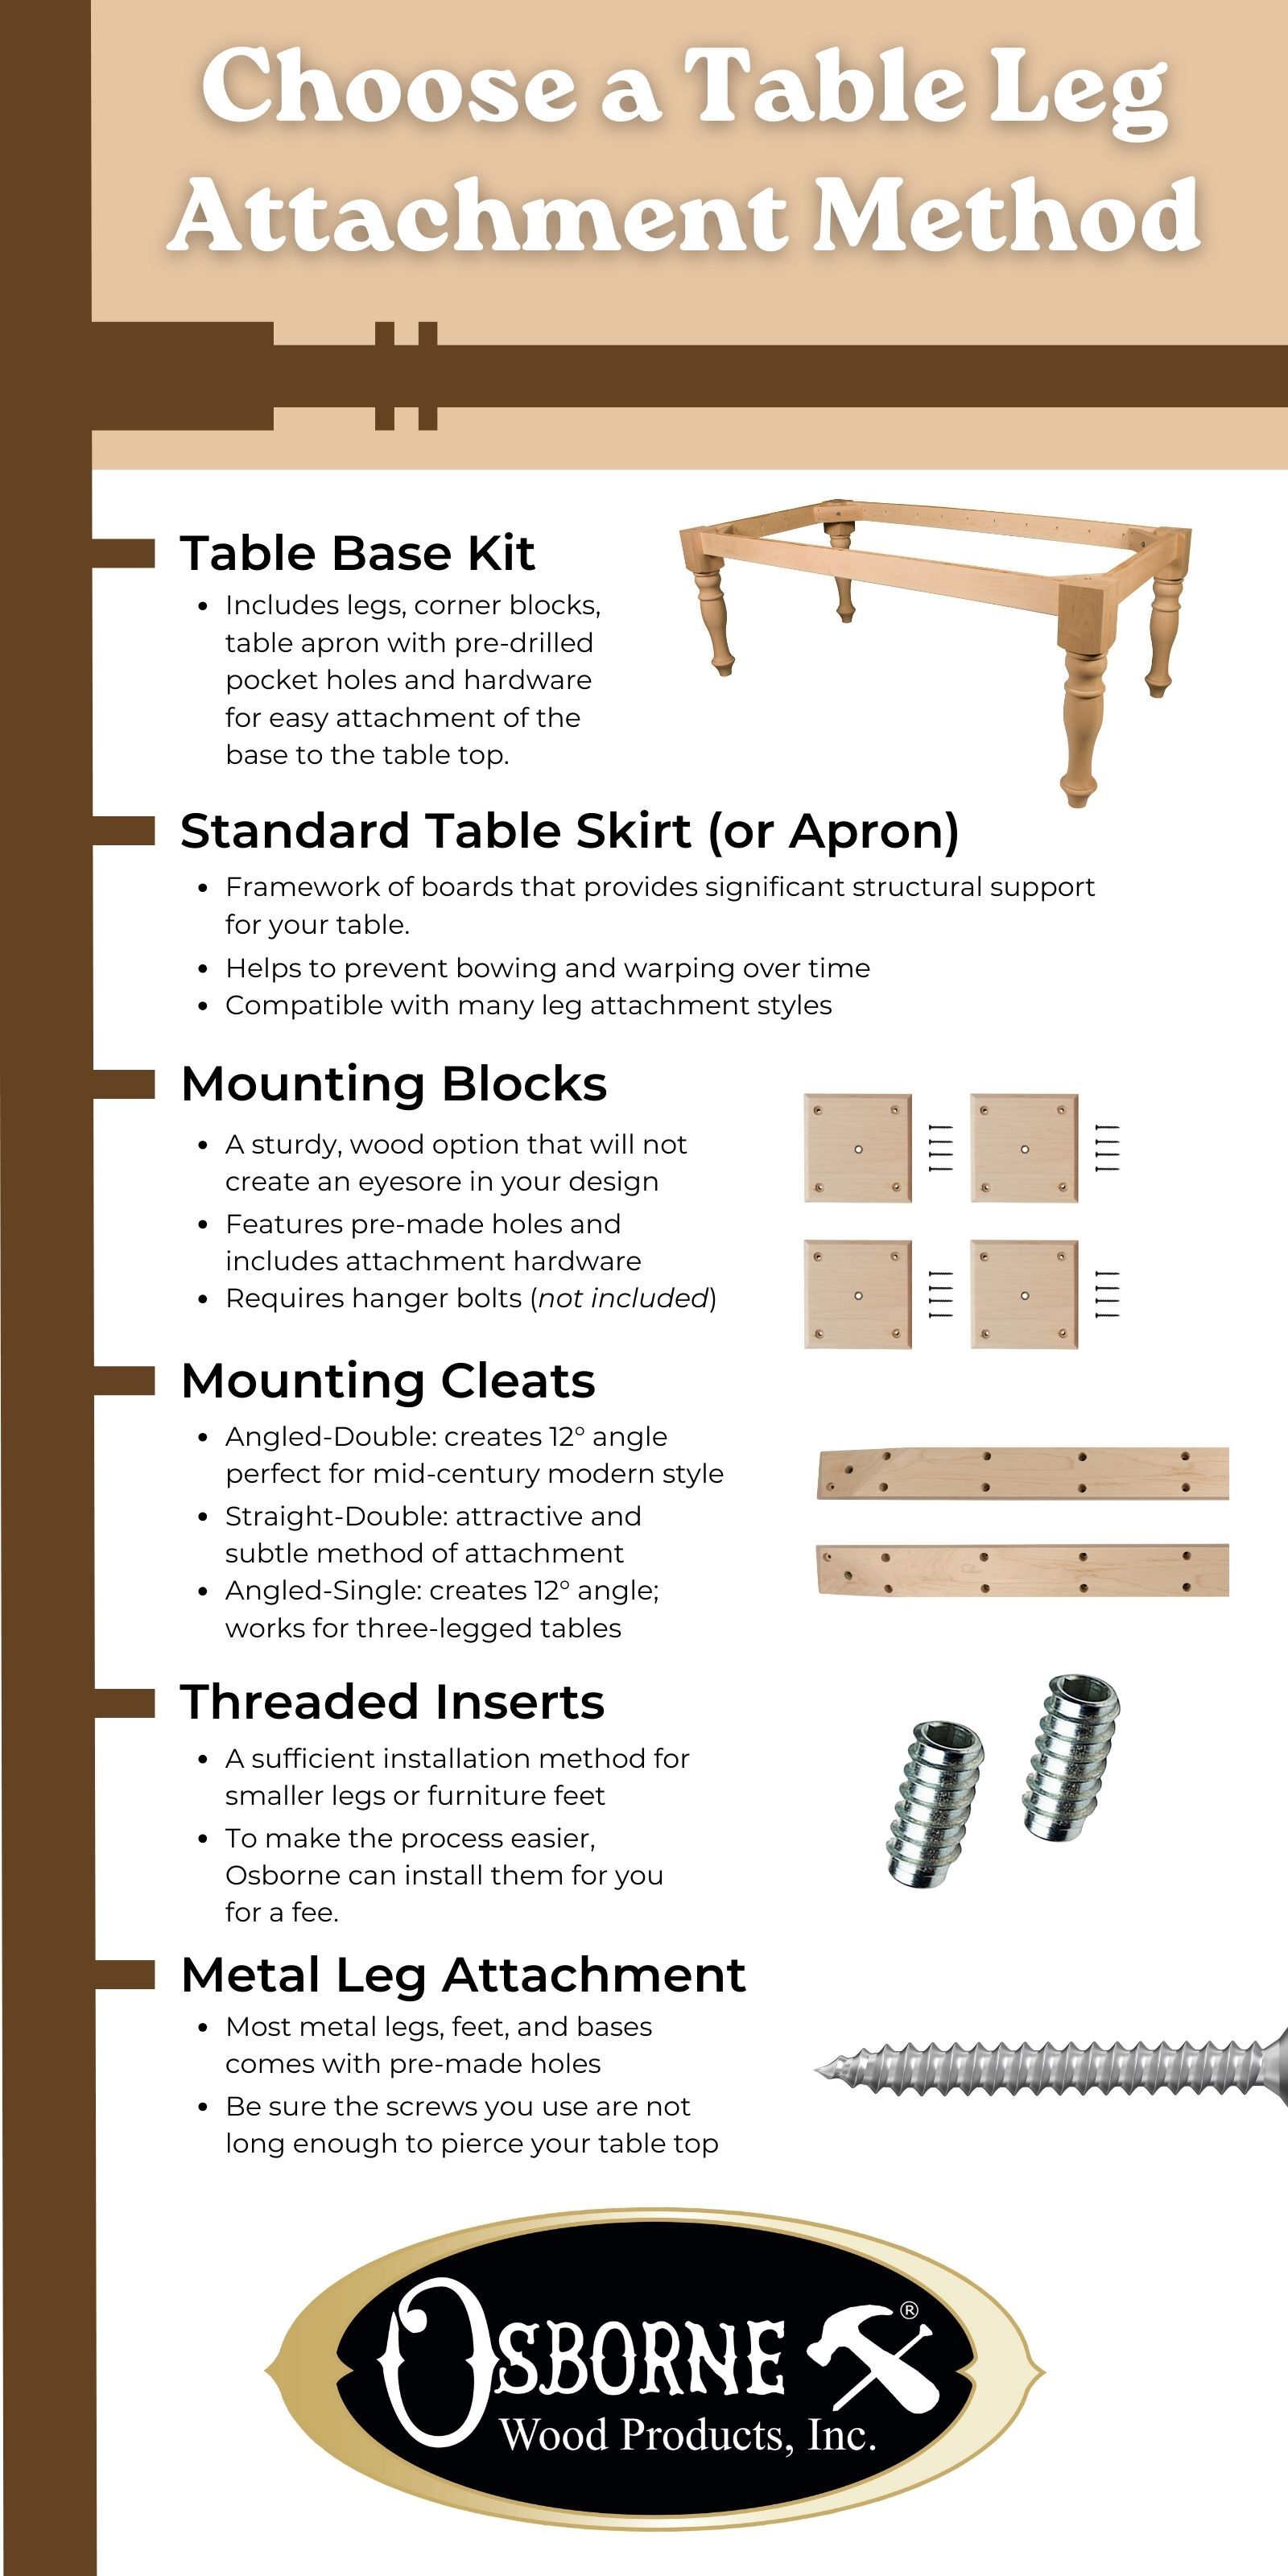
Your table’s function and construction determine the best way to attach legs. Some methods allow disassembly for storage and transport, while others create permanent, rock-solid bases. The wrong choice can compromise stability or damage your tabletop.
Match Your Method to Table Type
Different tables have different demands, and your attachment method should reflect how the table will be used.
• Small side tables work well with metal plates or threaded inserts
• Coffee tables benefit from threaded inserts or mounting blocks for clean lines
• Dining tables need mortise and tenon joints or heavy-duty cleats to handle weight and lateral stress
• Desks and workbenches require rigidity for heavy loads and daily use
• Console tables pair well with angled plates or mounting blocks
The table type directly influences which hardware or joinery method will perform best over time.
Account for Wood Movement with Solid Tops
Solid wood tabletops expand and contract across the grain with humidity changes. If you rigidly fasten the top to the base, stress builds up and leads to cracks, warping, or loose joints.
Never glue or screw a solid wood top directly to an apron without movement accommodation. Use one of these flexible attachment methods.
• Oversized screw holes with washers
• Wooden buttons in routed slots
• Floating dowels
These allow the tabletop to shift slightly while staying firmly anchored. The key is securing the top without trapping it.
Prioritize Strength Versus Portability
Ask yourself an important question: Will this table move often?
For frequent transport, choose detachable systems like threaded inserts, cleats, or mounting blocks. These allow assembly, disassembly, and storage without damage.
For permanent placement, traditional mortise and tenon or glued base kits offer maximum strength and stability.
For mixed use, the EasyBase system gives both strength and the ability to disassemble when needed.
Avoid methods that loosen over time, like basic screws, if the table will be moved regularly.
Install Detachable Legs with Hardware
Detachable hardware lets you assemble, disassemble, and store tables easily. These methods work best on apron-less tables with solid wood bases and are ideal for small spaces, rentals, or furniture that ships frequently.
Use Threaded Inserts for Invisible Strength
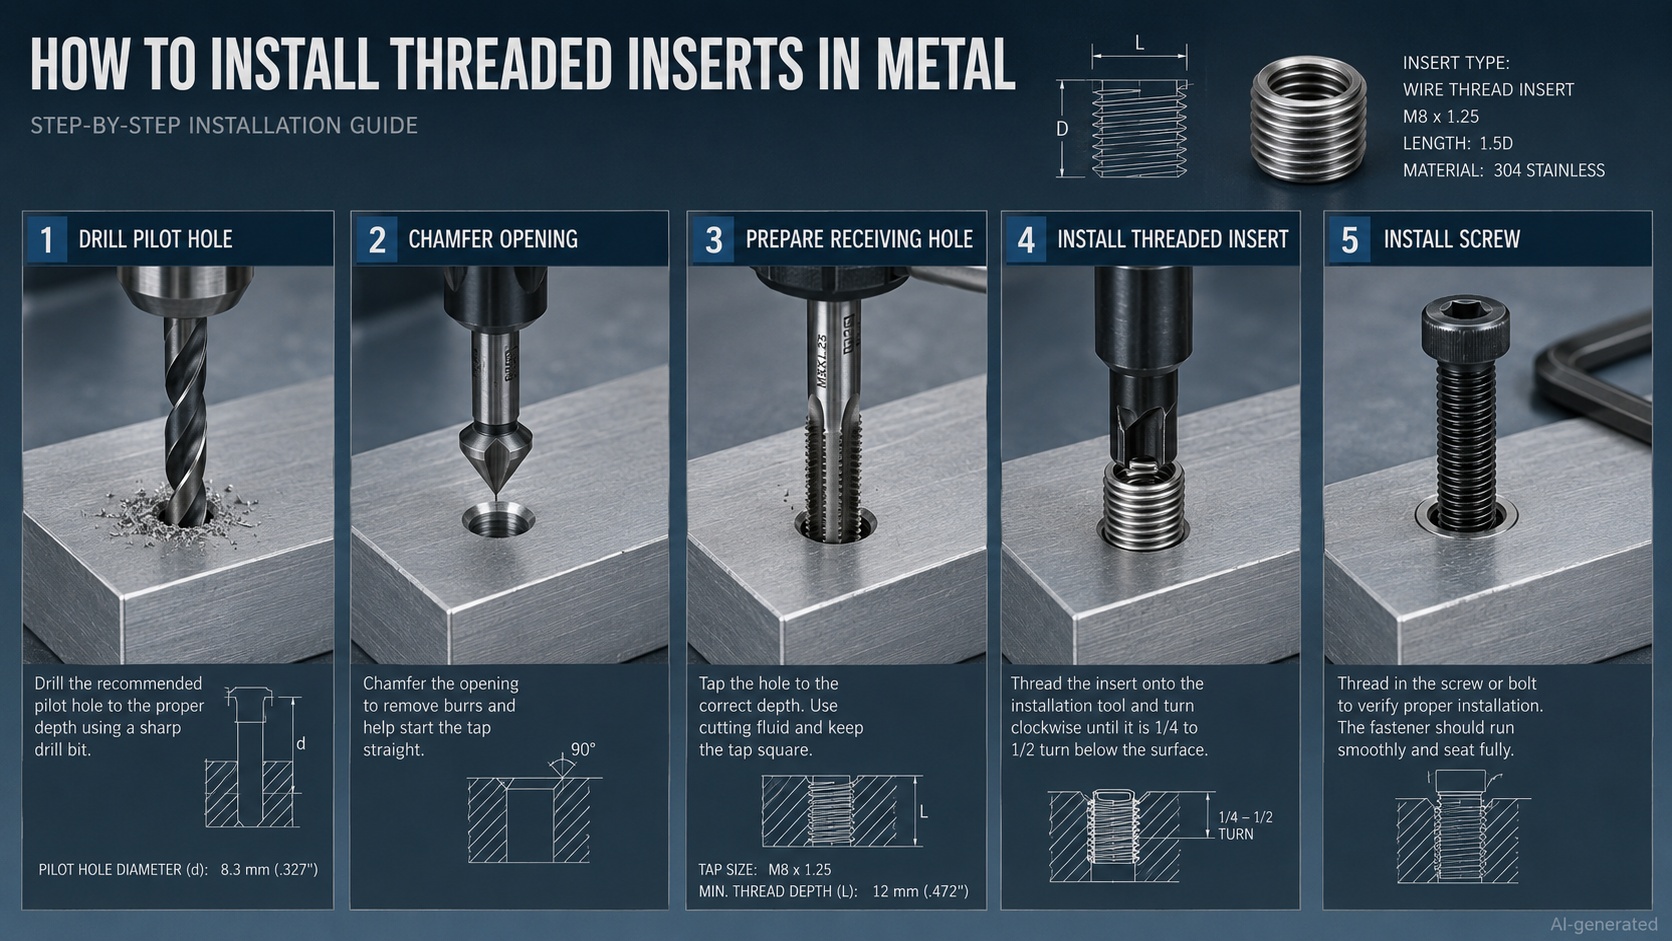
Threaded inserts let you screw legs into the tabletop with a bolt, creating a strong, hidden connection that maintains a clean underside.
Steps for installation:
- Mark leg positions on the tabletop underside
- Drill a 7/16″ pilot hole at each mark using a Forstner bit for flat-bottomed precision
- Apply a small amount of epoxy to an M5 or M6 threaded insert
- Tap it into the hole with a hammer, being careful not to overfill with epoxy
- Let cure completely, then screw in the leg using a 3/8″ bolt with ¾” exposed threads
Pro Tip: Pocket out the area so the steel plate sits flush. This keeps the underside clean and prevents dirt traps.
Threaded inserts work best for coffee tables, console tables, and any wood-based table needing frequent disassembly. They require precision drilling but reward you with a nearly invisible connection.
Attach with Mounting Blocks for Easy DIY
Mounting blocks are pre-shaped wooden pieces that screw to the tabletop, with legs attaching via bolts. This method is forgiving on thinner tabletops and provides strong results.
Steps for installation:
- Position the block under each leg location on the underside
- Secure with four screws, pre-drilling to prevent splitting
- Insert a 3/8″ x 2½” bolt halfway into the leg top
- Screw the leg up into the block from below
Mounting blocks offer several advantages: they are strong, visually clean with beveled edges, and relatively easy to install. However, watch for bolts loosening over time. Check annually and re-tighten as needed.
Fit Angled or Straight Cleats for Splayed Legs
Cleats are long wooden rails that support two legs at once, making them perfect for Mid-Century Modern designs with angled or splayed legs.
Steps for installation:
- Attach the cleat to the tabletop underside with screws
- Drill pilot holes in the leg tops at the proper angle
- Insert bolts with ¾” exposed threads into pre-threaded holes in the cleat ends
- Screw legs securely into position
Cleats have limits: avoid using them on tables wider than 44″ or longer than 70″. Too much span reduces stability and can lead to wobble. Single angled cleats work well for three-legged tables or center supports on benches.
Apply Metal Plates for Slim-Legged Tables
Straight or angled metal plates work with thin, tapered legs under 2.25″ in diameter. This method provides a clean, industrial look.
Steps for installation:
- Screw the plate to the tabletop underside using the provided holes
- Install a hanger bolt into the leg, leaving 5/16″ of exposed thread
- Screw the leg up into the plate
Metal plates work best for light-duty accent tables, small side tables, or MCM-style furniture. Avoid this method for dining tables or frequently moved pieces, as it’s not designed for heavy loads.
Attach Metal Legs Directly
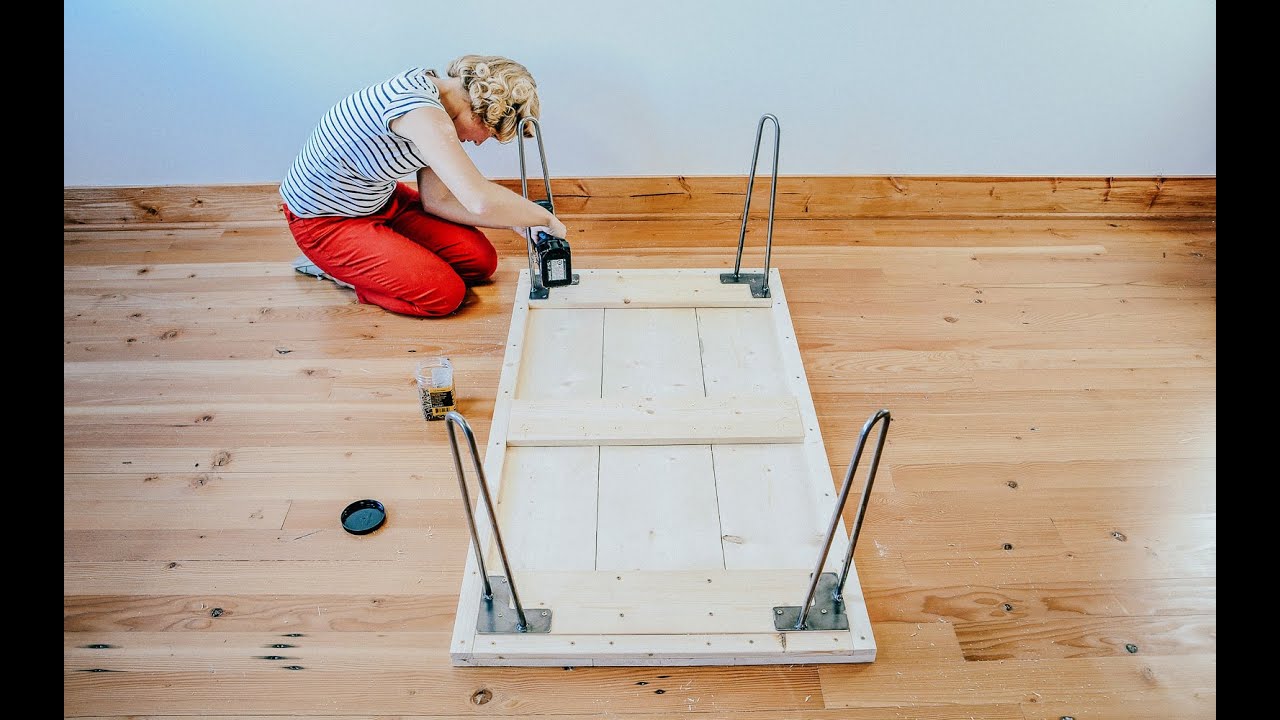
Metal legs like hairpin or industrial tapered styles attach straight to the tabletop with screws, offering the simplest installation method.
Choose the Right Metal Leg Type
Select legs based on your table’s weight and style.
• Hairpin legs offer a lightweight, retro look ideal for small desks or side tables
• Tapered steel legs provide heavy-duty, modern appeal suitable for larger tables
• Cross-base legs add stability with X or H-bracing for wider tables
All these styles come with pre-drilled mounting tabs for straightforward attachment.
Install Metal Legs in 3 Simple Steps
- Mark Position: Flip the table upside down, place the leg in position, and mark the screw holes with a pencil
- Pre-Drill Holes: Use a drill bit slightly smaller than the provided screws to prevent splitting
- Secure with Screws: Drive screws firmly but avoid overtightening, which can strip the wood
Pro Tip: Apply thread-locking compound to screws to prevent loosening from vibration or movement. Check connections every 6-12 months and tighten as needed.
Direct attachment works best for contemporary designs, metal-leg-only builds, or DIY upcycling projects.
Build a Permanent Base with Traditional Joinery
For heirloom-quality tables that last generations, traditional methods offer unmatched strength and durability. These techniques require more skill but reward you with rock-solid results.
Assemble with Mortise and Tenon Joints
This classic method connects aprons to legs using interlocking joints, creating a rigid base that won’t loosen over time.
Steps for installation:
- Cut tenons on apron ends to match your leg mortises
- Chisel mortises into the legs at the correct positions
- Dry-fit the joint, then apply wood glue to both surfaces
- Clamp firmly and let cure for 24 hours
- Reinforce with wooden pegs or wedges if desired
Strengthen the connection by installing corner blocks with bolts to lock the frame together permanently. The result is a wobble-free base that handles heavy loads and daily use.
Mortise and tenon joints work best for dining tables, farmhouse tables, or any permanent installation where disassembly isn’t needed.
Use Table Base Kits for Easier Assembly
Pre-cut kits simplify traditional construction without requiring complex joinery skills.
Steps for installation:
- Connect rails to legs with wood glue
- Insert screws into pre-drilled pockets
- Tighten fittings with a ½” wrench
- Install corner blocks to lock the frame
Table base kits offer strong, stable results with a traditional appearance. The trade-off: once glued, the table cannot be disassembled. These work well for woodworkers who want strength without hand-cutting complex joints.
Try the EasyBase System for Fast, Strong Builds
This proprietary system uses corner blocks and bolts to mimic mortise and tenon strength without glue or clamps.
Steps for installation:
- Slide legs into the corner brackets
- Turn the included Allen key to lock the connection
- Attach the entire base to the tabletop
The EasyBase system offers several benefits: it provides strength equal to traditional joinery, it’s fully disassemblable for transport, and it’s beginner-friendly. This method works well for all table sizes and is ideal for portable furniture.
Secure the Base to Solid Wood Tops
:max_bytes(150000):strip_icc()/289-4-Ways-to-Attach-tabletops-Figure-Eightwood-Buttons-3e1ba1bfb343417e9a95e745261ae080.jpg)
When attaching any base with aprons to a solid wood tabletop, you must allow for wood movement. Failure to do so will cause the top to crack or warp over time.
Use Screws with Oversized Holes
This simple method prevents stress buildup by letting the top shift slightly as humidity changes.
Steps for installation:
- Mark screw locations on the apron, about 1¼” in from the center
- Drill two different hole sizes: 3/16″ on the fixed side (no movement) and ¼” on the movable side (allows slide)
- Use a 5/8″ screw with ½” washers under the screw head and between the screw and apron
The washers prevent the screw head from sinking into the wood while maintaining proper pressure. This method works best for quick builds, workshops, or non-showpiece tables.
Install Wooden Buttons in Routed Slots
Wooden buttons offer stronger, cleaner results than screws while allowing the top to move.
Steps for installation:
- Route a ¾” deep, 7/16″ wide slot on the tabletop underside
- Square the ends with a mortise chisel
- Cut a hardwood button to fit snugly in the slot
- Leave a ⅛” gap for movement
- Glue and screw the button to the apron
Placement strategy matters. On end aprons, use one fixed button at the center and slotted buttons on the sides. On side aprons, use short slots with narrow buttons, keeping the center fixed to control expansion.
Use Floating Dowels for Elegant Strength
A hidden dowel system offers both strength and design appeal.
Steps for installation:
- Drill a ½” hole 1½” deep into the apron top
- Glue and screw a ½” dowel into the hole
- Drill a matching hole in the tabletop
- Countersink for a flathead screw
For narrow tops under 12″ wide, use three dowels: center one glued and screwed for fixed position, side ones glued only to allow movement. This method provides very high strength and prevents wobble while accommodating wood movement.
Fix Wobbly or Weak Legs

Even well-attached legs can feel flimsy if the overall structure lacks support. Address instability before it becomes a safety issue.
Add Angle Brackets for Extra Support
If legs wobble where they meet the apron, reinforce the corners with L-brackets.
Steps for installation:
- Place the bracket inside the corner where leg meets apron
- Pre-drill holes to prevent splitting
- Secure with screws on both sides
Use steel brackets for heavy tables and brass for decorative appeal where the hardware might be visible.
Install Cross Braces Between Legs
Connect legs with horizontal braces to prevent racking, which is side-to-side sway that weakens the table.
Options include:
• Simple 1×2 boards screwed between legs for basic support
• X-braces for maximum rigidity on taller tables
• H-frames for long tables that need extra stability
Cross bracing works especially well for tall tables, narrow bases, or any piece that feels unstable during use.
Build a Bracing Frame Under the Table
For workbenches or heavy desks, add a 2×4 frame beneath the tabletop for maximum rigidity.
Steps for installation:
- Build a rectangle from 2x4s that spans between the legs
- Attach to legs with pocket screws
- Connect the frame to the tabletop underside
- Add a skirt 6″ down for additional stiffness and visual finish
This creates a rock-solid base that resists twisting and vibration, perfect for workshop equipment or heavy work surfaces.
Always Assemble the Base First
Build the leg-and-apron frame as a separate unit before attaching to the tabletop. This ensures squareness, proper alignment, and lets you add internal bracing.
Trying to assemble everything at once leads to crooked legs and wobble. Check your work with a tape measure: diagonals should be equal for a square frame.
Avoid Common Attachment Mistakes
Even small errors can ruin a table’s strength or appearance. Learn what to avoid so your project turns out right.
Don’t Overtighten Bolts and Screws
Over-tightening strips wood threads or deforms metal inserts. It can also compress wood fibers, leading to loose joints later.
Fix: Tighten until snug, then stop. Never force a bolt. Use a torque-limiting driver if available for consistent results.
Prevent Splitting with Proper Pre-Drilling
Nailing or screwing into hardwood without a pilot hole risks splitting the wood, ruining your project.
Follow this rule: Always pre-drill pilot holes. Use a bit equal to the screw shank diameter for screws, bit equal to bolt diameter for bolts, and a Forstner bit for flat-bottomed holes when installing threaded inserts.
Avoid Epoxy Overfill in Threaded Inserts
Too much epoxy in an insert hole can seep into the threads, blocking the bolt from seating properly.
Fix: Apply a small amount of epoxy with a toothpick, just enough to secure the insert. Less is more here.
Don’t Ignore Hardware Size Limits
Every hardware type has size limits that shouldn’t be exceeded.
• Metal plates work with legs up to 2.25″ diameter
• Cleats accommodate legs up to 2.375″ diameter
• Larger legs require different methods
Measure your legs before buying hardware, and choose accordingly.
Frequently Asked Questions About Attaching Table Legs
What is the strongest way to attach table legs?
Mortise and tenon joints offer the strongest permanent connection. For removable legs, threaded inserts provide the best balance of strength and disassembly capability. The EasyBase system replicates mortise and tenon strength without glue.
Can I attach table legs without an apron?
Yes, apron-less tables work well with threaded inserts, mounting blocks, or metal plates. These methods attach legs directly to the tabletop underside while maintaining a clean, open look.
How do I attach legs to a solid wood table without cracking it?
Allow for wood movement by using oversized holes with washers, wooden buttons in slots, or floating dowels. Never rigidly fasten a solid wood top to the base, or seasonal expansion will cause cracks.
Should I glue table legs when attaching them?
Only glue if you never need to disassemble the table. Traditional mortise and tenon joints and base kits require glue for maximum strength. If you need portability, use mechanical fasteners like bolts or screws without glue.
How do I keep table leg bolts from loosening?
Use thread-locking compound on screws, check connections every 6-12 months, and re-tighten as needed. Mounting blocks and cleats are particularly prone to loosening from vibration and movement.
Key Takeaways for Attaching Table Legs Successfully
Knowing how to attach legs to a table isn’t just about screwing parts together. It’s about choosing the right method for strength, wood movement, and your specific use case. Match the technique to the table type: threaded inserts for portable coffee tables, mortise and tenon for heirloom dining tables, and metal plates for light-duty accent pieces.
Always account for wood movement when attaching to solid tops. Use oversized holes, wooden buttons, or floating dowels to allow seasonal expansion and contraction. This prevents cracks and keeps your table stable for decades.
Finally, assemble the base as a separate unit before attaching to the top. Check for square, add cross bracing for tall tables, and verify all connections annually. With these proven strategies, you’ll build furniture that’s as durable as it is stylish, whether you’re a beginner or an experienced woodworker.