How to Build a Concrete Table
Building a concrete table is a rewarding DIY project that transforms industrial materials into a stunning centerpiece for your home. Whether you want a sleek coffee table for your living room, a durable outdoor dining surface, or a custom buffet table for your entryway, concrete offers unmatched durability and a modern minimalist aesthetic. This guide walks you through every phase of construction, from designing your mold to sealing and attaching a wooden base, using proven techniques that deliver professional results.
No prior experience is required, but attention to detail determines the quality of your finished table. With the right materials, tools, and patience, you can create a piece that lasts for decades. Let’s build your dream concrete table from the ground up.
Design Your Concrete Table Dimensions

Selecting the right dimensions ensures your table fits its space and function while remaining structurally sound.
Choose Standard Sizes by Use
Standard dimensions vary based on furniture type. Coffee tables typically measure 48″ x 18″ or 24″ x 48″, fitting comfortably under standard sofas. Buffet and side tables work well at 17″ wide by 52″ long, providing enough length for display while staying narrow for tight spaces. Dining tables can scale up to 72″ x 36″ to seat four people comfortably.
Always use 1.5-inch thickness for tabletops. This provides adequate strength without excessive weight and aligns with standard melamine board sizes for easy mold building.
Plan for Weight and Support
Standard concrete weighs approximately 18 to 20 pounds per square foot at 1.5-inch thickness. A 48″ x 36″ table will weigh over 200 pounds, so ensure your base and floor can support this weight.
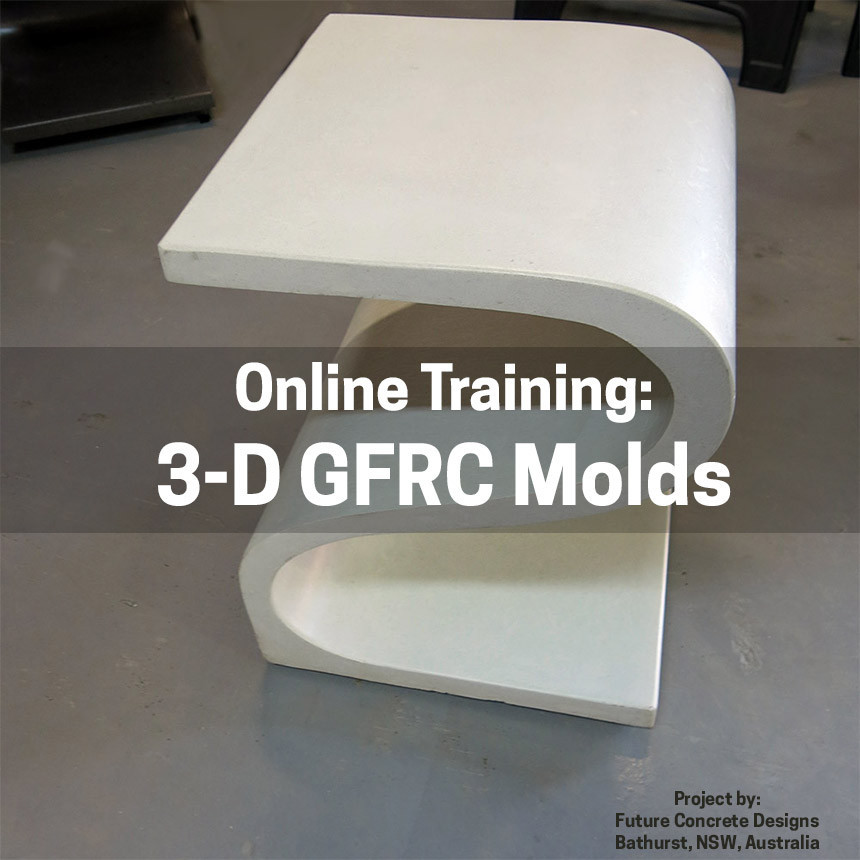
For larger spans or outdoor tables, use Glass Fiber-Reinforced Concrete (GFRC). This material reduces weight by up to 50% while improving crack resistance and tensile strength, making it ideal for cantilevered designs or patio furniture exposed to weather.
Customize Edges and Aesthetics
Decide on edge style early since it affects mold construction. Square edges provide a sharp, modern look and cut cleanly with a circular saw. Rounded edges offer a softer appearance achieved with curved melamine inserts or post-demold sanding.
Surface finish options include smooth (pour against melamine for a glossy factory-like surface) or exposed aggregate (grind the top layer to reveal sand or small stones for industrial style). For color, natural gray is the default, but you can add charcoal dye for dark tones or test liquid colorants for custom hues.
Select Materials and Tools for Your Project
Choosing the right materials prevents headaches later and ensures a quality result.
Pick the Right Concrete Mix
For beginners, standard premix concrete (5,000 to 6,000 psi) works well for indoor coffee or side tables under 5 feet long. A 40″ x 18″ x 1.5″ slab requires approximately two bags at about $5 per 50-pound bag. Larger dining tables may need 8 to 10 bags.
Advanced builders can use GFRC mix, which includes glass fibers for lighter weight and greater strength. Mix the base first, then fold fibers in by hand. Overmixing breaks fibers and creates a hairy surface texture.
Reinforce to Prevent Cracking
Reinforcement is essential for all but the smallest slabs. Use diamond or square grid wire mesh (4×8 sheet, approximately $8). Cut to fit, leaving 1 inch clearance from all sides. Suspend the mesh ¾ inch below the top surface using small blocks or ties. Never let mesh touch the mold walls or base.
Build the Mold with Melamine
Melamine-coated particleboard provides the smooth, non-porous surface needed for a glass-like concrete finish. Use ¾-inch thick melamine available at home improvement stores in 2×4 or 4×8 sheets.
For a 1.5-inch thick slab using ¾-inch melamine, cut side strips 2.25 inches wide (1.5 inches concrete plus 0.75 inches base thickness). Attach sides to the edges of the base rather than the top to keep internal dimensions exact.
Gather Essential Tools
Basic tools under $100 include a circular saw for cutting melamine, a drill with 1-5/8-inch drywall screws for assembly, a plastic bucket and shovel for mixing, a concrete trowel for smoothing, a rubber mallet for vibration, sanding blocks with 80 to 800 grit paper, and safety gear including a dust mask, gloves, and safety glasses.
Pro tools worth the investment include an orbital sander for faster polishing, diamond polishing pads (50 to 3000 grit) for high-gloss finishes, a reciprocating saw without a blade for vibration, an angle grinder with diamond cup wheel for exposed aggregate, and a domino joiner for building wooden bases.
Build the Mold Step by Step
Proper mold construction determines the quality of your final table.
Cut and Assemble Mold Pieces
Cut the melamine base to exact tabletop dimensions using a circular saw. Clamp and score first to prevent chipping. Cut 2.25-inch wide strips for sides using a table saw for straight edges.
Pre-drill holes every 6 to 8 inches along side panels to prevent splitting. Attach sides to the base edges, driving 1-5/8-inch drywall screws from outside in. Ensure corners are perfectly square.
Add Rounded Corners (Optional)
For a softer look, trace a 1.5-inch radius curve using a scrap block. Drill a center hole with a Forstner bit, then cut on a band saw or jigsaw. Glue curved inserts into corners using CA glue (super glue).
Seal All Joints with Silicone
Leak prevention is critical. Load 100% silicone caulk into a caulking gun and cut the tip at a 45-degree angle (approximately 1/8-inch opening). Apply a continuous bead to all internal seams and corners. Smooth with a wet finger or plastic scraper and wipe excess with a paper towel. Let cure 2 to 4 hours before pouring.
Prepare and Seal the Mold
A properly prepared mold ensures easy demolding and a flawless surface.
Clean the Interior Surface
Any debris causes surface defects. Wipe with a damp shop towel, then dry with a microfiber cloth. Remove sawdust with a vacuum or compressed air. For extra cleanliness, wipe with rubbing alcohol.
Apply Mold Release Agent
For melamine molds, apply inexpensive car wax in small circles over all surfaces. Let dry for 10 minutes, then buff off with a clean microfiber towel. Repeat for best results.
For wood molds, brush a thin coat of olive oil, wait 5 minutes, then apply a second coat. Never use olive oil on melamine.
Mix and Pour the Concrete
Consistency determines the strength and appearance of your table.
Achieve the Right Mix Consistency
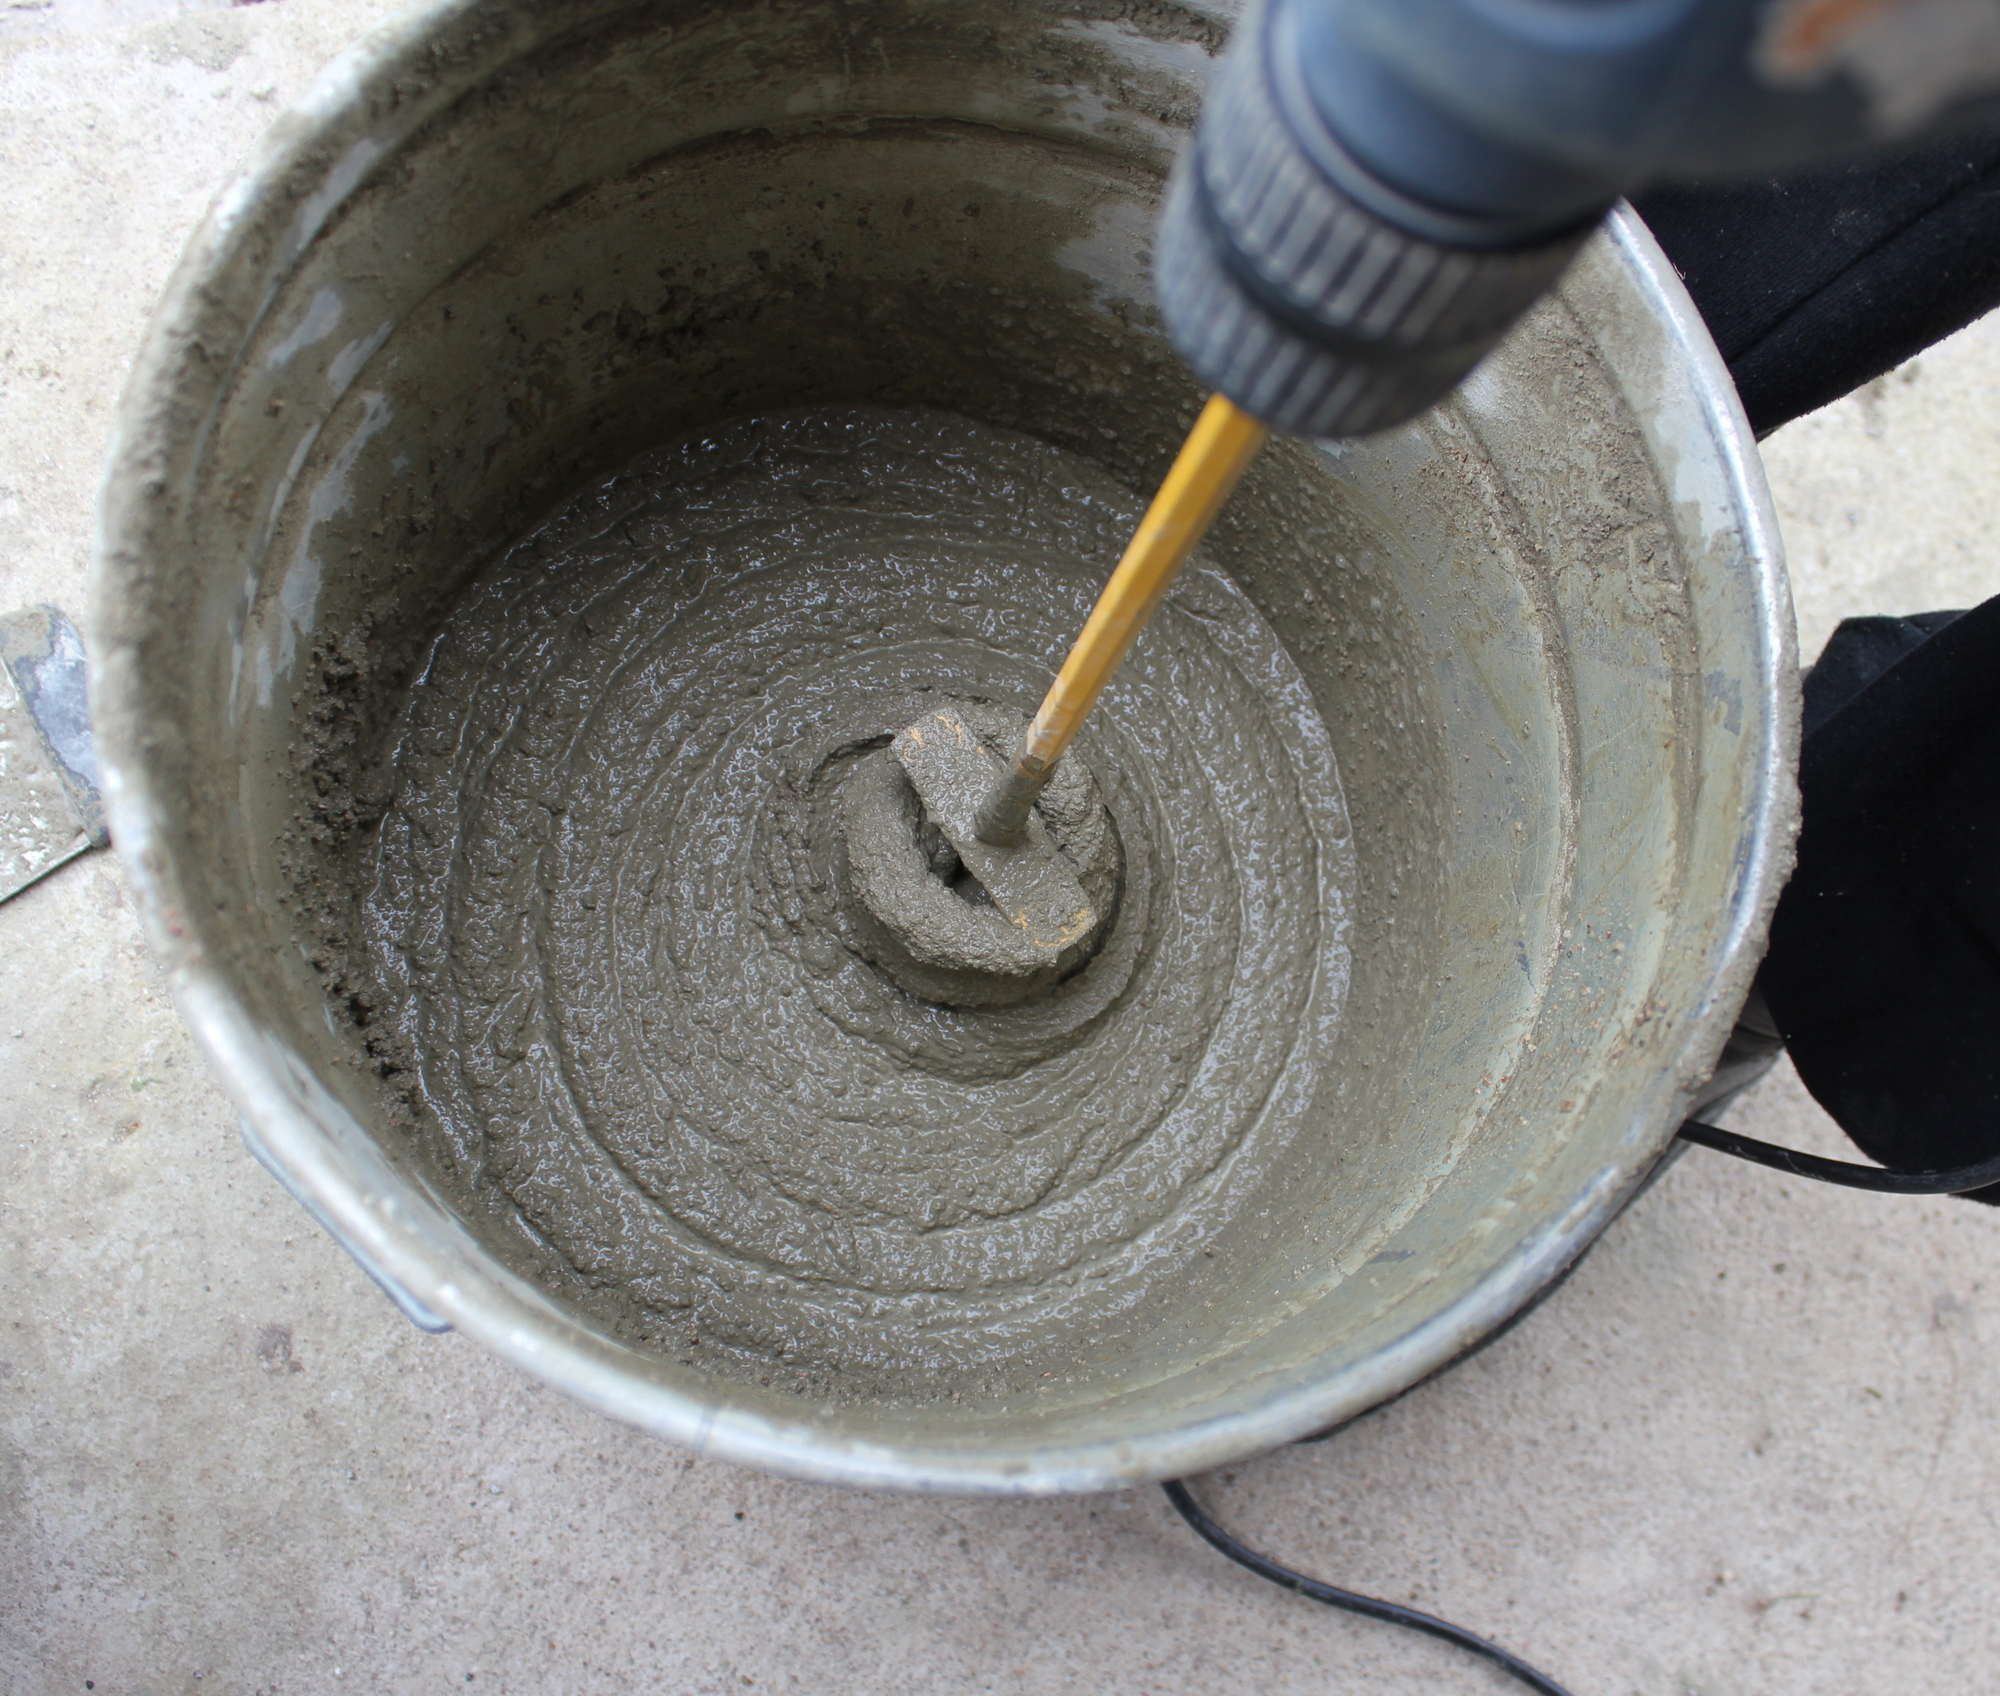
Add water to the bucket first to reduce dust. Gradually add concrete mix while stirring with a shovel or hoe. Target a “peanut butter” or “cake batter” consistency that flows slightly but holds shape.
Too dry causes cracking. Too wet creates a weak, dusty surface.
Add Color or Dye (Optional)
For colored concrete, mix powder pigment during the dry stage or add liquid dye with the water. Stir in charcoal for dark gray or black. Always test a small sample first, as wet concrete appears darker than the final dry color.
For GFRC, mix the base first, then fold in glass fibers by hand. Stop as soon as fibers are distributed.
Pour in Layers
Fill the mold halfway, using gloved hands to pack concrete into corners. Place cut wire mesh ¾ inch below the surface, 1 inch from edges. Cover mesh completely with the final layer, overfilling slightly since concrete settles during vibration.
Level and Vibrate the Slab
Vibration removes trapped air that causes pockmarks.
Screed the Surface Flat
Use a straight 2×4 or metal screed resting on the mold top edges. Move in a sawing motion across the mold. Fill low spots with extra concrete and re-screed until perfectly flat. This becomes the bottom of your table, so flatness matters for stability.
Remove Air Bubbles with Vibration
Tap the sides and bottom of the mold with a rubber mallet. Alternatively, press a reciprocating saw (no blade) or orbital sander (no pad) against the mold sides on low setting.
Vibrate for 20 minutes, then continue 10 more minutes after bubbles stop rising. Watch for bubbles rising to the surface and slight concrete settling.
Cure and Demold the Concrete
Proper curing prevents cracking and achieves full strength.
Cover Immediately to Retain Moisture
Cover the entire mold with plastic sheeting or a trash bag. Seal edges with tape to trap moisture. Concrete cures through controlled hydration, and dry air causes cracks.
Cure for Minimum 48 Hours
Demold at 48 hours if using fast-setting mix. Best results come at 3 to 4 days for standard concrete. Full strength develops at 7 days, so wait before heavy use.
For maximum durability, mist the slab with water twice daily, re-cover with plastic, and keep it in a shaded, dry area. Avoid freezing temperatures during curing.
Remove Screws and Pry Sides Off
Unscrew all drywall screws. Use overhanging side panels as leverage. Insert a flathead screwdriver or chisel between wood and concrete if stuck.
Always pry wood-to-wood. Never lever metal against concrete, as this chips edges.
Flip the Slab Safely
Place two 2x4s on a soft surface (towel or foam). Stand the slab on its edge on the boards. Carefully rotate onto its face so the smooth melamine side faces up. Leaving it on 2x4s allows air circulation for continued curing.
Finish and Polish the Surface
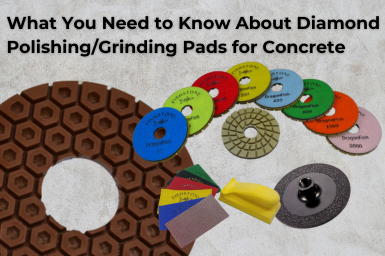
Sanding and polishing transform rough concrete into a refined surface.
Sand Edges Smoothly
Use 80 to 100 grit sanding block on bottom edges. Sand outward from corners, never inward, to prevent chipping. Lightly round over sharp edges for comfort.
Fill Bug Holes and Imperfections
Mix pure Portland cement with water to toothpaste consistency. Optional: Add concrete fortifier for better bond. Rub paste into holes with your finger or rag. For edges, slide paste between thumb and index. Scrape excess with a plastic putty knife. Let sit 1 to 2 hours before sanding.
Polish to a Shine
Keep the surface wet and use 800-grit sandpaper on a block for hand polishing. Sand in long, straight passes and rotate the slab 90 degrees to repeat.
For machine polishing, use an orbital sander with diamond pads progressing from 50 to 100 grit (level surface), 220 (smooth scratches), 400 (begin polish), 800 (visible sheen), 1500 (satin finish), and 3000 (high gloss). If you see uneven depressions at 800 grit, drop back to 100 grit to level before continuing.
Seal and Wax for Protection
Sealing protects concrete from water absorption and staining.
Clean Before Sealing
Vacuum all dust. Wipe with a damp microfiber cloth. Let dry completely.
Apply Concrete Sealer
Apply penetrating or topical sealer with a microfiber towel in straight passes. Wait 2 hours, then apply a second coat in the perpendicular direction. Let dry overnight.
Apply Protective Wax
Apply food-safe concrete wax or Johnson’s Paste Wax in small circles with microfiber. Let dry 30 minutes, then buff vigorously with a clean towel.
The result is a hydrophobic surface where water beads like on a Teflon pan.
Build and Attach the Wooden Base
The base completes your table and determines its style.
Choose a Wood Base Style
Popular designs include trestle bases (splayed legs, classic look), truss bases (geometric, modern), and simple frames (2x4s with stretchers, easy to build).
For indoor use, white oak, walnut, or maple work well. For outdoor use, choose cedar or white oak (naturally rot-resistant) or pressure-treated lumber.
Construct with Strong Joinery
Use a domino joiner for invisible, rock-solid connections. Half-lap joints work great for stretcher intersections. For round-to-round fit, drill 1.75-inch holes with a Forstner bit into stretcher ends.
For outdoor bases, use Titebond III glue and GRK screws for weather resistance.
Finish the Wood
Sand lightly to retain character. Stain if desired (black creates striking contrast). Apply 4 coats of tough varnish to leg bottoms to prevent water wicking. Outdoor white oak can be left unfinished to weather to elegant gray.
Attach Top to Base Safely
For method one, mark attachment points on concrete. Drill ¼-inch holes, 1 inch deep with a masonry bit. Fill with thickened epoxy and insert wedge anchors. Tap base into place with a rubber mallet.
For method two, apply 100% silicone caulk to the base top, press concrete down firmly, and let cure 24 hours.
Warning: Industrial adhesives like Stixall grab instantly, so align perfectly before contact.
Troubleshooting Common Problems
Knowing how to fix issues saves time and materials.
Fix Bug Holes After Pouring
Insufficient vibration or stiff mix causes pockmarks. Vibrate longer (minimum 30 minutes total), tap sides aggressively, and use a fluid mix consistency. Repair with cement paste or fire cement.
Prevent Sticking to the Mold
Poor release or rough surface causes sticking. Use melamine with car wax, apply two coats with buffing between, and never skip sealing joints.
Stop Cracking During Cure
Mix too dry, rapid drying, or no mesh causes cracks. Keep mix moist, cover with plastic for 3 to 7 days, mist if curing longer, and always use wire mesh.
Avoid Chipped Edges
Sanding into corners or prying against concrete causes chips. Sand outward from corners and pry wood-to-wood only.
Eliminate Hairy GFRC Surface
Overmixing glass fibers creates a hairy texture. Fold fibers in by hand and stop mixing as soon as fibers distribute.
Key Takeaways for Building Your Concrete Table
Building a concrete table requires patience and attention to detail, but the results are worth the effort. The most critical steps are thorough vibration (30+ minutes to eliminate air bubbles), proper curing (48 hours minimum, preferably 3 to 4 days under plastic), and careful edge handling (sand outward, pry wood-to-wood). Choose the right concrete mix for your project: standard premix for beginners, GFRC for outdoor or large tables. Melamine molds with car wax release provide the smoothest finish, and wire mesh reinforcement prevents cracking. Finally, seal and wax your table every 6 to 12 months to maintain water resistance and shine. Now go build something solid.
Frequently Asked Questions About Building a Concrete Table
How long does it take to build a concrete table?
The actual building process takes 2 to 3 days, but you need to account for curing time. Plan for 3 to 4 days from start to finished table, or up to 7 days for full strength before heavy use.
What tools do I need to build a concrete table?
Basic tools include a circular saw, drill, bucket, shovel, rubber mallet, and safety gear. Total cost is under $100. Pro tools like an orbital sander and diamond pads improve finish quality but aren’t necessary for a functional table.
How much does it cost to build a concrete table?
A coffee table costs approximately $30 to $50 in materials (concrete, melamine, screws). A full dining table may require $80 to $150 in materials. Budget builds using reclaimed materials can go as low as $50.
Can I build a concrete table outdoors?
Yes, but use GFRC (Glass Fiber-Reinforced Concrete) for lighter weight and crack resistance. Choose rot-resistant wood like cedar or white oak for the base. Avoid high-gloss waxes that degrade in UV, and let wood weather naturally.
How do I prevent cracking in my concrete table?
Keep the mix moist (peanut butter consistency), cover with plastic for 3 to 7 days, mist daily if curing longer, and always use wire mesh reinforcement. GFRC adds extra crack resistance for large spans.
How do I maintain a concrete table?
Wipe with a damp cloth. Reapply concrete wax every 6 to 12 months to maintain water resistance. Properly sealed and maintained concrete resists heat, stains, and heavy daily use.