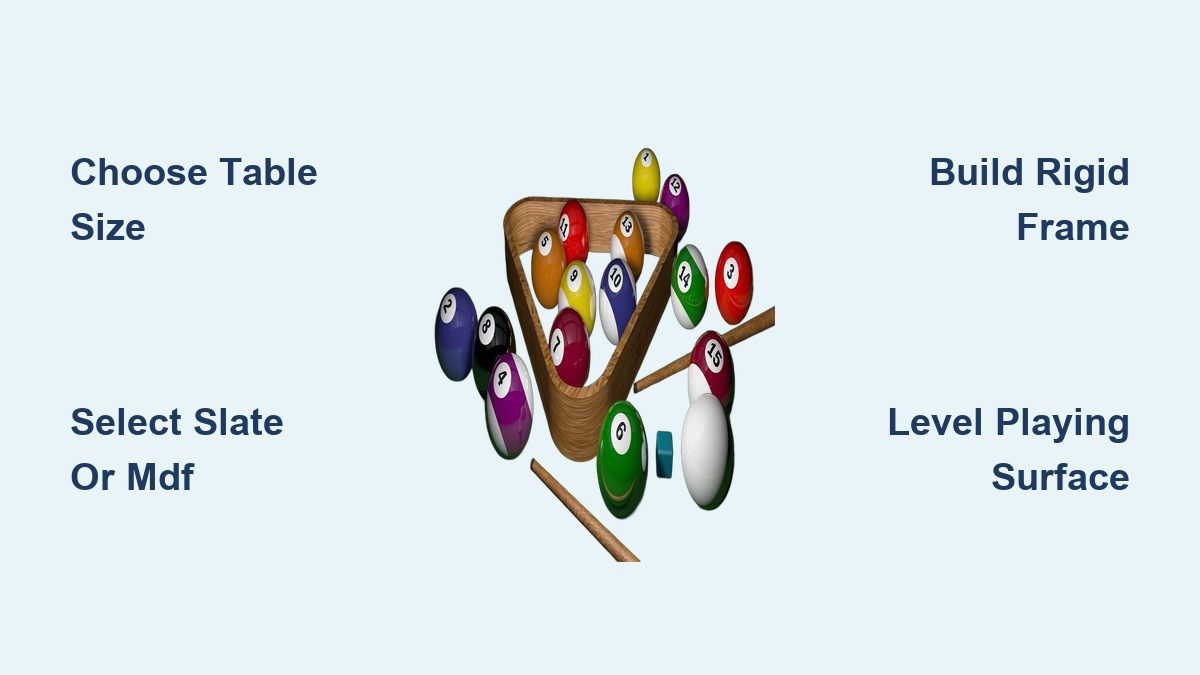
How to Make a Billiards Table: Quick Steps
Building a billiards table is more than a woodworking project. It is a precision endeavor that combines engineering, physics, and craftsmanship into one stunning centerpiece for your home. Whether you want a tournament-quality slate table or a budget-friendly MDF build, the process demands careful attention to levelness, material selection, and structural integrity. This guide on how to make a billiards table walks you through every phase, from selecting the right size for your room to installing the cloth and leveling the playing surface. By the end, you will have a table that rolls true, plays accurately, and lasts for decades.
Choose the Right Table Size for Your Space
Before purchasing materials or cutting wood, you must determine what size table fits your room. A table that is too large makes gameplay uncomfortable, while one that is too small feels cramped.
Calculate Room Clearance Requirements
Standard pool tables follow a 2:1 length-to-width ratio. You need at least 42 inches of cue clearance on all sides for proper stroke mechanics. Use these room dimensions as your guide:
- A 7-foot table needs a 12′ x 16′ room
- An 8-foot table requires a 15′ x 19′ room
- A 9-foot table demands a 17′ x 21′ room
Smaller rooms may require wall-mounted cues or cue extensions to accommodate shooting angles.
Determine the Playing Height
The official playing surface height is 29¼ inches from the floor. This measurement allows comfortable bridge positioning and consistent stroke mechanics. When calculating leg length, factor in the slate thickness (¾” to 1″), beam depth, and leg leveler height. Measure your final assembly against this target to ensure tournament-standard playability.
Select Your Playing Surface Material

The bed is the most critical component of any billiards table. It must be perfectly flat and resistant to warping. Your material choice directly impacts performance, weight, and cost.
Slate vs. MDF: Making the Decision
Slate delivers tournament-grade performance. A one-piece slate slab of ¾” to 1″ thickness provides minimal deflection and ultra-flat roll. The material is immune to humidity changes and can last over 100 years. The downside is weight. An 8-foot slate table weighs 300 to 400 pounds, making transport and installation challenging. Expect to pay $600 to $1,200 for quality slate.
MDF offers a budget-friendly alternative. Medium density fiberboard costs far less and cuts easily with standard tools. Use ½” to ¾” thickness, ideally double-layered for added rigidity. The major drawback is susceptibility to humidity. Unsealed MDF can warp within a few years, particularly in damp basements. Seal all edges and both sides with WEST SYSTEM epoxy to resist moisture and extend the lifespan.
Construct a Rigid Support Frame

A wobbly frame destroys gameplay accuracy. This structure must support 600 to 900 pounds and resist twisting under aggressive shots. A box-beam design provides the necessary rigidity.
Assemble the Box Beams
Follow these steps to build a rock-solid frame:
- Gather ¾” A/C fir plywood and 2×4 lumber.
- Cut beams to a height of 11¾ inches. Length should equal the slate length plus 4 inches (2 inches past each end).
- Assemble the beams into a rectangle using wood glue and screws.
- Reinforce inside corners with plywood gussets bonded between the beam assemblies.
Install Cross-Bracing and Leg Mounts
Position the front and back beams 24 inches apart, center to center. Bond two ¾” plywood gussets between the beams for lateral support. Coat all internal wood surfaces with epoxy to prevent moisture absorption and add stiffness. This step is critical for long-term stability.
Build and Attach Strong Table Legs
Legs must support massive weight and resist racking (twisting under impact). Properly constructed legs ensure your table stays stable during aggressive breaks.
Fabricate Legs with Load-Bearing Capacity
- Laminate two 2x4s together using wood glue and clamps to form a 3″ x 3.5″ post.
- Calculate the final leg length by subtracting the slate thickness, beam top thickness, and leveler height from 29¼ inches. For example, 29.25″ – 1″ – 1.5″ – 1″ equals a 25.75″ leg.
- Install threaded leg levelers at the bottom of each leg for precise height adjustment.
Secure Legs to the Frame
Position legs inside the box beams. Bond each leg with thickened epoxy and secure with 3 to 5 screws per leg (one vertical, two angled). The epoxy prevents any movement during aggressive shots, which is essential for maintaining accuracy over time.
Install Bed Supports and the Perimeter Frame
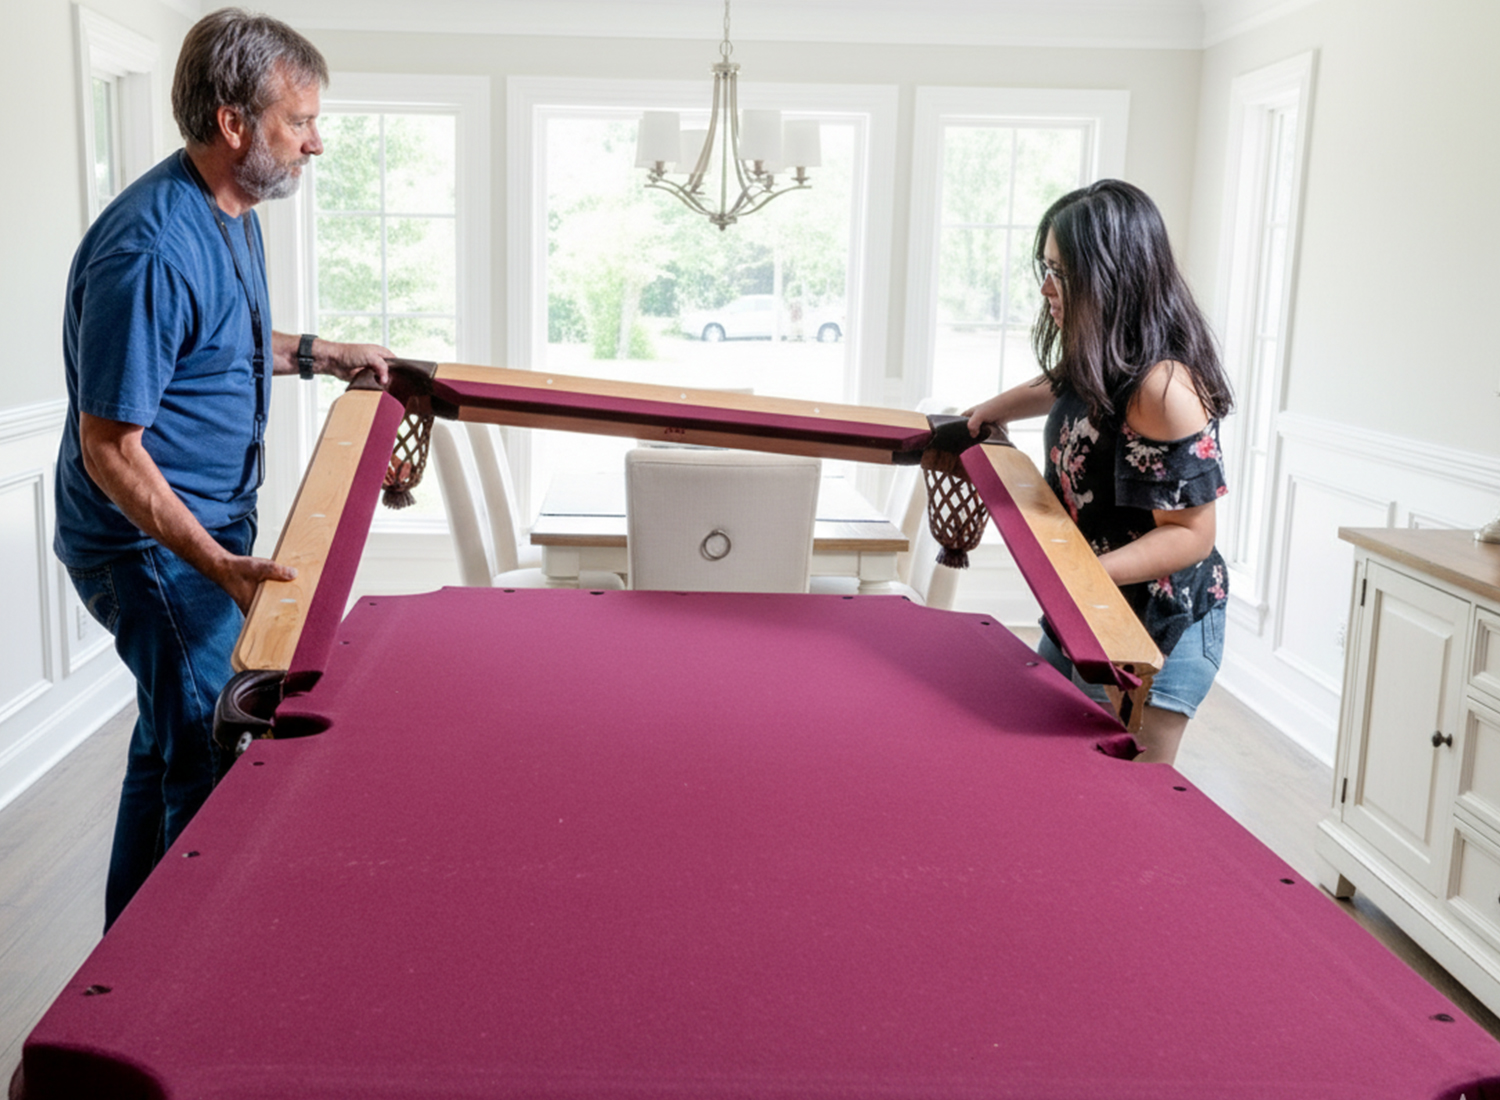
This layer supports the slate or MDF and holds the apron in place. Proper installation ensures a flat playing surface.
Add 1×6 Bed Slats
Cut 1×6 boards to span the beams, extending 3¾ inches past each side. Space the slats approximately 12 inches on center. Screw or glue them securely to the beams. These slats provide the primary support for your playing surface.
Build the Perimeter Frame
Use a 1×4 board to create a box on top of the slats. This frame creates a ledge for the slate to rest on. Cut pocket openings slightly larger than the final pocket size. The rails will cover the gap, so precision is not critical at this stage. Bond the frame to the slats with wood glue and screws.
Add an Optional Ball Return System
A ball return system lets players retrieve balls without lifting the apron. This feature adds convenience but increases complexity.
Design the Ramp and Collection Path
Create a slope of 3/8 inch drop per linear foot. Attach a ½” plywood ramp under the perimeter frame. The ball drops into the pocket, rolls down the ramp, makes a 90-degree turn, and enters a central collection box positioned between beams at one end. Line the ramp and turn with billiard cloth to reduce noise. Add a high-density foam pad at the 90-degree turn to deaden impact.
Create an Access Panel
Cut a 6″ x 8″ access hole in one end of the table for ball retrieval. Cover this opening with a removable panel that matches your table finish.
Construct the Case and Apron
The case is the visible exterior that determines your table’s aesthetics. Build it for both appearance and function.
Cut and Angle Side Panels
Use ¾” wood, MDF, or laminated particle board for side panels. Cut the sides at a 15-degree angle to match the beam trim. For corners, use compound miters (17-degree miter with 43.5-degree blade tilt) or spline joints for strength and visual appeal.
Assemble and Mount the Top Assembly
Construct the top (apron) and vertical sides as one unit. The height should equal the cleat thickness plus the top thickness, resulting in a rail height of 4.5 to 5 inches. Pre-finish all surfaces with stain or varnish before installation to avoid touch-ups later. Attach the side panels to the bottom of the perimeter frame to hide screws. Secure the top/apron assembly using large flat-head screws, countersunk and covered with round plastic or wood inlays called sights.
Prepare and Install the Playing Surface
The bed must be perfectly flat and securely mounted. This phase determines whether your table plays like a pro or a paperweight.
Handle Slate with Care
If using one-piece slate, it provides the best flatness with no seams. For three-piece slate, align pieces precisely and fill seams with beeswax or specialized filler. Place the slate on sawhorses with edges overhanging. Use a 4-foot mechanical level to check flatness. Shim low spots with hardwood shims or beeswax until the surface is perfectly level.
Install Cloth on the Surface
For slate, apply contact cement to the slate edges and underside. Lay the cloth starting at the center pockets. Pull it taut toward the corners, wrap around the edges, and press firmly into the cement. Repeat for the end pockets. Cut radial slits at each pocket to allow the cloth to stretch and conform. Trim excess material and smooth out any wrinkles.
For MDF, cut the panel to fit the frame with a ¼-inch gap. Cut pocket holes using a jigsaw based on rail placement. Staple the felt to the underside, stretch it taut to avoid wrinkles, and trim any bunching.
Install Rails and Cushions
Rails control ball rebound. Precision matters here because inconsistent bounce ruins gameplay.
Purchase Pre-Fabricated Rails
Buying pre-cut rails with embedded rubber and cloth is the recommended approach. These rails come in standard sizes and fit your specific slate dimensions precisely. They provide consistent, tournament-level bounce that is difficult to achieve with DIY construction.
Build Rails If Budget Is Tight
If you must DIY, laminate two 1″ x 4″ pine boards (actual 0.75″ x 3.5″) to form the core. Use half-lap joints at corners, gluing and sanding them flush. Attach rubber bumpers using contact cement, reinforcing with staples and duct tape if needed. Cover the rails with cloth by folding over the edges and stapling underneath. Use feather strips to hide staples on the top surface. The rubber face must slope at the correct angle (typically 60 to 65 degrees) for proper rebound.
Perform Final Assembly and Leveling

This is where all components come together. Precision during assembly determines final performance.
Mount and Secure All Components
Pre-varnish the apron top edge. Attach rails to the apron using screws or rail bolts, ensuring even overhang on both sides. Carefully lower the rail/apron assembly onto the base frame. Align and secure with countersunk flat-head screws, then plug the holes with round inlays. Install the center spot (a 1-inch diameter dot at the exact center for break positioning) and mark diamonds along the rails (17 equal divisions for aiming systems).
Level the Playing Surface
Use a 4-foot mechanical level to check across the width, length, and diagonals. Adjust the leg levelers until the bubble is centered in all directions. Recheck after 24 hours because wood may settle slightly.
Test with a Ball Roll
Place a cue ball in the center of the table. It should not roll on its own. If it drifts, adjust the levelers on the low side until the ball remains stationary. Perform this test with all balls removed and the cloth dry.
Maintain Your Table for Long-Term Performance
Even the best-built table requires care to maintain optimal playability.
Care for the Cloth
Brush the cloth weekly with a soft billiard brush. Vacuum gently to remove chalk dust. Replace the cloth every 3 to 5 years, or sooner with heavy use.
Maintain the Cushions
Clean rubber bumpers with isopropyl alcohol. Check for separation and re-glue if needed.
Control Humidity
Keep the room humidity between 40% and 60%. Unsealed MDF swells and warps in damp conditions. Epoxy sealing is essential for MDF tables in basements or humid climates.
Cost Breakdown: DIY vs. Professional

Building yourself saves significant money compared to purchasing a commercial table.
Budget MDF Table ($700 to $1,500)
| Item | Cost |
|---|---|
| MDF Panel (4×8, ½”) | $50 |
| 1×4 Pine Boards (6) | $100 |
| Pool Felt | $37 |
| Rubber Bumpers | $33 |
| Contact Cement | $10 |
| Screws, Glue, Fasteners | $50 |
| Total | ~$280 (tools not included) |
Scavenged legs or base materials can reduce costs further.
Slate Table ($1,800 to $3,000)
- Slate: $600 to $1,200
- Pre-fab Rails: $400 to $800
- Wood, Cloth, Hardware: $800 to $1,000
Key Takeaways for Building Your Billiards Table
Building a billiards table from scratch is a rewarding project that blends engineering precision with woodworking craftsmanship. The most critical factors for success are selecting the right materials for your budget and environment, constructing a rigid frame that resists twisting, ensuring perfect levelness, and sealing all wood components against moisture. Whether you invest in slate for tournament-grade performance or choose MDF for a budget-friendly build, attention to detail during every phase determines the final result. Once assembled, your table becomes a centerpiece of craftsmanship ready for decades of competitive play.
Frequently Asked Questions About Building a Billiards Table
What is the standard height of a billiards table?
The standard playing surface height is 29¼ inches from the floor. This measurement falls within the official range of 29 to 31 inches and allows comfortable bridge positioning for players.
Can I build a billiards table with MDF instead of slate?
Yes, MDF works as a budget-friendly alternative. Seal all edges and both sides with epoxy to resist humidity. Expect to replace the surface every 3 to 5 years with heavy use, whereas slate lasts over 100 years.
How much clearance do I need around a billiards table?
You need at least 42 inches (3.5 feet) of clearance on all sides for proper cueing. This means an 8-foot table requires a room approximately 15 feet by 19 feet.
What tools are required to build a billiards table?
Essential tools include a table saw, sander, level, drill, staple gun, tape measure, and jigsaw for cutting pocket holes. A radial arm saw helps with compound miters on long case pieces.
How do I prevent my table legs from racking?
Bond legs to the frame using thickened epoxy and secure with 3 to 5 screws per leg (one vertical, two angled). This prevents the twisting motion that occurs during aggressive shots.