How to Make a Table Mat: Quick Steps
You don’t need advanced sewing skills to create functional, stylish table mats. Whether you want to protect your dining table from hot dishes or add seasonal flair to your decor, learning how to make a table mat gives you customizable, washable, and durable home goods. With methods ranging from no-sew to quilted designs, anyone can craft placemats that match their tableware and impress guests. This guide walks you through every step, from choosing materials to finishing crisp corners.
Choose the Right Size for Your Table
Standard table mats measure between 11 and 18 inches wide and 14 to 24 inches long. The most common size is 18 inches by 14 inches, which fits most dinner plates without overcrowding your table. For smaller spaces like breakfast bars or compact kitchens, try 14 inches by 11 inches. If using a no-sew fold method, cut your fabric 2 inches larger than your desired finished size to allow for folded hems.
Measure your largest plate and trace its outline on the table to ensure proper coverage. Your mat should extend at least 1 inch beyond the plate’s edge. For circular mats, a 15-inch diameter works well for standard round tables.
Select Heat-Resistant Materials
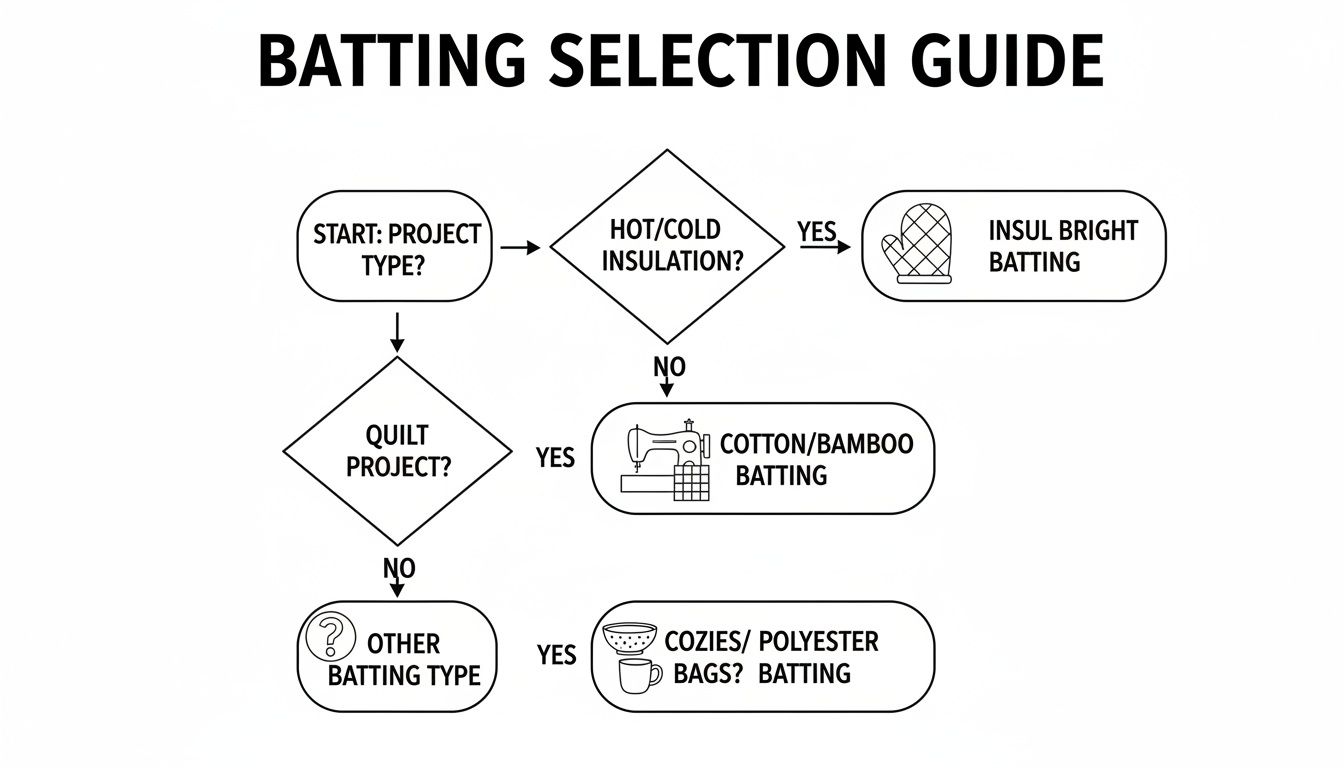
Natural fabrics like 100% cotton, linen, and canvas provide the best heat protection and are easy to sew. These fibers resist scorching better than polyester blends. Quilting cotton offers vibrant prints ideal for themed sets, while denim from old jeans adds thickness and texture.
Avoid synthetic fabrics like acrylic or nylon for hot items, as they can melt or warp under high heat. For true insulation, add an inner layer such as fusible fleece for soft padding, cotton batting for cushioning, or Insul-Bright, which is the top choice for blocking heat and turning your mat into a trivet. Cut insulation 1 inch smaller than your fabric to prevent bunching at the edges.
Gather Essential Tools
You will need a few basic supplies to get started. A rotary cutter, ruler, and cutting mat ensure straight, precise cuts. A sewing machine makes the process faster, though a no-sew method using an iron is also viable. You will also need an iron and ironing board, sharp scissors or pinking shears, and pins or clips to hold layers together.
Optional but helpful tools include a cardboard template for consistent sizing, a point turner to sharpen corners, and a pressing cloth to protect delicate fabrics. A walking foot attachment is useful when quilting thick layers.
Sew a Reversible Placemat
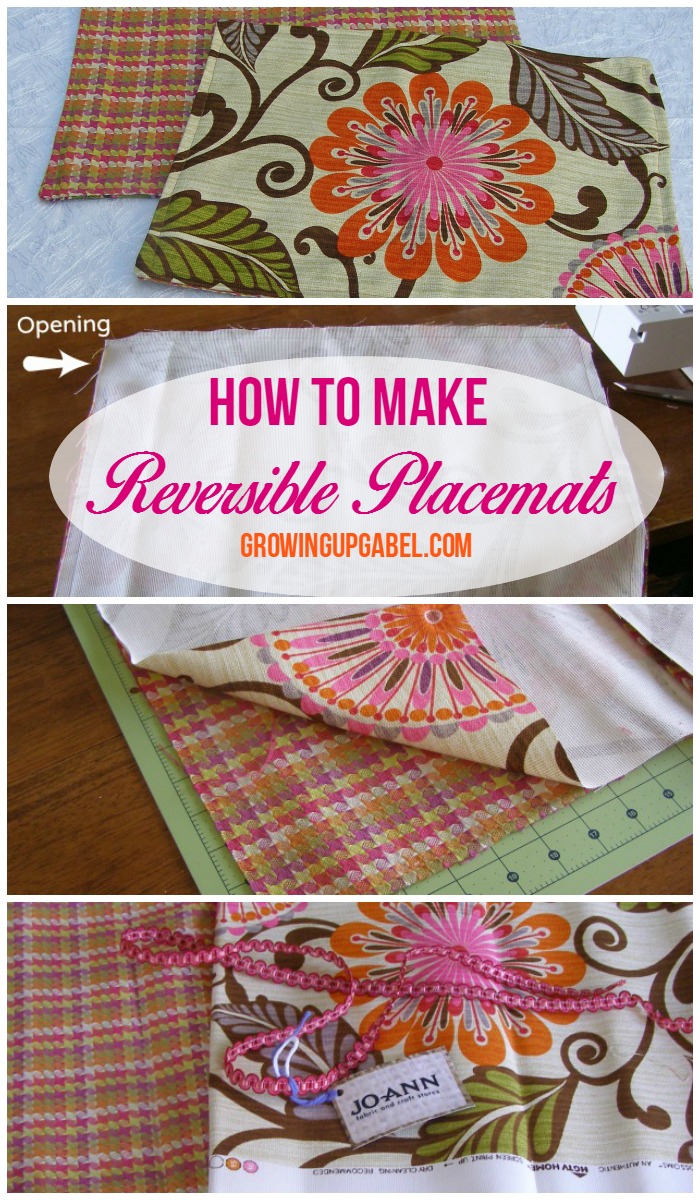
Cut two rectangles of cotton fabric to your desired size. For an 18-inch by 14-inch finished mat, cut both pieces at 18 inches by 14 inches. Cut fusible fleece at 17 inches by 13 inches, which is 1 inch smaller to prevent it from showing through the edges.
Iron the fleece onto the wrong side of one fabric piece. Place the fabrics right sides together, with the fleece side facing down. Pin around all edges and sew a half-inch seam around the perimeter, leaving a 3 to 4 inch gap on one side for turning. Clip the corners diagonally, just short of the stitching, to reduce bulk.
Turn the mat right-side out through the opening. Use a chopstick or point turner to push out corners fully, then press the entire mat flat, folding in the raw edges of the gap. Topstitch around all edges with a quarter-inch seam, closing the gap. Use a longer stitch length of 3.5 to 4 millimeters to prevent puckering.
Try the Quick Two-Layer Method
This no-interfacing method is perfect for seasonal or gift sets. Cut two fabric layers half an inch larger than your final size. For an 11.5-inch by 17.5-inch finished mat, cut 12 inches by 18 inches.
Sew right sides together with a quarter-inch seam, leaving a 3-inch opening. Trim corners diagonally, turn, press, and topstitch all around to secure. You can complete a set of four mats in under 30 minutes using this approach.
Create a Fusible Fleece Reinforced Mat

To prevent inner layers from shifting during washing, cut the fleece to the exact finished size. When sewing with a half-inch seam, the stitching catches the fleece edge and locks it in place.
After turning and pressing, topstitch close to the edge. This method prevents peeling or bubbling after repeated washes and creates a sturdier feel without the complexity of quilting.
Build a Quilted and Bound Placemat
For heirloom-quality mats, use the quilted and bound method. Cut fabric and batting 2 inches larger than your final size. Layer the batting, then main fabric right side up, and backing right side down to form a sandwich. Pin heavily throughout.
Using a walking foot, stitch parallel lines from top to bottom, starting in the center. Backstitch at the beginning and end of each line to secure. After quilting, trim to exact size using a ruler.
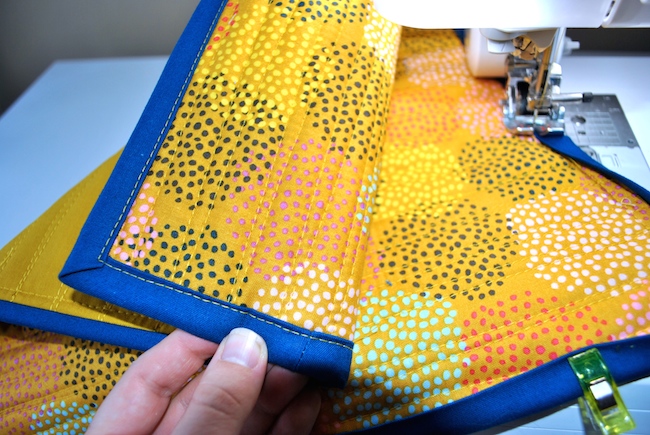
Wrap double-fold bias tape around the raw edges. Sew it to the front, mitering corners by folding the tape up at a 45-degree angle before turning to the next side. Sew the binding down on the back by hand or machine for a clean finish.
Make a No-Sew Fabric Mat
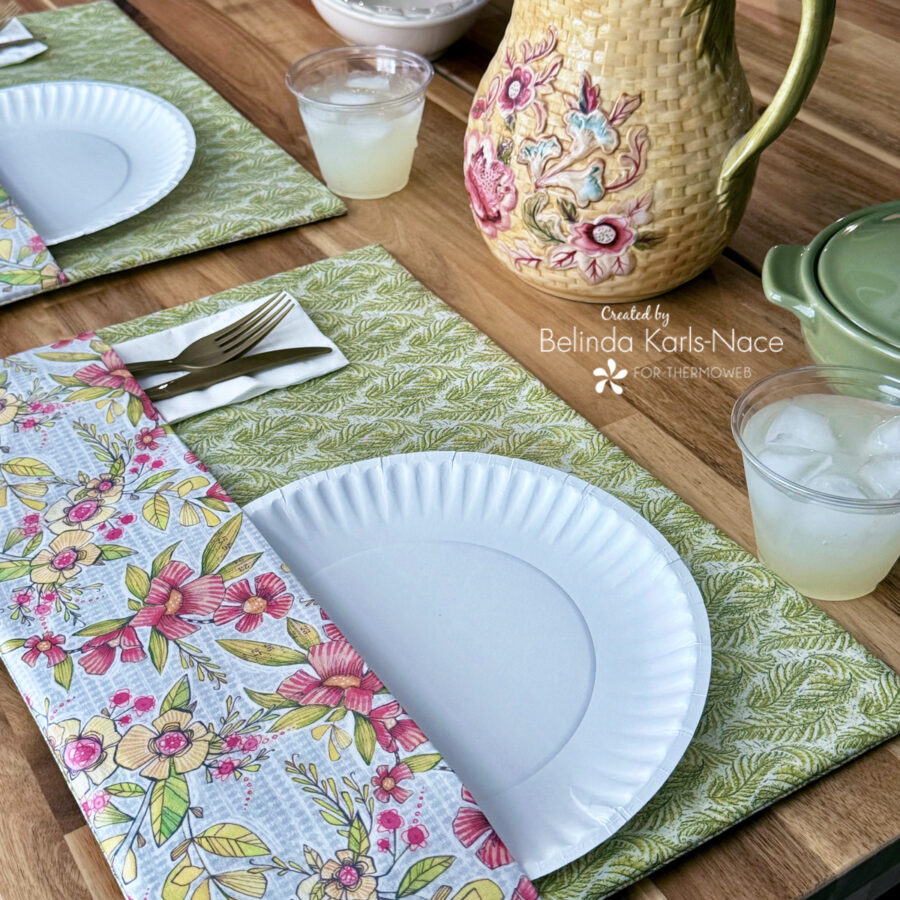
This method is ideal for crafters without a sewing machine. Start with preshrunk fabric to avoid warping. For an 18-inch by 24-inch finished mat, cut fabric 20 inches by 26 inches.
Fold 1 inch inward on all sides and press. At corners, fold diagonally inward first to create a flat edge. Fold again by a quarter inch to hide the raw edge. Insert fusible bonding web inside the folded hem and use clothespins to hold it in place.
Iron each edge with steam to activate the adhesive. Press firmly for 10 to 15 seconds per section and let cool before handling.
Add Decorative Touches
Turn plain mats into art with mod podge and vintage images. Use tourist maps, sheet music, or patent drawings. Brush mod podge on the mat surface, lay the paper image, smooth out air bubbles, and seal with 2 to 3 top coats. Let dry for 24 hours.
For a reusable surface, paint with chalkboard paint and decorate with seasonal messages. You can also upcycle old jeans into rugged placemats by cutting strips and weaving them into checkerboard or hexagon patterns.
Prevent Common Mistakes
When layering, pin every 2 to 3 inches to stop fabric from shifting. Use a walking foot to feed fabric evenly. Start quilting from the center and work outward.
Use a longer stitch length for topstitching to give fabric room to lie flat. Press seams well before stitching and never pull the fabric as you sew. After sewing, clip corners diagonally to remove excess fabric, leaving about an eighth inch from the stitch line.
Extend Your Mat’s Lifespan
Make reversible mats to double their usage. Flip them weekly to even out wear. Store flat or rolled, and avoid folding repeatedly in the same spot to prevent crease damage.
If corners begin to unravel, reinforce with a quick topstitch or fabric sealant. Replace mats when insulation flattens or stitching loosens.
Frequently Asked Questions About Making Table Mats
What is the best fabric for making table mats?
100% cotton, linen, and canvas are the best choices because they offer excellent heat resistance and are easy to wash. Quilting cotton provides vibrant prints, while denim adds thickness and texture. Avoid synthetic fabrics like polyester for items that will contact hot dishes.
How do I make my table mat heat resistant?
Add an insulating layer like Insul-Bright batting, which contains a reflective layer that blocks heat. This turns your placemat into a trivet that protects wooden tables from hot cookware. Cotton batting provides cushioning for warm, not hot, dishes.
Can I make a table mat without sewing?
Yes, you can use the no-sew method with fusible bonding web. Cut fabric 2 inches larger than your desired finished size, fold the edges, insert the bonding web, and iron to activate the adhesive. This creates a clean hem without any stitching.
What size should a table mat be?
Standard mats measure 18 inches by 14 inches, which fits most dinner plates. For smaller tables, use 14 inches by 11 inches. Your mat should extend at least 1 inch beyond your largest plate’s edge.
How do I care for my DIY table mats?
Machine wash cotton mats in cold water with mild detergent. Pre-wash fabric before starting to prevent shrinkage. For wipe-clean functionality, use laminated cotton or PUL fabric. Avoid submerging decoupage or chalkboard mats.
How long does it take to make a table mat?
A simple turn-and-topstitch mat takes under 30 minutes to complete. A quilted and bound mat takes longer, about 1 to 2 hours. No-sew mats can be finished in about 45 minutes.
Key Takeaways for Making Table Mats
Making a table mat is a rewarding project that combines function and style. The key to success lies in choosing heat-resistant materials like cotton or linen, adding Insul-Bright for thermal protection, and selecting the right construction method for your skill level. Whether you prefer the quick two-layer method for gifts or the quilted and bound approach for heirloom quality, precise cutting and secure finishing ensure your mats last for years. Start with a basic reversible mat, then experiment with textures, themes, and no-sew options to build a collection that suits your lifestyle and protects your table for every meal.