How to Make a Table Topper: Quick Steps
You’ve just bought a beautiful dining table or spruced up your kitchen counter, and now you want to protect it in style. A handmade table topper is the perfect solution, offering both function and flair. Unlike full tablecloths, these smaller decorative pieces sit in the center of a table, protecting the surface while showcasing your creativity. Whether you’re a beginner with a sewing machine or an experienced quilter, making a table topper is a rewarding project that can be completed in a single afternoon.
This guide walks you through every step: choosing the right materials, cutting and piecing your design, quilting for durability, and finishing with professional binding. You’ll learn beginner-friendly methods like the layered square technique and scrap-busting strip designs, along with intermediate projects featuring half-square triangles or offset panels. With clear instructions, pro tips, and real-world insights, you’ll create a piece that’s beautiful, lies flat, washes well, and lasts for years.
Choose Your Design Style Based on Your Skill Level
Not all table toppers are created equal. Some are perfect for beginners, while others challenge even seasoned sewists. Your choice should match your comfort level and goals.
Beginner-Friendly Options:
• Layered Square: Uses simple strips sewn around a center block, great for practicing straight seams.
• Strippy Scrap Topper: Ideal for using leftover fabric strips with no complex shapes or angles.
Intermediate Challenges:
• Half-Square Triangle (HST) Stars: Requires precise diagonal sewing and point matching.
• Offset Panel Topper: Involves setting triangles around a central print, creating a diamond effect.
• Rounded Edge Topper: Needs a template and careful trimming for smooth curves.
Start with a 15″ to 18″ size if you’re new. Smaller projects mean faster results and less fabric waste.
Select Fabrics That Match Your Table and Theme
The right fabric elevates your table topper from crafty to couture. Quilting cotton is standard, but batiks offer richer colors and less fraying, ideal for high-contrast designs. For cozy winter decor, flannel adds softness and warmth.
When pairing fabrics, combine one solid with one print. Pull a color from the print to match your solid. Use high contrast (light vs. dark) for geometric impact like stars or pinwheels. Opt for tonal or low-contrast fabrics for subtle, elegant textures.
Seasonal Ideas:
• Valentine’s: Red, pink, white prints with a solid pink base.
• Fall: Batiks in burnt orange, rust, and brown.
• Patriotic: Red, white, blue stripe or star motifs.
Avoid slippery fabrics like silk unless you’re experienced. Cotton holds its shape better on tables.
Gather Essential Materials and Tools
To make a table topper, you’ll need three layers: top, batting, and backing.
Fabric Requirements:
• Small (15″ to 18″): Use 9″ to 10″ strips or sixteen 5″ squares for HSTs.
• Medium (27″ to 30″): Requires about 3/4 yard each of focal, accent, and background fabric.
• Panel Design: One 18″ square panel plus four 7 1/2″ squares cut diagonally for corners.
Batting and Backing:
• Cut backing 2″ larger than the top on all sides to allow for shrinkage during quilting.
• Use cotton batting for durability and washability. Cut 1″ to 2″ larger than the top to prevent edge bearding.
• Lightweight batting keeps the topper flat and reduces bulk.
Pro Tip: Always pre-wash and dry your fabric before cutting. This prevents post-project shrinkage that causes puckering. Use a zigzag stitch on raw edges before washing to minimize fraying.
Must-Have Sewing Tools
Skip the frustration by using the right tools from the start.
Essential Tools:
• Rotary cutter, mat, and 6″ × 24″ ruler for fast, accurate cuts.
• 1/4-inch foot for consistent seam allowances in quilting.
• Walking foot to prevent fabric layers from shifting during quilting, a game-changer.
• Chalk pencil or fabric marker for marking diagonal lines on HSTs.
• Iron and board to press seams after every step for flat blocks and sharp points.
• Cardboard template for rounded toppers (8″ in from each corner).
Use a “Block Lock” ruler to quickly square up half-square triangles. This saves time and improves accuracy.
Cut and Piece the Top Layer
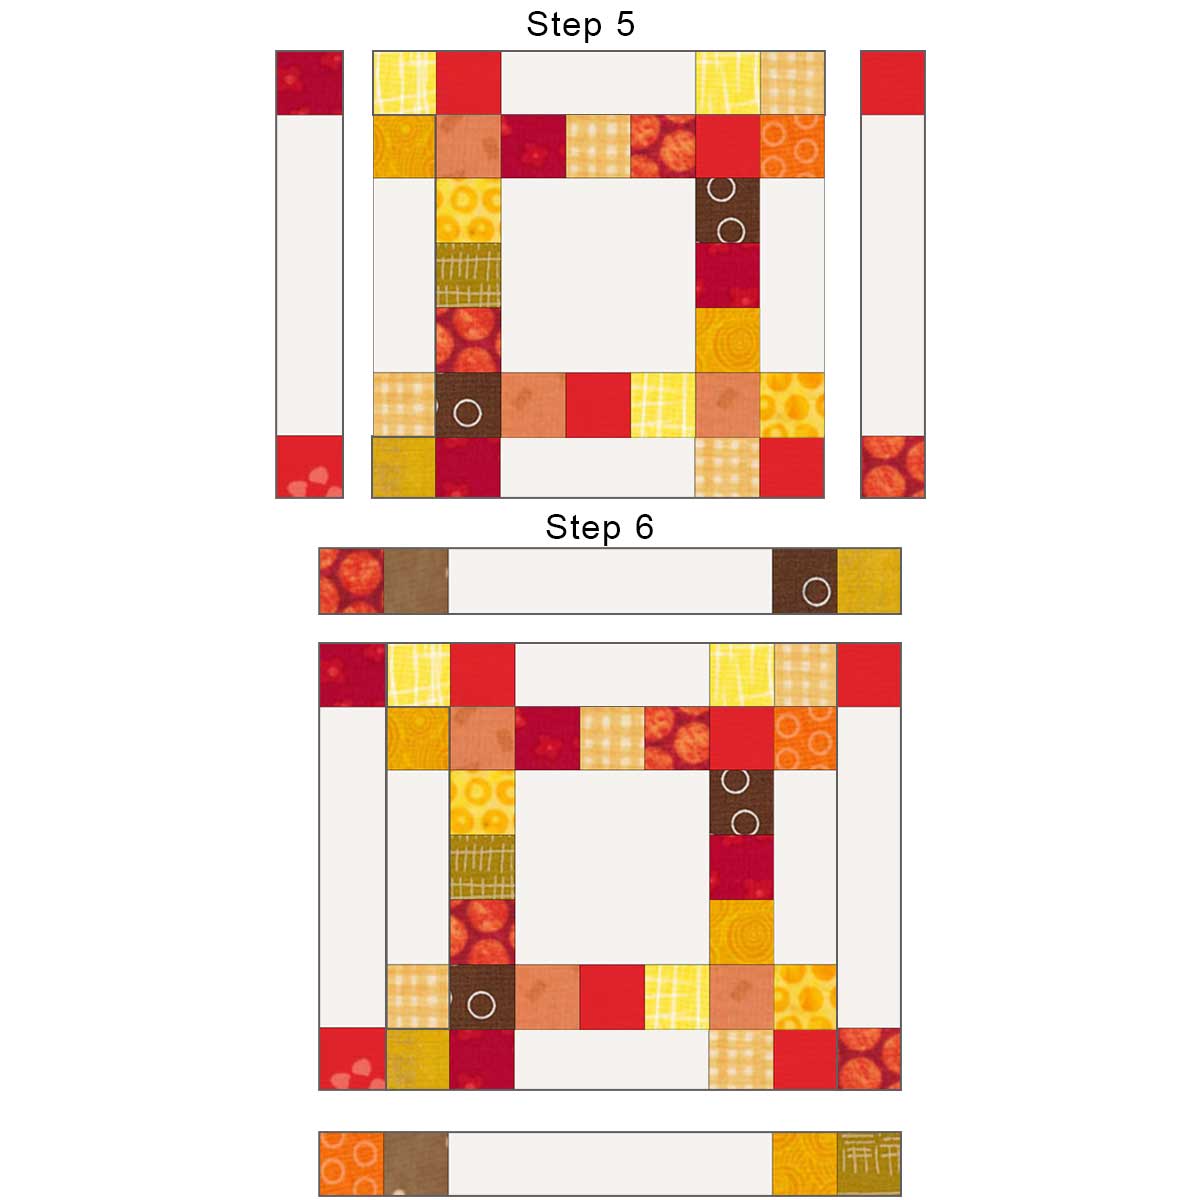
Build a Layered Square Topper
This method creates bold, modern geometry with minimal effort.
- Cut a 12.5″ × 12.5″ center square from solid fabric (Fabric A).
- Cut two 4.5″ × 12.5″ strips from print fabric (Fabric B). Sew to left and right sides of the center with 1/4″ seams. Press seams toward the center.
- Measure the new width (now about 21.5″). Cut two more 4.5″ wide strips to match. Attach to top and bottom. Press toward center.
- Cut four 4.5″ wide strips of Fabric A. Attach to all four sides. Press toward center.
The final size is approximately 28.5″ square, perfect for a 36″ table with overhang. Pressing toward the center stabilizes the piece and creates clean seam lines.
Assemble a Strippy Scrap Topper
Turn fabric scraps into a stunning design.
- Cut strips 9″ long, 1″ to 2.5″ wide. Mix solids and prints.
- Sew strips end-to-end to form a long panel at least 9″ wide and 36″ long. Press seams in one direction.
- Cut panel into four 9″ × 9″ squares.
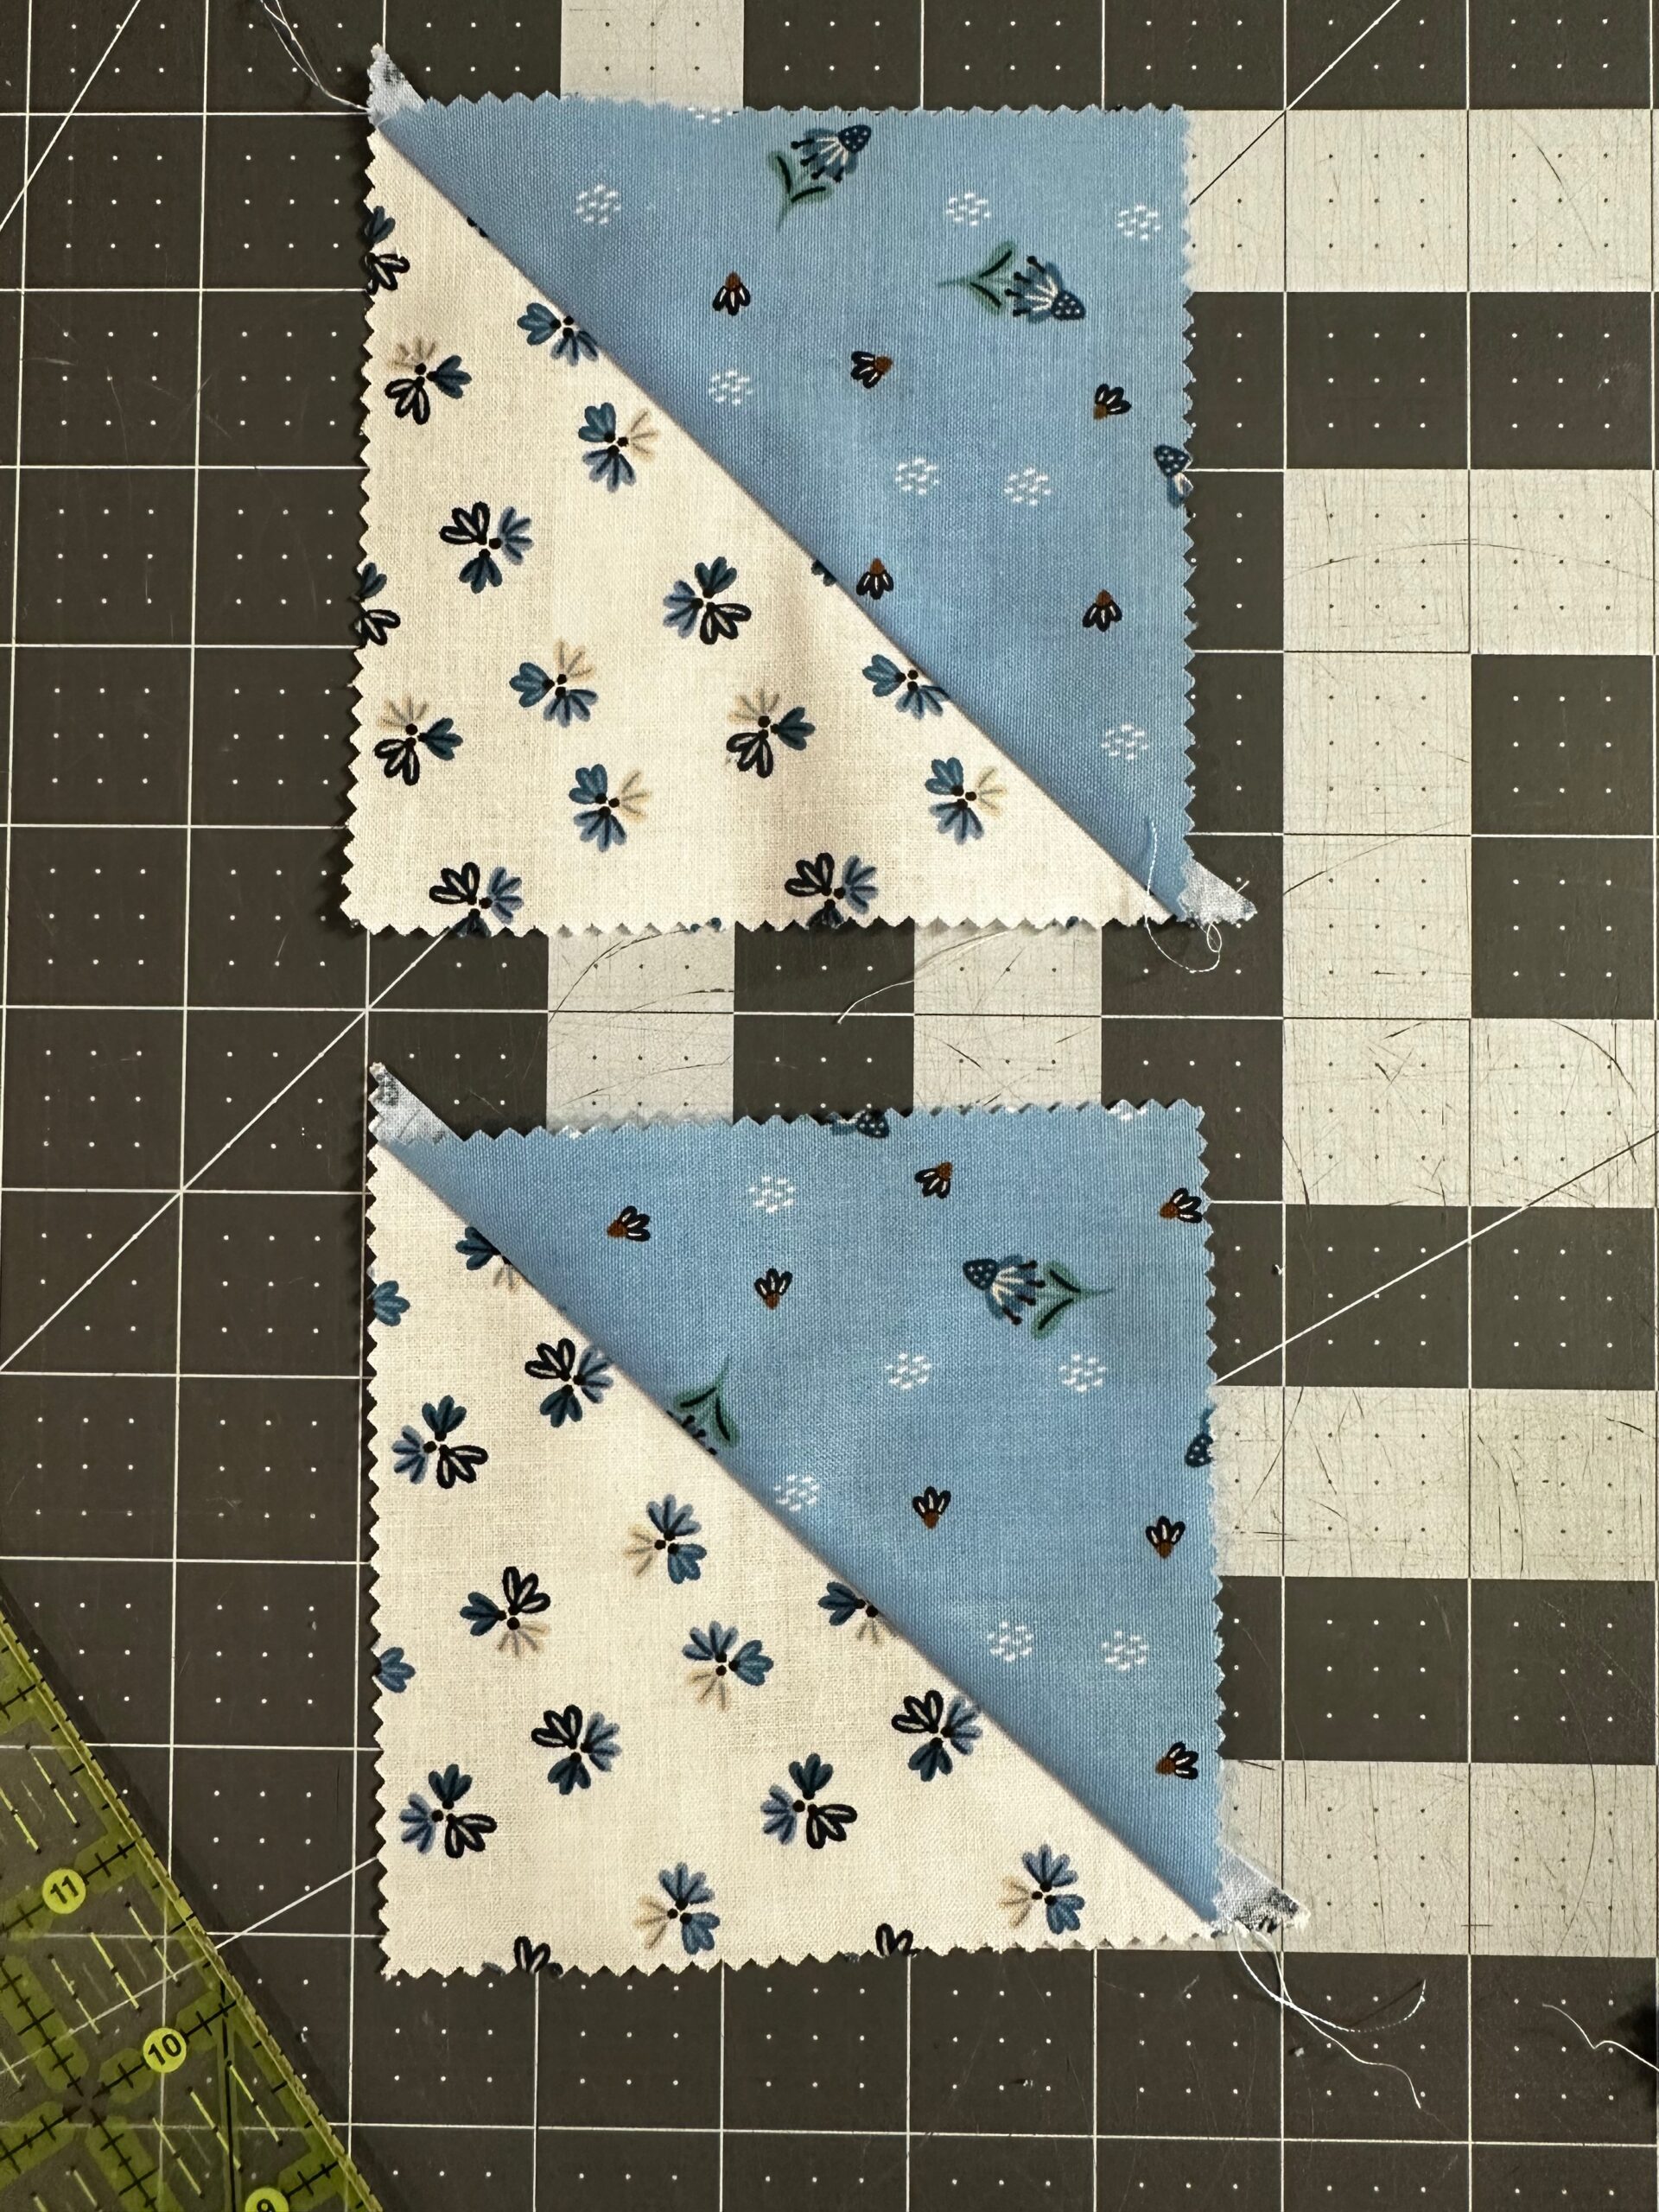
- Make Half-Square Triangles (HSTs): Place two 9″ squares right sides together. Draw a diagonal line corner-to-corner. Sew 1/4″ on both sides of the line. Cut along the diagonal. Open and press. Trim each HST to 8.5″ square.
- Arrange four HSTs in a 2×2 grid. Rotate for pinwheel or star effect. Sew together.
Formula: For any finished block size, add 1″ to strip length. Total strip length equals 4 × strip length.
Create Half-Square Triangle Blocks
Ideal for star patterns like “Evening Star.”
- Pair one dark 5″ square with one light 5″ square. Right sides together.
- Draw a diagonal line. Mark two 1/4″ lines on either side.
- Sew along both outer lines. Chain-piece multiple pairs to save time.
- Cut on the diagonal. Yields two HSTs per pair.
- Press seams toward the dark fabric to reduce stretching.
- Square to 4.5″ using a ruler aligned with the seam.
Pro Tip: Make extra HSTs. You’ll often need replacements due to trimming errors.
Assemble the Quilt Sandwich

Now it’s time to sandwich your layers for quilting.
- Lay backing fabric right side down on a flat surface. Tape edges taut but not stretched.
- Place batting on top, centered. Smooth out wrinkles.
- Add quilt top right side up. Align center with backing.
Sizing Rule: Batting and backing should extend at least 1″ beyond the top on all sides.
Baste Layers Securely
Basting prevents shifting during quilting.
Basting Methods:
• Pin Basting: Use curved safety pins every 3″ to 4″, starting from the center and working outward.
• Spray Basting: Apply adhesive between layers, ideal for smooth, wrinkle-free results.
• Stitch Basting: Sew a long stitch (4mm) 1/8″ from the edge to lock layers before decorative quilting.
Skipping basting leads to puckered, uneven quilting. Don’t skip this step.
Quilt for Durability and Flatness
Choose the Right Quilting Method
How you quilt determines how well your table topper lies flat and withstands use.
Best Options:
• Stitch-in-the-Ditch: Sew directly in seam lines. Nearly invisible and stabilizing.
• Straight-Line Grid: Stitch every 2″ to 3″ horizontally and vertically. Adds texture and strength.
• Diagonal Serpentine: Use a wavy decorative stitch. Forgiving of minor inconsistencies.
Use a walking foot. It feeds all three layers evenly, preventing bunching.
Avoid Common Quilting Mistakes
• Don’t quilt too loosely. Dense stitching (every 2″ to 3″) keeps the topper flat under vases or dishes.
• Start from the center. Stitch outward to push air and wrinkles to the edges.
• Trim after quilting. Cut excess batting and backing flush with the top only after quilting is complete.
Test for Flatness: Lay the topper on a table. Corners should lie flat with no curling. If they lift, add more quilting lines near the edges.
Finish with Professional Binding

Prepare and Attach Binding
Binding seals the edges and gives a polished look.
Cutting:
• Use 2.5″ wide strips. Join diagonally for continuous binding.
• Length needed equals perimeter plus 10″ for corners and joining.
Application (Back-First Method):
1. Sew binding to the back of the topper first.
2. Press binding over to the front.
3. Stitch close to the inner edge from the front.
This method creates only one visible stitch line on the front, delivering a clean, store-bought finish.
Handle Corners Like a Pro
90-Degree Corners:
1. Stop 1/4″ from corner. Needle down.
2. Pivot 45°, sew off the edge.
3. Fold binding up, then down to form a miter.
4. Resume sewing 1/4″ from edge.
Inside Corners (Offset Panels):
• Clip 1/4″ into the angle to allow fabric to spread.
• Mark 1/4″ lines on both sides. Pivot at intersection.
• Ease the fabric rather than mitering if precision is tricky.
Joining Ends:
• Overlap binding ends.
• Unpick 2″ of stitching.
• Fold to align ends, pin, sew, trim, and press.
Final Touches and Care
Trim, Press, and Inspect
After binding, trim excess batting and backing even with the top. Press the entire topper with a hot iron and damp cloth. Check for flatness. If corners curl, add a few more quilting lines near the edge.
For non-bound, self-backed toppers (turned right side out):
• Leave a 4″ opening.
• Trim corners 1/8″ from seam.
• Turn, push out corners gently, press.
• Fold opening edges in 1/4″, topstitch closed.
Maintain Your Table Topper
To keep your table topper looking fresh:
• Wash in cold water, gentle cycle.
• Tumble dry low or air dry flat.
• Store by folding loosely or rolling. Don’t crease tightly.
Stain Protection: Treat with fabric guard if used on kitchen counters.
Repair Tip: Small center tears can be covered with a decorative applique. Turn a flaw into a feature.
Frequently Asked Questions About Making Table Toppers
What is the best fabric for a table topper?
Quilting cotton is the standard choice because it holds its shape well and is easy to work with. Batiks are recommended for vibrant colors and minimal fraying, while flannel works nicely for cozy winter designs.
How long does it take to make a table topper?
Most beginner-friendly table toppers take 3 to 4 hours to complete, including cutting, piecing, quilting, and binding. Smaller projects (15″ to 18″) can be finished even faster.
Do I need to pre-wash my fabric before making a table topper?
Yes. Always pre-wash and dry your fabric before cutting. This prevents post-construction shrinkage that causes puckering and distortion after the first wash.
What size table topper should I make?
A 15″ to 18″ topper works well for side tables and small surfaces. For a dining table, aim for 27″ to 36″ to provide adequate overhang. A 30″ size is ideal for standard kitchen counters.
Can I make a table topper without quilting it?
Yes. You can use fusible interfacing instead of batting and quilting. Cut two pieces of interfacing to match the top layer size, apply with a hot iron and damp cloth, and attach binding for a finished look.
Key Takeaways for Making Your Own Table Topper

Making a table topper is more than a craft project. It’s functional art that protects and beautifies your space. From choosing bold fabrics to mastering mitered corners, each step builds confidence and skill. Whether you make a quick strippy design in an afternoon or spend hours on a precision HST star pattern, the result is a unique piece that reflects your personal style.
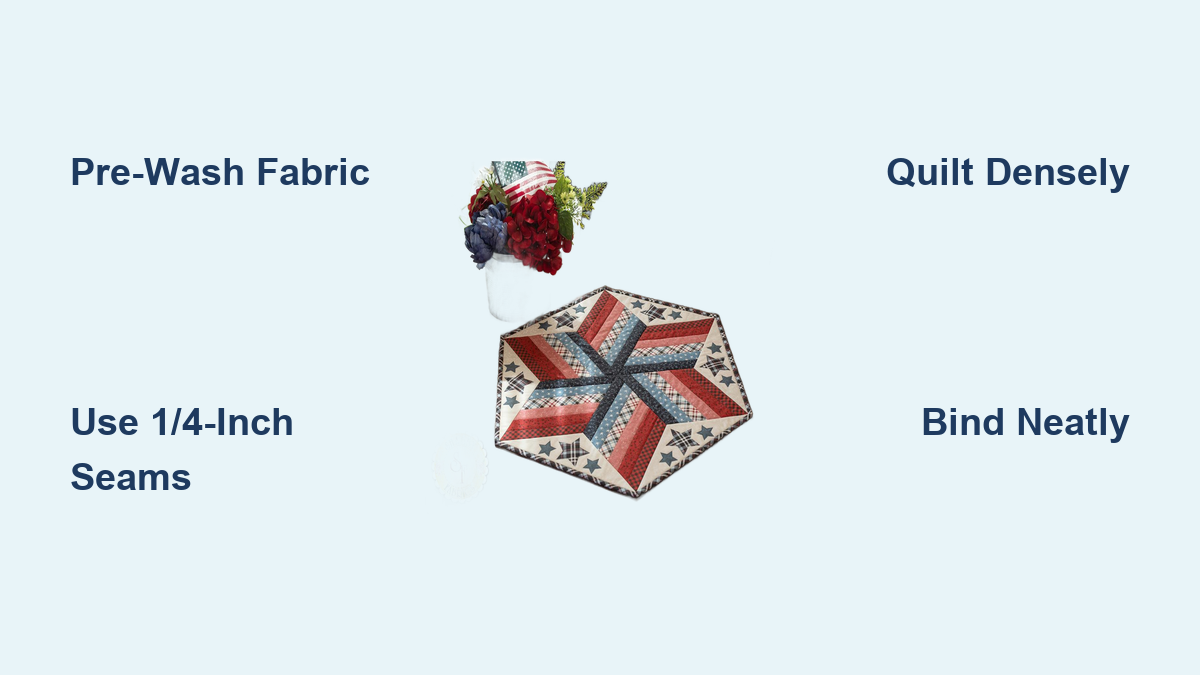
The most important factors for success are using pre-washed fabric, maintaining accurate 1/4-inch seams, quilting densely enough to keep the topper flat under everyday items, and applying clean binding for a professional finish. With these techniques, your table topper will lie flat, wash beautifully, and last for years.
Ready to start? Grab your scraps, fire up your sewing machine, and create a centerpiece that turns heads. Your perfect table topper is just a few hours away.