How to Paint a Table: Quick Steps
You’ve seen it in homes, cafes, and design magazines—tables transformed with a fresh coat of paint that gives them new life. Whether you’re refreshing a worn dining set, updating a hand-me-down, or personalizing a thrift-store find, learning how to paint a table the right way ensures a long-lasting, professional-looking finish. The key isn’t just the paint—it’s preparation, product selection, and patience.
Painting a table is a beginner-friendly project, but skipping steps like cleaning, priming, or curing can lead to peeling, stains, or scratches within weeks. This guide walks you through every phase—from deep cleaning to final cure—using proven methods from furniture refinishing experts. You’ll learn how to prep any surface, choose the best paint and primer, avoid common mistakes, and achieve a durable, wipeable finish that stands up to daily use.
Essential Tools and Supplies for Table Painting
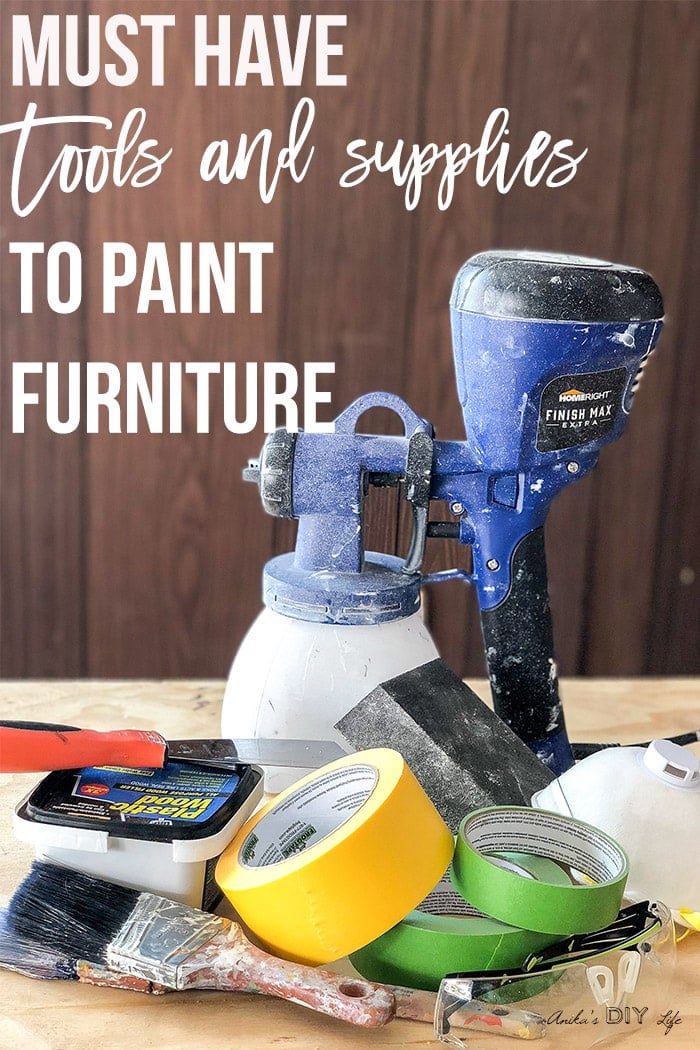
Before you touch a brush, gather the right materials. Using professional-grade products makes a visible difference in durability and finish quality.
Cleaning and Prep Must-Haves
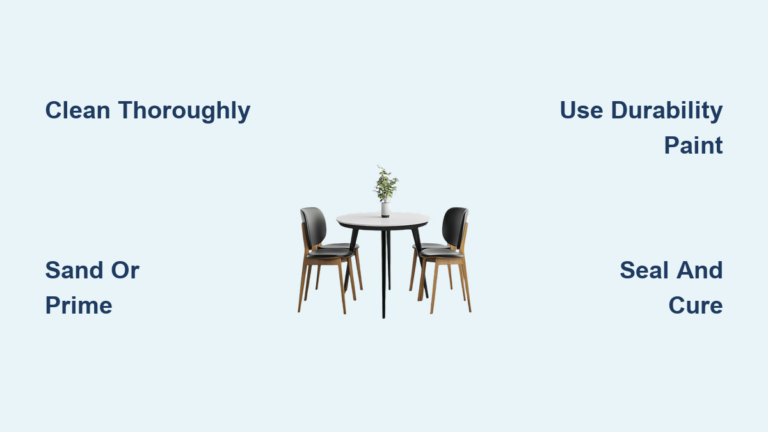
Start with a spotless surface. Any grease, wax, or grime will sabotage adhesion. Use Krud Kutter or Crud Cutter with a damp microfiber cloth to wipe down the entire table. For grime buildup in crevices or on legs, attach a drill brush for aggressive scrubbing. Scrape off hardened residue with a spatula, then rinse with warm soapy water. After cleaning, wipe with denatured alcohol for a final degrease. Let the table dry completely—overnight is ideal.
Pro Tip: Always work in a dust-free, low-humidity area. Open windows or use AC, but avoid windy days that blow debris onto wet surfaces.
Sanding: When and How to Do It
Sanding isn’t always required—but scuff sanding is critical for glossy or sealed finishes. Use 180- to 220-grit sandpaper with a sanding sponge or orbital sander on low speed. Focus on dulling the shine, not stripping the wood. You’re creating “tooth” for the primer to grip. For deep grain or imperfections, apply plastic wood filler, let dry, then sand smooth with 220-grit. After sanding, wipe with a tack cloth—regular rags leave lint and dust that ruin smooth finishes.
No-Sand Option: Seal and Bond
If you want to skip sanding, apply two coats of shellac primer after cleaning. Shellac seals the surface, blocks stains, and creates a mechanical bond that lets paint adhere without abrasion. This method works especially well on laminate or delicate finishes.
Primer: The Secret to Longevity
Never skip primer. It prevents bleed-through, improves adhesion, and blocks stains. Use INSL-X STIX for laminate or slick surfaces—it’s a powerful bonding primer. For pine or tables with water rings, use AquaLock or shellac to block tannins and discoloration. Apply primer with a 4-inch fine roller on flat areas and a synthetic brush for legs and grooves. Use light, even coats—thick primer on leaf edges can cause them to stick when closed. Let dry 1 hour, then inspect. If stains show through, apply a second coat.
Choose the Right Paint for Your Table

Not all paints hold up to dinner spills, hot plates, or daily wear. Pick one designed for furniture.
Best Paints for Durability
Benjamin Moore ADVANCE Interior Paint delivers a hard, self-sealing enamel finish that mimics factory-applied furniture coatings. It levels beautifully and resists brush marks. Sherwin-Williams Emerald Urethane Trim Enamel is equally tough, with excellent scratch resistance in satin finishes like Tri-Corn Black. For matte finishes, BEHR ULTRA offers rich color and hides imperfections well. Olympic ONE works for flat, low-gloss looks.
Chalk Paint: No Prep, Rustic Look
Chalk Paint by Annie Sloan requires no sanding or priming. It adheres directly to clean surfaces and gives a vintage, textured finish. Colors like Original (creamy ochre) and black shades are popular. While it’s convenient, chalk paint must be sealed—otherwise, it’s not durable enough for dining tables.
Milk Paint: Smooth and Modern
General Finishes Milk Paint is thicker and self-leveling. When thinned with 10% water, it’s ideal for sprayers or roller application. It produces a smooth, modern finish in colors like Sequel Gray. Requires a bonding primer on non-porous surfaces.
Painting Techniques for a Flawless Finish
How you apply paint matters as much as the product you choose.
Brush and Roller Method
Use a Zebra chiseled edge brush for flat surfaces and a round brush for legs and curves. For the tabletop, use a 4- to 6-inch fine-finish roller to minimize streaks. Apply thin coats—less is more. Thick paint on horizontal surfaces can crack or develop tide lines. Paint in multiple directions first, then smooth with long strokes following the wood grain. Allow full recoat time—up to 16 hours for ADVANCE paint. Rushing the second coat delays full cure and weakens the finish.
Sprayer Method
For large sets or ultra-smooth finishes, use a HomeRight Finish Max or spray gun. Thin paint slightly: General Finishes Milk Paint needs 10% water, Sherwin-Williams Emerald needs 15% water. Spray in even passes, overlapping slightly. One full coat, then a touch-up coat on thin areas. Set up a spray booth with plastic sheeting and cardboard to contain overspray.
Chalk Paint Application Tips
For a rustic look, brush in varied directions to create texture. For smoother results, dilute slightly with water, use a roller, and lightly sand between coats with 220-grit. Apply two coats. Let dry completely before sealing.
Seal for Strength and Wipeability
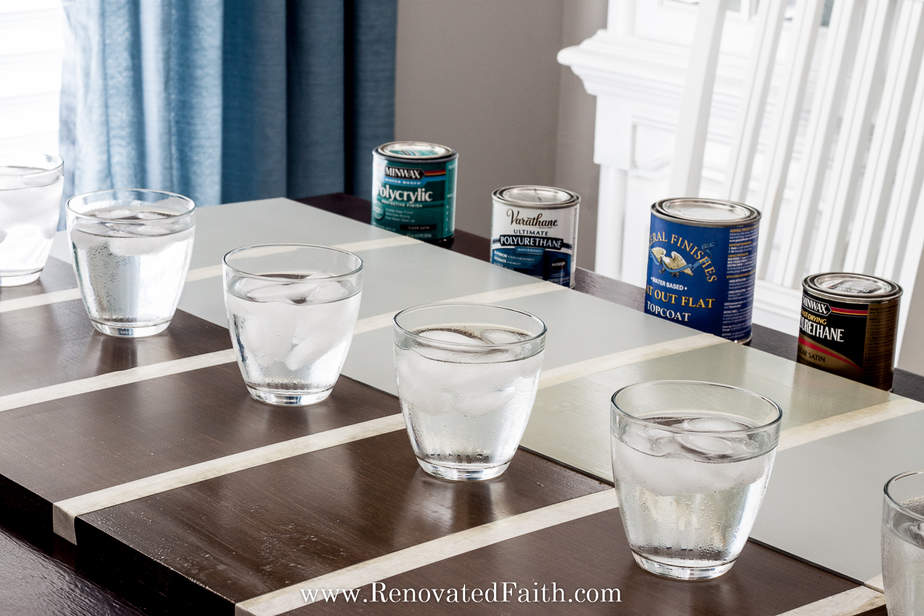
Even durable enamels benefit from a topcoat—but some don’t need one.
When to Seal
Chalk Paint and Milk Paint always need sealing—they’re not inherently durable. Self-sealing enamels like ADVANCE and Emerald are optional, but recommended for high-traffic tables.
Best Topcoats
Minwax Polycrylic is water-based, dries clear, and won’t yellow—perfect for white or light tables. Use in spray cans or liquid form. Apply 2 to 3 coats with a flat brush or roller, working strip by strip to avoid misses. Chalk Paint Lacquer (Matt or Gloss) is specifically formulated for chalk paint. More durable than wax and wipeable. Avoid oil-based polyurethane on light colors—it turns yellow over time.
Application Tips
Stir (don’t shake) to prevent bubbles. Let each coat dry 1 to 2 hours before recoating. Lightly sand between coats with 220-grit for better adhesion.
Fix Common Problems Before They Happen
Even with prep, issues can arise. Here’s how to prevent and fix them.
Prevent Bleed-Through Stains
Pine and old finishes often bleed tannins, causing yellow or orange spots under light paint. Do a patch test first. If discoloration appears, apply shellac or INSL-X Prime Lock Plus over the entire surface before painting.
Paint Laminate Tables Successfully
Laminate is slick, so standard paint peels easily. Clean thoroughly, then use INSL-X STIX bonding primer. Follow with ADVANCE paint or chalk paint. No sanding needed if using shellac or STIX.
Avoid Sticking Table Leaves
Paint buildup on the inside edges of dining table leaves can fuse them together when closed. Apply light primer and paint coats on these edges. Use a small brush and wipe excess.
Distress for a Vintage Look
Want a worn, timeworn finish? After painting but before sealing, lightly sand edges and corners with 220-grit. Focus on high-contact areas like table aprons and leg tips. Wipe away dust, then seal as usual.
Achieve Your Desired Finish Style
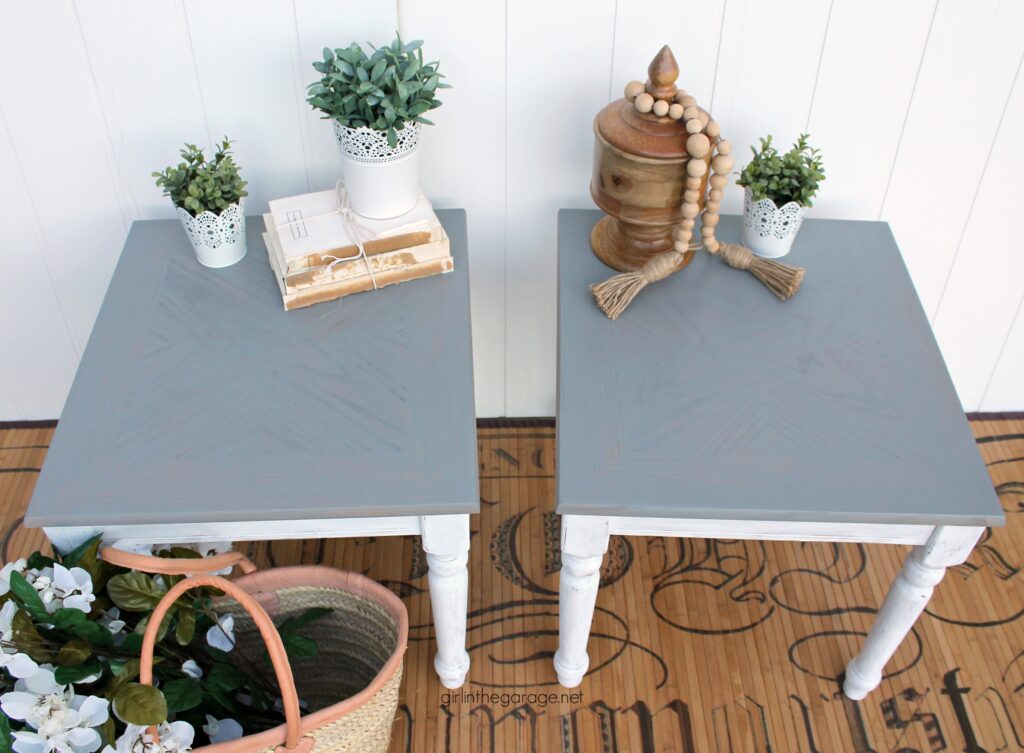
Tailor your technique to the look you want.
Rustic and Textured
Use Chalk Paint with a brush. Don’t sand between coats. Let brushstrokes show. Pair with linen or burlap fabric on chair pads for a farmhouse feel.
Ultra-Smooth and Modern
Fill deep grain with wood filler. Sand smooth. Use self-leveling milk paint or ADVANCE enamel. Apply 3 to 4 thin coats. Seal with Polycrylic. Use a sprayer or high-quality brush for the cleanest result.
Matte Black Dining Table
Choose BEHR ULTRA or Sherwin-Williams Emerald in Tri-Corn Black. Matte hides flaws but needs sealing for durability. Top with water-based polycrylic to resist scratches.
Cure Time: The Most Important Step

A table may feel dry in hours—but it’s not ready for use.
How Long to Wait
Standard enamels like ADVANCE need 3 to 5 days before light use. Chalk paint with lacquer needs 2 full weeks to cure. Milk paint with sealer varies, but 1 week minimum is essential. Never place objects, use placemats, or set hot dishes on the table before full cure. Doing so can cause permanent imprints, sticking, or finish damage.
Speed Up Cure Safely
Keep room temperature above 65°F (18°C). Maintain low humidity—use AC or a dehumidifier. Ensure good airflow, but avoid fans that blow dust onto the surface.
Maintenance and Long-Term Care
A well-painted table can last years with proper care.
Cleaning Tips
Use mild soapy water and a soft cloth. Avoid bleach, ammonia, or abrasive cleaners. Wipe up spills quickly, especially wine or oil.
Touch-Ups and Refreshing
Over time, edges may chip or wear. To refresh, clean the area, lightly sand, repaint with a small brush, and reapply topcoat if needed. No need to strip the entire table.
Frequently Asked Questions About Painting a Table
Can I paint a table without sanding?
Yes. Apply two coats of shellac primer after thorough cleaning. This seals the surface and creates a bond without abrasion. This no-sand method works especially well on laminate or delicate finishes.
How long does painted table finish last?
A properly prepped, painted, and sealed table can last years with normal use. Durability depends on the paint quality, number of coats, and whether a topcoat was applied. Self-sealing enamels and sealed chalk paint offer the longest lifespan.
What is the best paint for a dining table?
Benjamin Moore ADVANCE and Sherwin-Williams Emerald Urethane Trim Enamel are top choices for durability. Both self-seal and resist scratches, making them ideal for surfaces that endure daily use.
Can I use chalk paint on a kitchen table?
Yes, but you must seal it. Chalk paint alone isn’t durable enough for high-traffic surfaces. Apply Chalk Paint Lacquer or Minwax Polycrylic in 2-3 coats for a wipeable, durable finish.
Why is my paint peeling after a few weeks?
Peeling usually results from inadequate preparation—skipping degreasing, failing to scuff sand glossy finishes, or not using primer. Oil and grease on the surface prevent proper adhesion. Always clean thoroughly and use the correct primer for your table type.
How long should I wait before using my newly painted table?
Wait 3 to 5 days for standard enamels, and up to 2 weeks for chalk paint with lacquer. Even if the surface feels dry, the finish hasn’t fully cured. Premature use can cause permanent damage.
Key Takeaways for Painting Your Table
How to paint a table the right way comes down to three things: prep, patience, and the right products. Skipping the cleaning and degreasing step is the most common mistake that leads to peeling within weeks. Always choose a furniture-specific paint like Benjamin Moore ADVANCE or Sherwin-Williams Emerald for durability, or use Chalk Paint with a proper topcoat for that rustic look you want.
Remember that thin coats outperform thick ones—multiple light layers prevent cracking and ensure proper cure. Respect the drying time between coats (up to 16 hours for some enamels) and wait the full cure period before placing anything on the surface. With this guide, you’re equipped to transform any table into a statement piece that lasts for years.