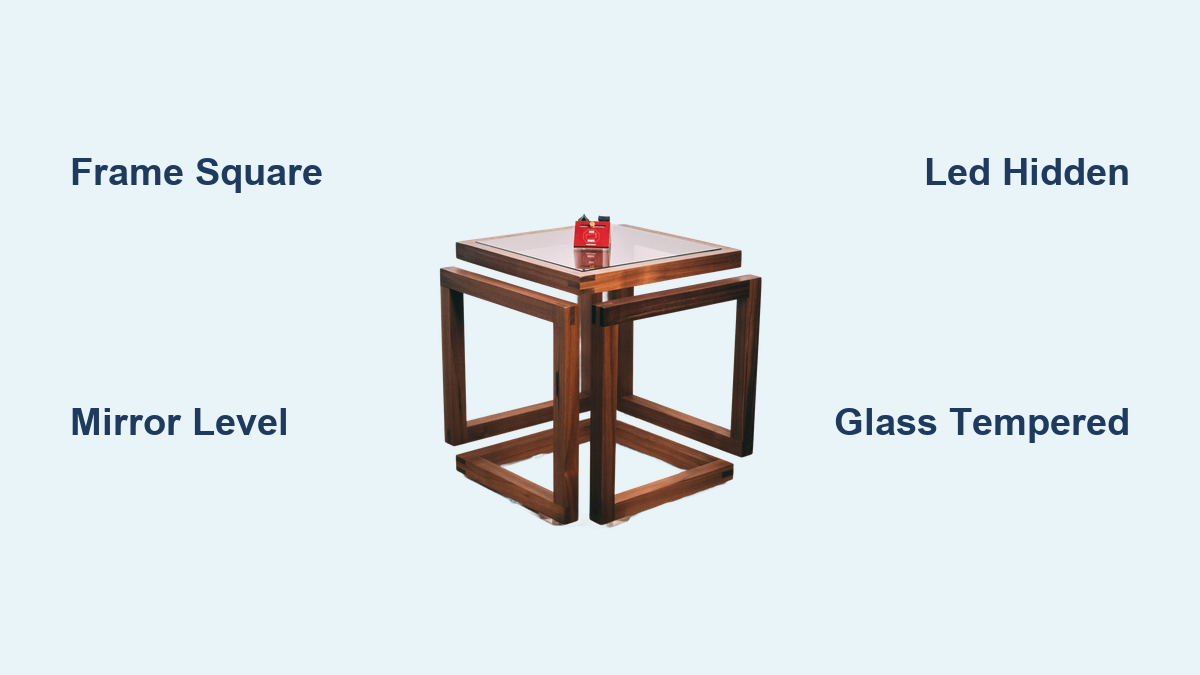
How to Make an Infinity Table: Quick Steps
Imagine a coffee table that looks like it holds a bottomless tunnel of light, stretching into eternity. An infinity table blends woodworking, optics, and modern lighting to create a mesmerizing centerpiece that doubles as functional furniture. Whether you are aiming for a sleek floating surface or a rustic mine shaft illusion, how to make an infinity table comes down to precision, the right materials, and understanding how mirrors and light interact.
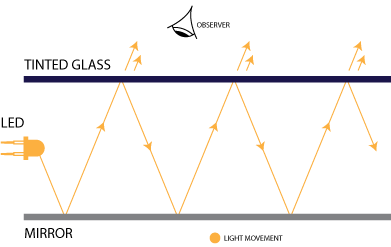
At its core, an infinity table uses a bottom first-surface mirror, a top two-way mirror, and perimeter LED lighting to generate endless reflections. The magic happens when light bounces between the two mirrors, creating the illusion of infinite depth. This guide walks you through every step from frame building to final lighting setup using proven techniques and safety-first practices. You will learn how to avoid common pitfalls like distorted reflections, cracked acrylic, and visible wiring while maximizing visual impact with minimal effort.
Build the Frame Structure
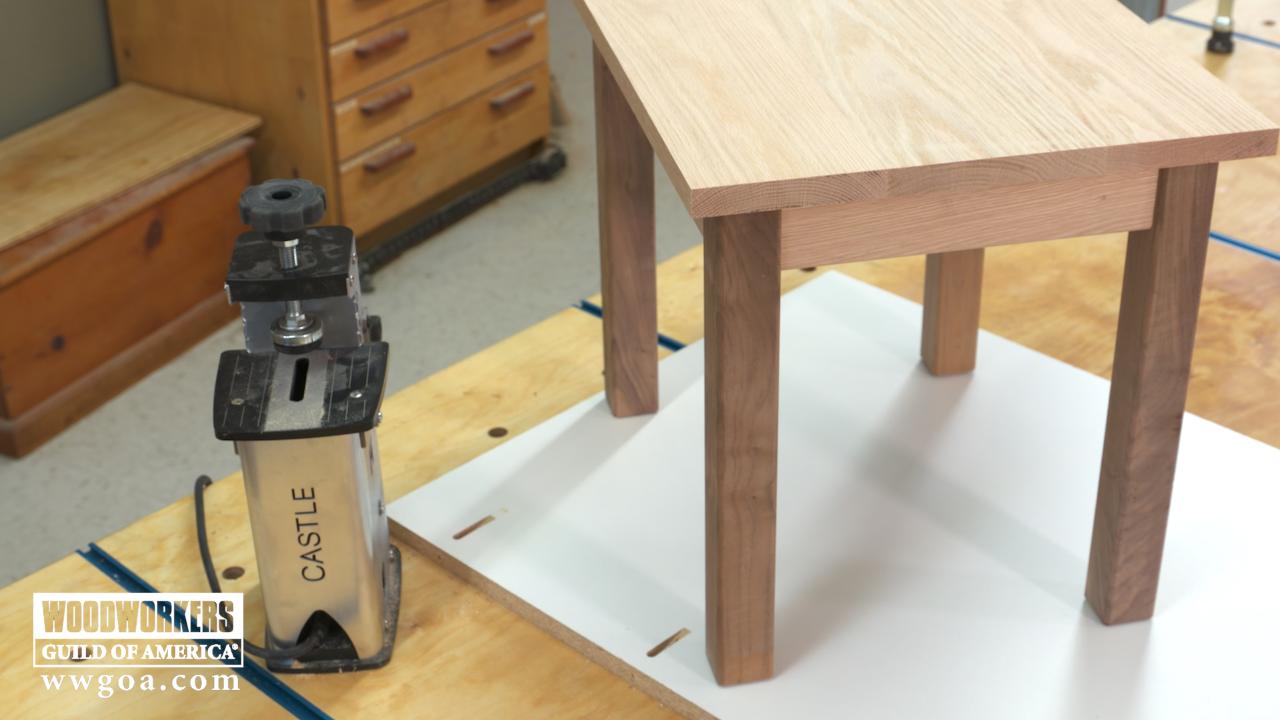
Your infinity table starts with a solid, square frame. This foundation supports the mirrors and lighting, so accuracy is non-negotiable. Even a one-millimeter misalignment can warp the optical illusion.
Cut and Prepare Lumber
Start with two-by-fours or scaffolding boards for a rustic look. Cut four pieces for the base frame. Two at 24 inches and two at 12 inches create a standard 36-inch coffee table. For the tabletop, use a single sheet of three-quarter-inch Baltic birch plywood sized 36 by 36 inches for stability and clean edges.
If going for a mine shaft aesthetic, leave one side of each board rough-sawn to mimic uneven walls. Sand the other three sides smooth. This contrast enhances the illusion when lit.
Join with Pocket Holes or Dowels
Assemble the frame using pocket hole joinery with two-and-a-half-inch screws. Pre-drill holes to prevent splitting and countersink screws so they sit flush. Alternatively, use dowels and wood glue for a cleaner, traditional look.
Clamp all joints tightly and check alignment with a framing square. The frame must be perfectly square. Use a straight edge to confirm diagonals match. Let the glue cure fully before moving on.
Route the Mirror Groove
Use a router with a one-quarter-inch straight bit to cut a groove inside the frame. Make it about one-half-inch deep to hold the bottom mirror. The groove should be slightly wider than your mirror thickness, typically one-eighth-inch for acrylic.
Test-fit the mirror. If it is too tight, widen the groove with a chisel. The mirror must sit flat and fully supported. Any sagging causes visual distortion.
Install the Infinity Mirror Assembly

The heart of your infinity table is the mirror stack. A reflective base and a semi-transparent top create the effect. Get this wrong and the illusion fails.
Mount the First Surface Mirror
Place a first-surface acrylic mirror into the routed groove. The reflective coating must face up. This eliminates ghosting by reflecting light directly from the front surface.
Acrylic is safer than glass, lighter, and easier to cut. Secure it with aluminum support brackets or thin wood strips around the inner edge. Ensure it is centered and flush.
Add LED Lighting Perimeter
Install low-heat LED strips around the inner edge of the frame, just below the top rim. Position them so they shine upward into the gap between the bottom mirror and the future top glass.
Use adhesive-backed strips for easy mounting. Choose Wi-Fi RGB strips for color control via smartphone. For cord-free operation, power with a lithium battery pack.
Route wires through copper piping or drilled channels in the legs. Seal entry points with rubber grommets and super glue to prevent shorts.
Design the Mine Shaft Illusion

Want your table to look like a glowing abyss with a ladder descending into darkness? Add a mine shaft feature for dramatic effect.
Build a Weathered Wood Ladder
Use an old broom handle for the rails and cut small dowels for rungs. Drill 25-millimeter holes in the rails and insert rungs, securing with wood glue.
To age the wood, create a weathering solution. Soak steel wool in white vinegar for three hours, then add strong tea after three days. Brush this onto the rungs to produce a rust-like patina. Let dry and seal with clear wax.
Mount the Ladder Inside the Frame
Position the ladder vertically in the center of the frame. It should stand between the bottom mirror and the top glass. The reflections will make it appear infinitely long.
Ensure the ladder does not touch the top glass. Maintain at least one-half-inch clearance. Secure the base to the mirror support with a dab of silicone.
Install the Two-Way Mirror Top

The final piece is the top glass. This seals the illusion and creates the floating effect.
Use Tempered Two-Way Glass
Place a tempered two-way mirror glass on top of the frame. This is critical. Tempered glass is 10 times stronger than regular glass and will not shatter under daily use.
The reflective side must face down toward the LEDs so it reflects light while allowing you to see through from above. The transparent side faces up.
Ensure Perfect Leveling
Use a spirit level to confirm the glass is perfectly flat. Any tilt distorts the infinite tunnel, breaking the illusion. Shim the frame legs if needed.
Do not glue the glass down. Rely on a snug frame fit or minimal silicone at the edges. This allows for future maintenance or removal.
Finish and Polish the Table
A clean, professional finish elevates your infinity table from DIY project to showpiece.
Round Over Wood Edges
Use a router with a one-quarter-inch roundover bit to soften the exposed wood edges. This adds elegance and prevents splinters.
Sand with 220-grit paper, then wipe clean. Apply wood stain for color, followed by clear wax for protection and sheen.
Clean Glass for Maximum Clarity
Wash the two-way mirror with glass cleaner and a squeegee. Avoid abrasive cloths that can scratch the coating.
Remove dust from inside the frame before final assembly. A single speck can become visible in the infinite reflection.
Power and Control the Lighting
Now bring your table to life with smart lighting features.
Connect Controller and Power
Wire the LED strips to a Wi-Fi controller. Connect the controller to your battery pack or mains power. Use insulated terminals for secure connections.
Hide the battery pack under the table using Velcro tape. This keeps it accessible but out of sight.
Enable Music and Color Effects
Pair the controller with the Magic Home app or equivalent. You can change colors with a tap, set dynamic effects like pulsing or rainbow waves, and sync lights to music to visualize ambient sound.
Test all functions before finalizing the build. Adjust LED brightness to balance visibility and reflection depth.
Troubleshoot Common Issues
Even well-built tables can have problems. Here is how to fix them fast.
Fix Distorted Reflections
If the tunnel looks bent or wavy, the top glass is not level or the frame is not square. Re-check with a level and square. Adjust leg height or re-seat the glass.
Also verify the gap between mirrors is uniform. Uneven spacing causes warped reflections.
Prevent Acrylic Cracking
Acrylic cracks when drilled too fast or without pilot holes. Always pre-drill slowly with a sharp bit. Sand cut edges immediately with fine grit.
Use silicone, not glue, to secure acrylic. It allows for slight expansion without stress.
Hide All Wiring
Visible wires ruin the illusion. Run cables through copper pipes or bulkhead lamps. Use rubber grommets at entry points.
For battery-powered setups, Velcro-mount the pack under the desk. No cords equal a clean, floating look.
Frequently Asked Questions About Making an Infinity Table
What is the most critical material for an infinity table?
The first-surface acrylic mirror and tempered two-way glass are the most critical materials. The first-surface mirror eliminates ghosting in reflections, while tempered glass provides safety and durability for daily use.
Can I use regular glass instead of tempered glass for the top?
No. Tempered glass is approximately 10 times stronger than regular annealed glass. It is essential for a surface that will hold drinks, books, and other items. Regular glass poses a safety hazard in furniture applications.
Why does my infinity reflection look distorted?
Distortion usually means the top glass is not perfectly level or the frame is not square. Re-check alignment with a spirit level and framing square. Adjust leg heights or reseat the glass to fix this.
How do I power my infinity table without visible cords?
Use a lithium battery pack mounted to the underside of the table with Velcro tape. This eliminates cords while maintaining a clean, floating aesthetic. Wi-Fi controllers allow full functionality without wired connections.
What LED strips work best for infinity tables?
Low-heat, high-efficiency LED strips are mandatory to prevent overheating the acrylic and glass. Wi-Fi enabled RGB strips offer the best versatility for color changing, dynamic effects, and music synchronization.
Key Takeaways for Building Your Infinity Table
Making an infinity table blends craftsmanship with technology. By focusing on square frames, correct mirror orientation, and hidden lighting, you create more than furniture. You build wonder.
The most important steps are ensuring your frame is perfectly square and your top glass is perfectly level. Even slight misalignments ruin the optical illusion. Use a framing square and spirit level repeatedly during assembly.
Choose quality materials. First-surface acrylic mirrors and tempered two-way glass are non-negotiable for safety and visual quality. Low-heat LED strips protect your materials while creating the stunning light effects.
Maintain your table with gentle cleaning. Avoid heavy impacts on the glass and use squeegee-based cleaning for the mirror surfaces. For future upgrades, consider adding motion sensors or programmable light shows.
Once you master how to make an infinity table, the only limit is your imagination.