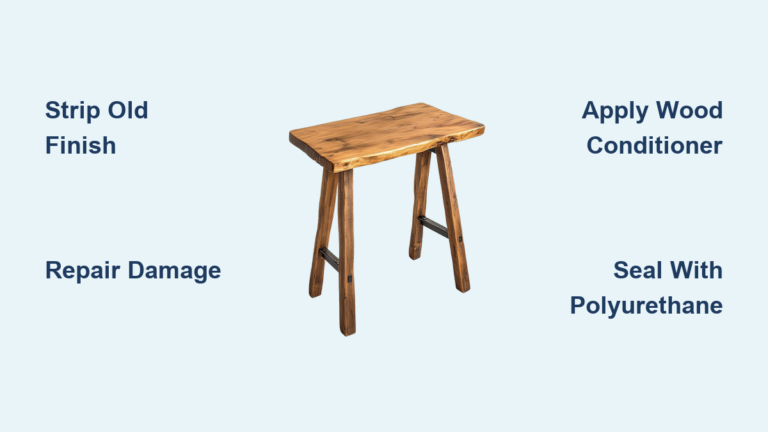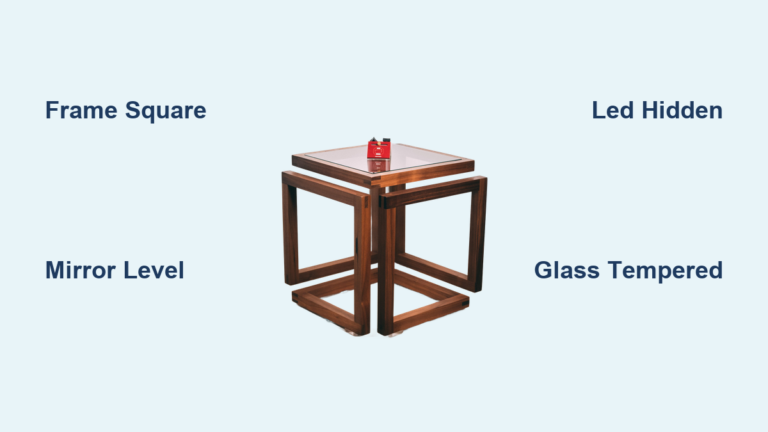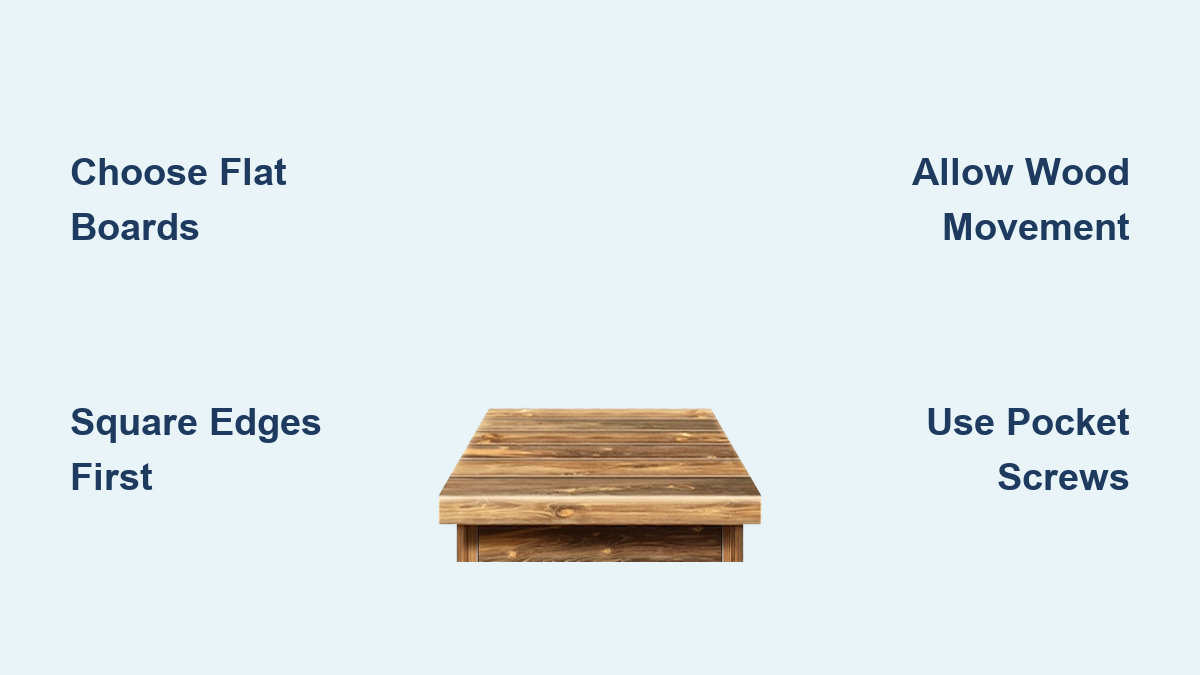
How to Build a Table: Quick Steps
Building a table from scratch is one of the most rewarding beginner woodworking projects. Whether you’re crafting a compact 21-inch side table or a large 71-inch farmhouse dining table, the process teaches core skills like measuring, cutting, gluing, and finishing. The key to success lies not in having expensive tools, but in using quality materials, planning carefully, and respecting how wood behaves. This guide walks you through every step from selecting flat boards to applying a durable finish using proven techniques that ensure your table stays flat, stable, and beautiful for years.
Choose the Right Wood for Your Table
Select Flat, Stable Boards
The foundation of a flat table starts with flat boards. When selecting lumber, eyeball the edge of every board at eye level and sight down the length. If a board shows any twist, bow, or warp, reject it immediately. A flat board yields a flat tabletop, while a warped board will ruin your tabletop regardless of perfect joinery. Pine, construction-grade lumber like 2x8s, and hardwoods like walnut all work well, but only if they’re flat when you buy them. Reclaimed wood adds character but must also be checked thoroughly for flatness before use.
Compare Wood Options
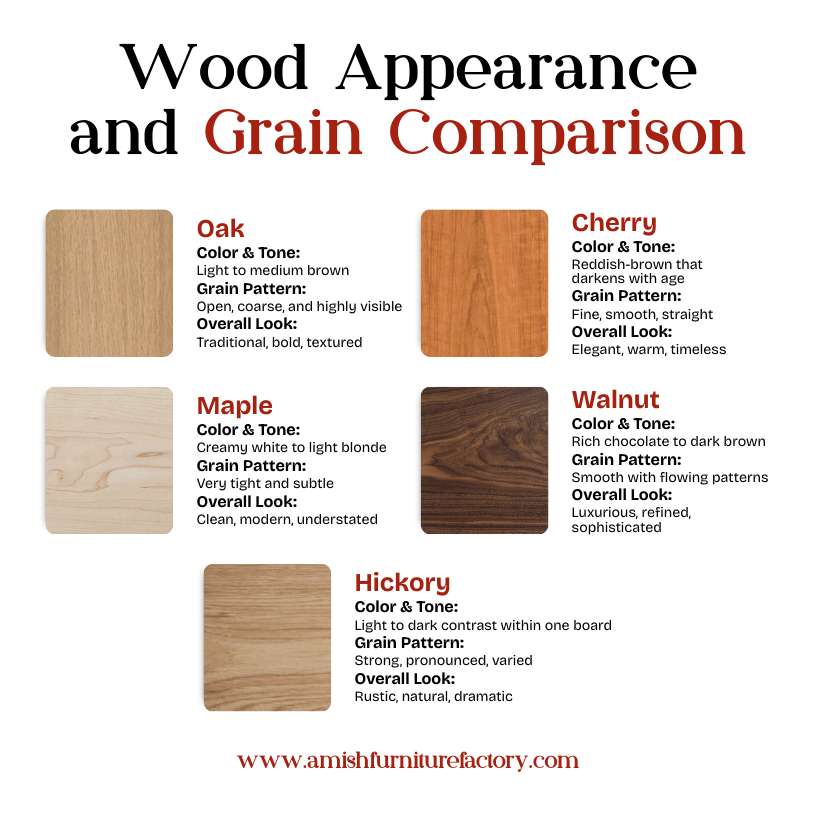
Different woods suit different styles and budgets. Pine is accessible and affordable, characterized by natural knots, grain variations, and color shifts that add visual depth. Pine starts pale but naturally darkens to warm amber over time. Construction lumber like 2×8 and 2×10 boards offers a cost-effective way to build large tops with fewer glue joints. Hardwoods like walnut and oak provide superior grain and durability, and they’re often used unstained to preserve natural color. Reclaimed lumber sourced from old structures offers true farmhouse charm with unique history. For modern designs, consider alternatives like MDF wrapped in metal, marble slabs, or repurposed doors.
Match Grain and Color
When arranging boards for the tabletop, align grain direction consistently across all pieces. Flip boards to balance light and dark tones. With pine, embrace the natural variation rather than hiding it. For seamless looks in hardwoods, place similar-toned boards side by side. Always dry-fit boards first to preview the pattern before applying any glue.
Cut and Join the Tabletop
Square the Board Edges
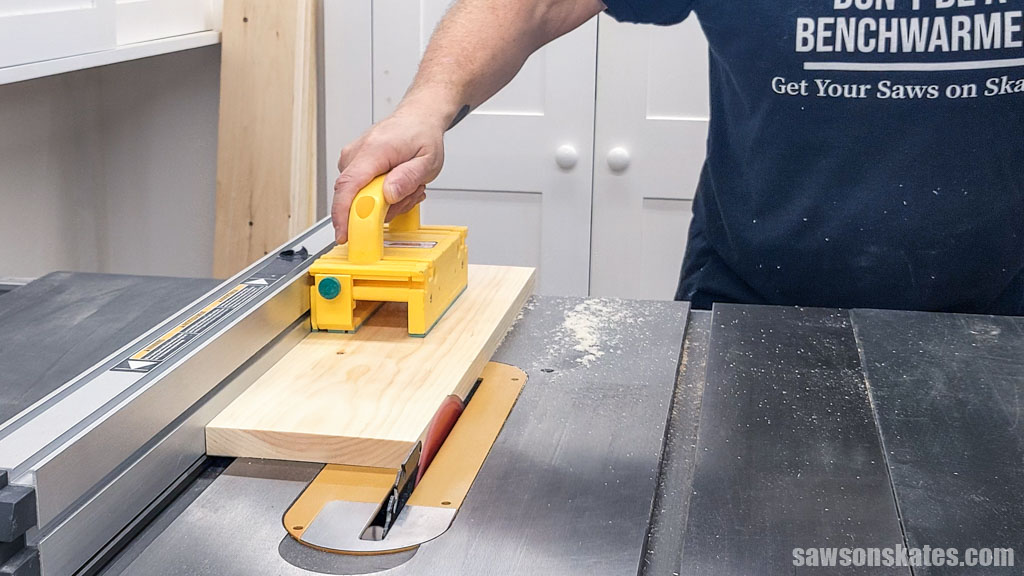
For tight glue joints, edges must be perfectly straight and square. Use a jointer to flatten one edge of each board to establish a straight reference edge. Then rip the opposite side on a table saw using the jointed edge against the fence. Cut about 1/4 inch narrower than the original width to ensure straightness. Target a consistent width across all boards, with 3 inches being a common size. If your jointer can’t handle long boards, rely on your table saw with a high-quality blade and zero-deflection fence instead.
Glue Boards in Stages
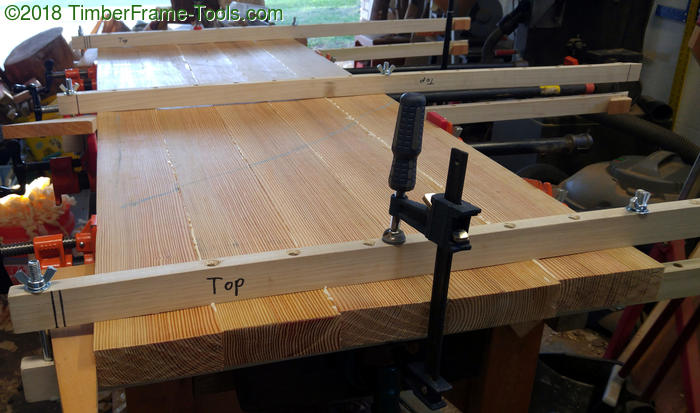
Gluing all boards at once risks misalignment and uneven pressure. Instead, glue boards in pairs using this approach. Lay boards on scrap 2x4s to protect the work surface and keep them elevated. Clean edges with a dry cloth to remove all sawdust. Apply wood glue in a zigzag pattern along one edge, then press boards together and clamp with pipe clamps. Alternate clamp positions between top and bottom to prevent bowing. Let dry overnight. After the pairs cure, glue the two halves together the same way. Use cauls, which are straight boards clamped across the panel, to keep the surface flat during drying.
Flatten and Square the Panel
Once dry, flatten any ridges from uneven glue joints. Screw the panel temporarily to a flat workbench to hold it stationary. Use a belt sander with 80-grit paper to level high spots, keeping the sander moving constantly to avoid creating dips. Switch to 120-grit for smoothing. To square the ends, use a circular saw with a straight-edge guide for long panels. Make a clean cut on one end, then measure and mark the final length before cutting the second end. Check for square with a carpenter’s square. Final size may be slightly under your target, and this is perfectly acceptable.
Repair Gaps and Imperfections
Fill Gaps with Custom Wood Putty
Small cracks or voids are normal even with careful gluing. For invisible repairs, mix fine sanding dust from your project wood with white wood glue. Stir until you have a putty-like consistency. Press the mixture into gaps with a putty knife and let dry completely before sanding flush with 220-grit paper. This blend matches the wood color perfectly. For stained tables, use commercial stainable wood filler instead.
Seal Interior Joints
In hidden areas like inside leg assemblies, mix wood glue with sawdust to a thick paste. Rub into gaps with a screwdriver or burnishing tool, wipe excess, and let dry. Sand smooth when finished. This strengthens joints and hides flaws without visible patching.
Build the Table Legs
Make Tapered Solid Legs
Tapered legs add elegance and reduce visual bulk. Glue two 1.5-inch-wide boards edge-to-edge to form a blank, clamp tightly, and let dry. Rip the blank to 1.5 by 1.5 inches using the table saw. Mark the taper to begin 3 inches from the top, ending at 3/4 inch wide at the bottom. Use a tapering jig with a set screw to guide the cut. Cut one side, label it “1,” then rotate 90 degrees, adjust the jig for kerf, and cut side “2.” Repeat for all four legs. Use a wedge to secure the workpiece as it narrows during cutting.
Assemble Hollow Mitered Legs
For thick-looking legs from 3/4-inch stock, cut 16 pieces, four per leg, to final length plus extra. Miter one long edge of each at 45 degrees on the table saw. Apply glue to mitered edges and assemble four pieces into a square tube. Secure with pin nails using a brad nailer. Sand exterior corners with a router or hand plane to round over edges. Trim to exact length on the miter saw and chamfer bottom edges slightly to prevent chipping. Hide internal gaps with the glue-sawdust mixture.
Use Pre-Made Legs
For simplicity, buy pre-turned legs from suppliers like Osborne Wood Products. Measure the leg’s top width precisely to calculate apron rail lengths. This saves time and ensures consistent taper and finish.
Construct the Apron Frame
Size the Apron Rails Correctly
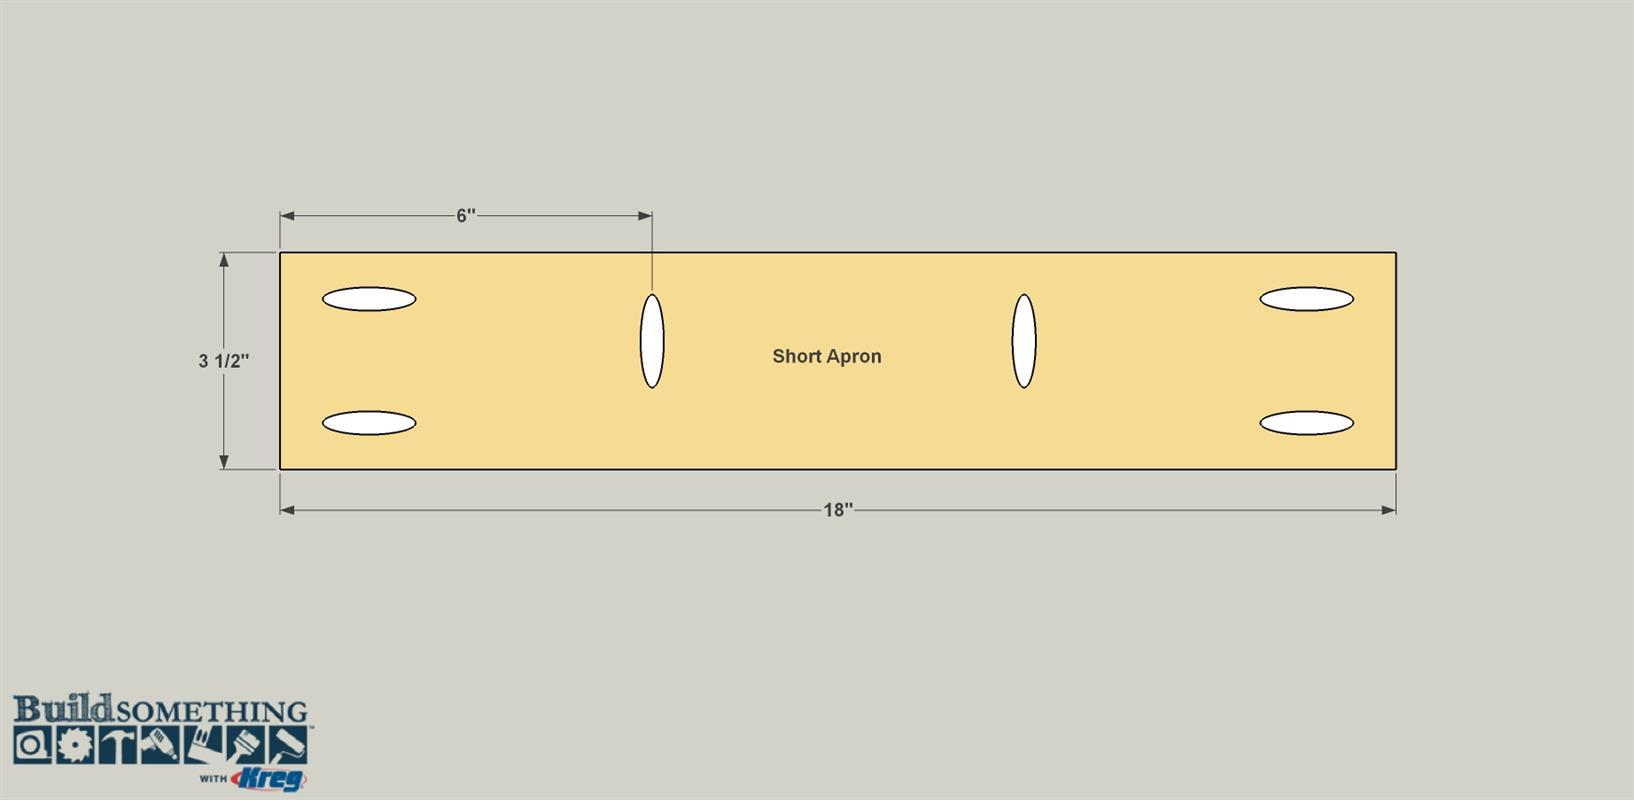
The apron connects the legs and supports the top. Calculate base dimensions by subtracting 8 inches from table length and 5 inches from width. For example, a 71-inch by 42-inch top yields a base of 63 inches by 37 inches. For rail lengths, subtract two times the leg width from each base dimension. Using 4-inch legs, the end rails equal 37 minus 8, or 29 inches, while side rails equal 63 minus 8, or 55 inches. Use 1-inch by 4-inch boards for aprons and cut all pieces to length.
Drill Pocket Holes for Assembly
Pocket screws make strong, disassemblable joints. Use a Kreg Jig to drill two pocket holes at each rail end for leg attachment. Drill additional holes every 6 to 8 inches along the top edge for securing the tabletop. Select screw length by thickness, using 1.5-inch screws for 1.5-inch thick tops. Use 2-inch pocket screws for leg-to-rail connections.
Assemble the Base Frame
Work upside down on a flat surface. Mark a line 1/4 inch in from the outer face of each leg to create a modern reveal. Align the apron rail with the mark and clamp in place. Drive pocket screws through the rail into the leg and apply glue to joints for added strength. Repeat for all four corners. Check for square by measuring diagonals; both should be equal.
Reinforce for Stability
Add a Center Support
For long tables, prevent sagging by cutting a 2×4 to fit between the long apron rails. Attach with pocket screws from the apron into the support, positioning at the midpoint for even load distribution.
Install Corner Braces
Diagonal braces stop racking and wobble. Cut 45-degree miters on scrap wood pieces and position in inside corners of the base. Drill shallow pocket holes by adjusting the jig collar to avoid screw blowout. Screw into both apron and leg, ensuring braces are long enough for solid screw engagement.
Combine Glue and Screws
Always use wood glue with mechanical fasteners. Screws alone can loosen over time, while glue fills micro-gaps and creates a bond stronger than the wood itself. Wipe excess glue immediately to avoid finish problems later.
Attach the Tabletop Safely
Respect Wood Movement
Solid wood expands and contracts across the grain with humidity changes. Gluing the top rigidly to the base will cause cracking. The attachment must allow side-to-side movement while holding the top securely.
Use Tabletop Clips
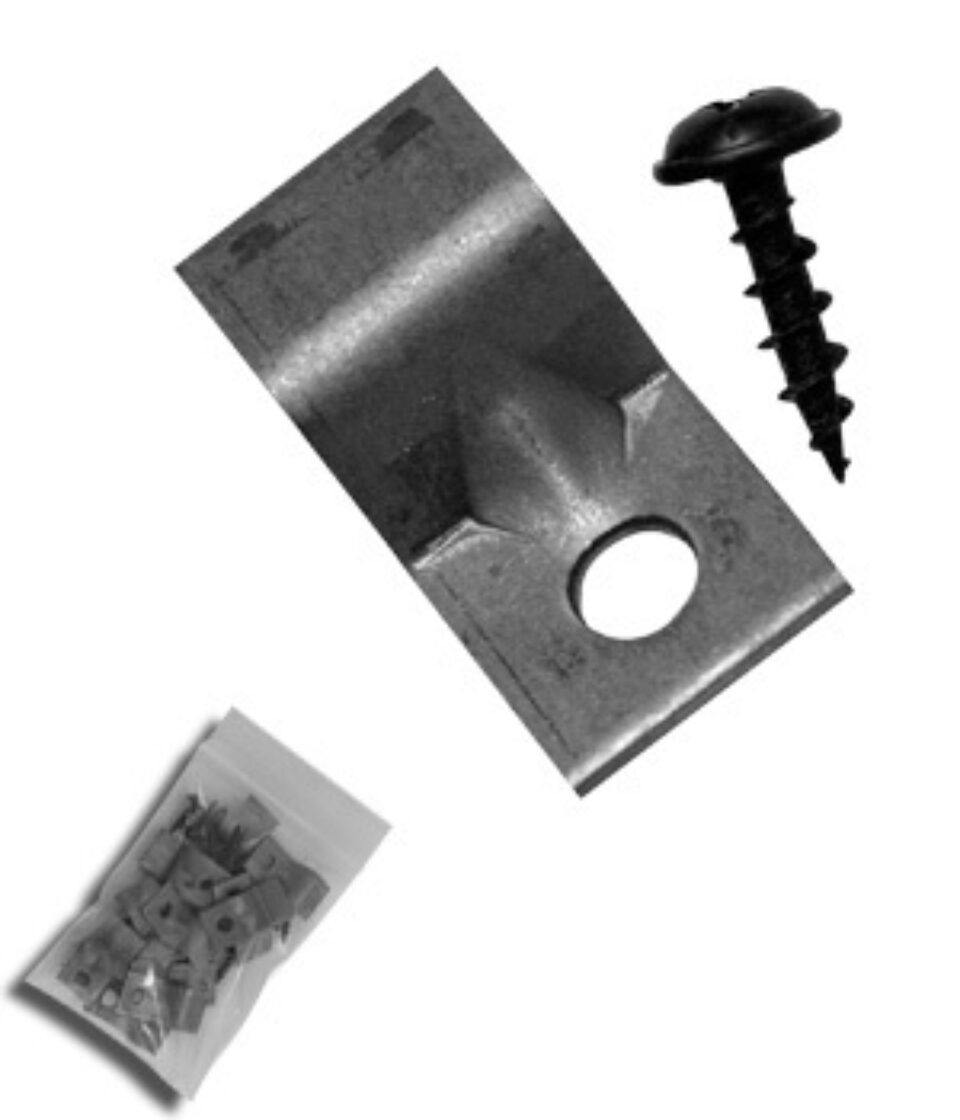
Z-clips are the best method for solid wood tops. Screw one side of the clip to the apron and attach the other side to the underside of the table. The clip slides, allowing the top to expand and contract. Space clips every 6 to 8 inches along the apron. Alternatively, cut a groove in the apron to house the clip for a cleaner look.
Try Figure-8 Connectors
For maximum movement allowance, figure-8 connectors work well. One end screws into the apron, the other into the tabletop. The metal tab pivots slightly, accommodating seasonal shifts. This is ideal for wide solid wood tops.
Avoid Fixed Pocket Holes
Never screw straight down through the apron into the top with fixed holes. This restricts movement and invites cracks. If using pocket screws, drill elongated slots in the apron so the screw can slide laterally as the wood moves.
Sand and Finish for Durability
Sand in Grit Sequence
Start coarse and finish fine for best results. Use 80-grit to remove tool marks and flatten, 120-grit to smooth the surface, 180-grit to prepare for finish, 220-grit for final smoothing, and 400-grit between finish coats for silkiness. Hand-sand edges with a block to preserve sharpness. Use a backlight to spot glue spots or low areas.
Remove All Glue Residue
Stain and finish will not adhere to dried glue. Sand thoroughly, especially on joints. Wipe with a damp cloth to raise grain, then lightly sand again with 220-grit.
Choose the Right Finish
Match your finish to the table’s use. Spray lacquer creates a hard, durable surface that resists water and rings. Apply 3 to 4 coats on top and 2 to 3 on the bottom, then buff with a brown paper bag after curing. Brush-on polycrylic is easy for beginners; sand lightly with 400-grit between coats. Wax and oil provide a natural feel with easy repair but require reapplication every 6 to 12 months. Paint hides grain but requires primer first, then two topcoats. For pine, consider no stain and let it age naturally to warm amber.
Frequently Asked Questions About Building a Table
What is the easiest wood for beginners to build a table?
Pine is the most accessible wood for beginners. It’s affordable, widely available, and forgiving to work with. Construction lumber like 2x8s offers another budget-friendly option for larger tabletops.
How do I prevent my tabletop from cracking?
Allow for wood movement by using tabletop clips or figure-8 connectors instead of rigid attachments. These methods let the wood expand and contract seasonally without cracking.
Do I need expensive tools to build a table?
No. Success comes from careful planning and attention to detail, not expensive tools. A table saw, circular saw, Kreg Jig, and basic hand tools are sufficient for most projects.
How long does it take to build a table?
A simple side table can be completed in a weekend, while a large dining table may take two to three weeks including drying time for glue and finish.
Can I build a table with reclaimed wood?
Yes, reclaimed wood offers vintage charm and sustainability. Sand carefully to preserve character and check thoroughly for flatness before use.
Key Takeaways for Building a Table
Building a table is accessible to beginners and deeply satisfying when you follow the right steps. Success comes from selecting flat wood first, squaring edges precisely during cutting, and allowing for wood movement when attaching the tabletop. Use pocket screws for strong joints, reinforce with center supports and corner braces, and finish with a durable topcoat like spray lacquer or polycrylic. Whether you build a compact pine side table or a large reclaimed wood dining table, the result is more than furniture. It’s a piece of craftsmanship that lasts for generations when built correctly.