How to Set Up Pool Table Balls
Setting up pool table balls properly is essential for a fair, consistent, and satisfying game. Whether you are playing casually at home or competing in a tournament, a poorly racked set of balls leads to weak breaks, unpredictable ball spread, and rule disputes. The way you arrange the balls varies depending on the game, and each variation follows specific rules for positioning.
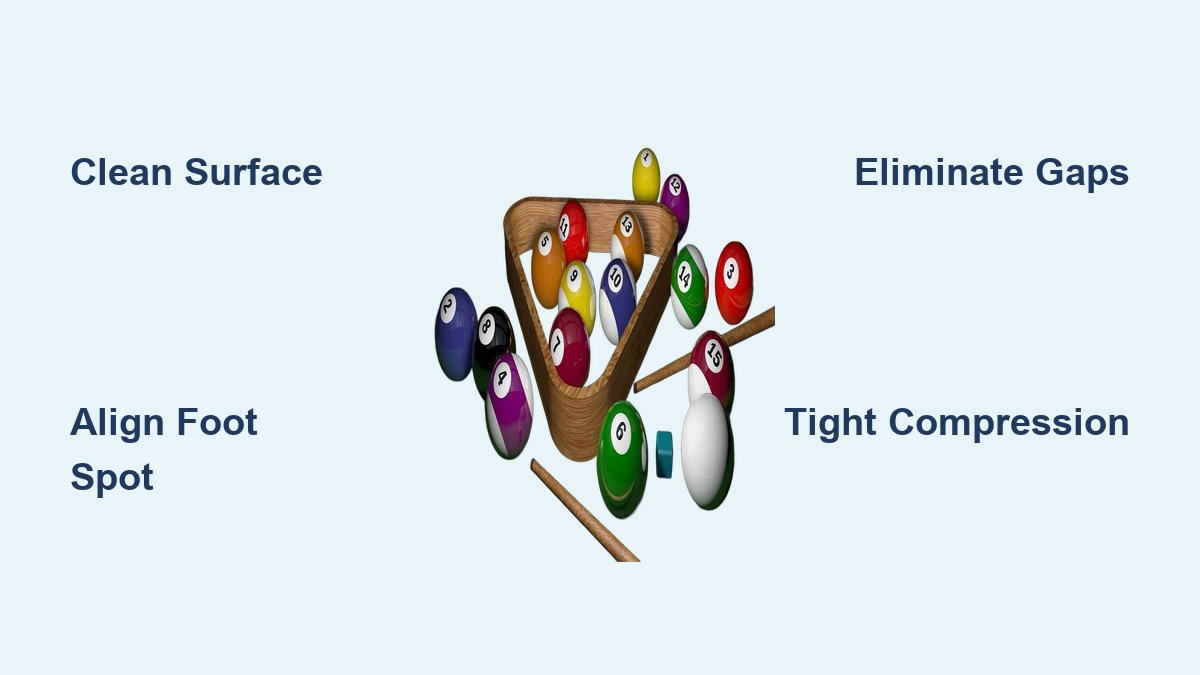
This guide walks you through every step of setting up pool table balls with precision. You will learn how to prepare your table, align the rack correctly, eliminate gaps between balls, and follow exact configurations for 8-ball, 9-ball, 10-ball, straight pool, and snooker. By the end, you will know exactly how to set up pool table balls for any standard game.
Prepare Your Table and Equipment
A flawless rack starts before you even touch the balls. The condition of your table directly affects how well the balls come together and respond during the break.
Clean the Playing Surface First
Always inspect and clean the playing surface before racking. Dust, chalk residue, or tiny debris under the balls creates gaps that ruin compression. Use a soft brush to gently sweep the foot end of the table, especially where the rack will sit. For home tables, a light vacuum pass helps remove deeper particles. Never skip this step because a clean cloth means tighter contact and better energy transfer on the break.
Use a Rack Cloth in Busy Areas
If you are playing in a bar or pool hall with constant use, consider using a rack cloth. This small protective patch sits over the foot spot and shields the main cloth from repeated friction caused by racking. Place it into position before setting the triangle. This simple habit extends your table lifespan and keeps the surface smooth for accurate ball roll.
Check Your Rack and Balls
Grab the right rack. You need a triangular rack for 8-ball, 10-ball, or straight pool, and a diamond rack for 9-ball. Inspect the inside edges of your rack. Chalk buildup or rough spots can make the apex ball stick when lifting. Wipe it clean with a dry cloth.
Also examine the balls. Frequent use wears them down, especially the 1-ball, which takes the brunt of breaks. If balls vary in size, place smaller ones in the back corners where tight contact matters less. Mismatched balls will not compress evenly, so rotate them during setup to find the tightest fit.
Align the Foot Spot Correctly
The foot spot is your anchor point. Every rack begins here, and misalignment leads to weak or illegal breaks.
Center the Apex Ball Over the Foot Spot
The apex ball, the front one in the triangle, must sit directly on the foot spot. This is a small mark at the foot end of the table. To position it perfectly, place the triangle so its tip covers the spot. Put the apex ball in first, then fill the rest. Alternatively, set the apex ball on the spot, then align the rack around it. Either way, double-check that the ball is centered. Even a slight offset throws off balance and reduces break power.
Keep the Rack Base Parallel to the Rail
Once the rack is in place, ensure its back edge runs parallel to the head rail. This symmetry ensures even pressure across all balls. If the triangle is crooked, balls will cluster to one side, causing an uneven spread when broken.
Eliminate Gaps Between Balls
A tight rack is non-negotiable. Gaps absorb energy, leading to soft breaks and poor ball separation.
Rotate Outer Balls Inward
After filling the rack, gently rotate the outer balls toward the center. This nudges them into tighter contact with their neighbors. Focus on high-gap zones between the 3 and 5, 3 and 9, and 6 and 9 balls in a standard rack. Rotation helps overcome minor size differences and cloth friction.
Shimmy the Rack for Compression
Hold the triangle with four fingers on one side and your thumb on the other. Then gently shake it upward and forward. This shimmy motion settles the balls together. Do not press down hard. Let gravity and vibration do the work. Repeat until no visible light passes between any balls when viewed from above.
Test Stability With a Nudge
Push the rack forward about 1/16th to 1/4 inch. If any ball moves, the rack is not tight enough. Loosen slightly, re-shimmy, and test again. A perfect rack shows zero movement on the nudge test. This guarantees maximum energy transfer at impact.
Fix Common Ball Placement Issues
Sometimes balls resist settling. Here is how to fix common problems.
Reduce Friction Under Stubborn Balls
If a ball will not seat, rub the cloth beneath it with your fingertip. This clears micro-debris and lowers resistance. Alternatively, tap the loose ball gently with another while holding adjacent balls in place. This forces contact without disturbing the whole rack.
Handle Worn or Oversized Balls
In older sets, the 1-ball is often smaller. If corner balls do not rotate slightly when compressed, they are likely not touching. Try swapping them with larger balls or place smaller balls in the back corners. They are less critical for break dynamics.
Set Up American 8-Ball

American 8-ball uses 15 balls: solids (1-7), stripes (9-15), and the black 8-ball.
Place the 8-Ball in the Center
The 8-ball must go in the center of the third row of the triangle. Never place it at the front or back. This positioning minimizes the chance of sinking it on the break, which usually results in a loss or re-rack.
Position Corner Balls by Type
One solid and one stripe must occupy the two rear corners. This balances the odds of hitting either group first on the break. Beyond that, the rest of the balls are placed randomly, though many players alternate colors for even distribution.
Choose Any Apex Ball
The front ball on the foot spot can be any ball except the 8-ball. Most players use the 1-ball, but it is optional unless tournament rules specify otherwise.
Set Up English 8-Ball (Blackball)
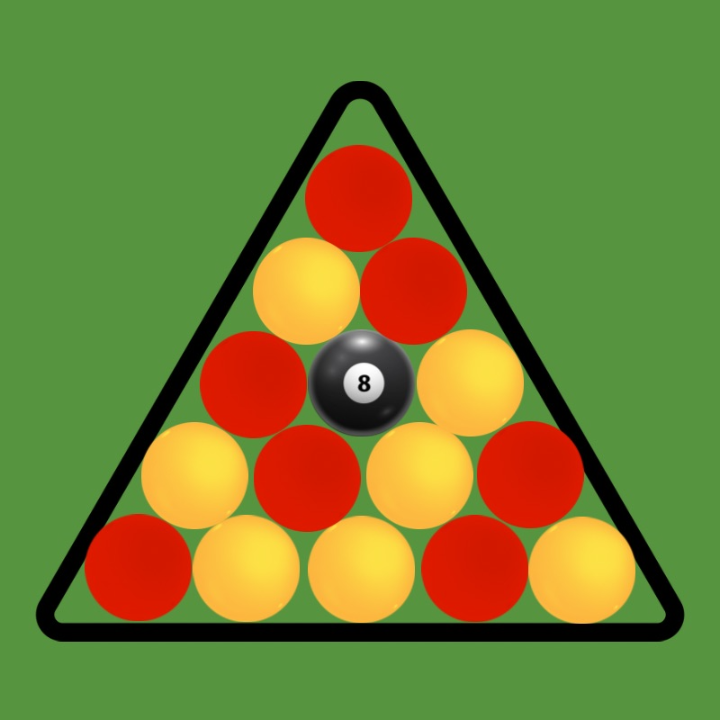
English 8-ball follows stricter pattern rules than the American version.
Place the Black Ball on the Foot Spot
Unlike American 8-ball, the black ball sits directly on the foot spot. To position it, remove the black ball first. Slide the triangle forward so the foot spot is visible in the center gap. Place the black ball on the spot. Then fill the rest of the rack around it.
Follow the J Shape Pattern
On the right side of the rack, form a three-ball stripe of the same color, connected to a two-ball stripe. This creates a J shape. Two balls of the opposite color go inside the curve of the J, next to the black ball.
Match the Apex Ball to the Left Corner
The apex ball must match the color of the ball in the left-hand corner. The ball directly behind and to the right of the apex must also match the apex color. The remaining space gets the opposite color.
Set Up 9-Ball Correctly

9-ball uses balls numbered 1 through 9. The goal is to pocket the 9-ball last, but you must hit the lowest-numbered ball first.
Use a Diamond Rack
A diamond-shaped rack is ideal for 9-ball. If unavailable, use the front part of a standard triangle, leaving the back corners empty.
Position the 1-Ball and 9-Ball
The 1-ball goes at the apex, centered on the foot spot. The 9-ball must be in the geometric center of the diamond. Balls 2 through 8 are placed randomly in the remaining spots. Ensure all balls are touching. A tight diamond rack maximizes break efficiency.
Set Up 10-Ball with Precision

10-ball is similar to 9-ball but adds one more ball and stricter rules.
Position the 1-Ball and 10-Ball
The 1-ball sits on the foot spot at the apex. The 10-ball is placed in the center of the triangle, middle of the third row. Balls 2 through 9 go in randomly.
Use the Full Rack Trick
To ensure compression, some players fill the entire triangle with 15 balls, then carefully remove balls 11-15 after lifting the rack. This leaves a perfectly compressed 10-ball rack, ideal for competitive play.
Rack Straight Pool Balls Randomly
Straight pool allows any ball to be pocketed in any order.
Random Order With Tight Compression
All 15 balls go into the triangle in random order. No specific positions matter. Some players prefer the 1-ball on the foot spot or five balls in the back left, but these are personal choices, not rules. Focus on tight compression using the shimmy and nudge test.
Assemble Snooker Balls Properly
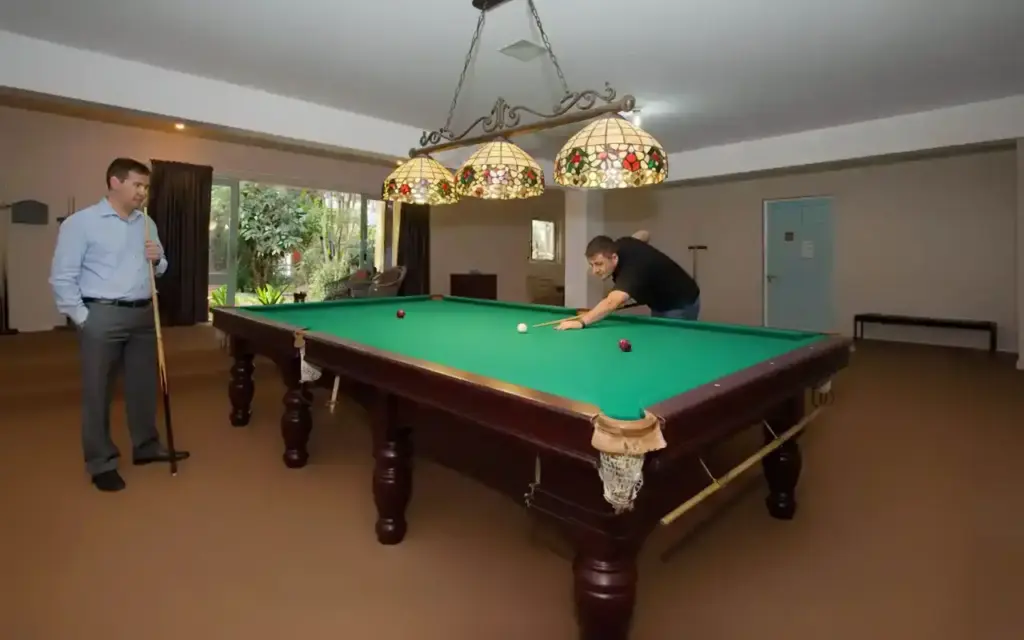
Snooker uses 22 balls: 15 reds, 6 colors, and a cue ball.
Pack Reds Behind the Pink Spot
Place all 15 red balls in a triangle just behind the pink spot, near the foot end. The front red should almost touch the pink spot but not quite.
Position Colors by Their Spots
The pink ball goes on the pink spot, center of the upper table. The black ball goes on the black spot, behind the pink. The blue ball sits on the center spot, midway between head and foot. The brown ball goes in the middle of the baulk line. The yellow ball goes on the left corner of the D. The green ball goes on the right corner of the D. The cue ball is not racked. It starts in hand from the baulk area.
Use Templates for Perfect Racks
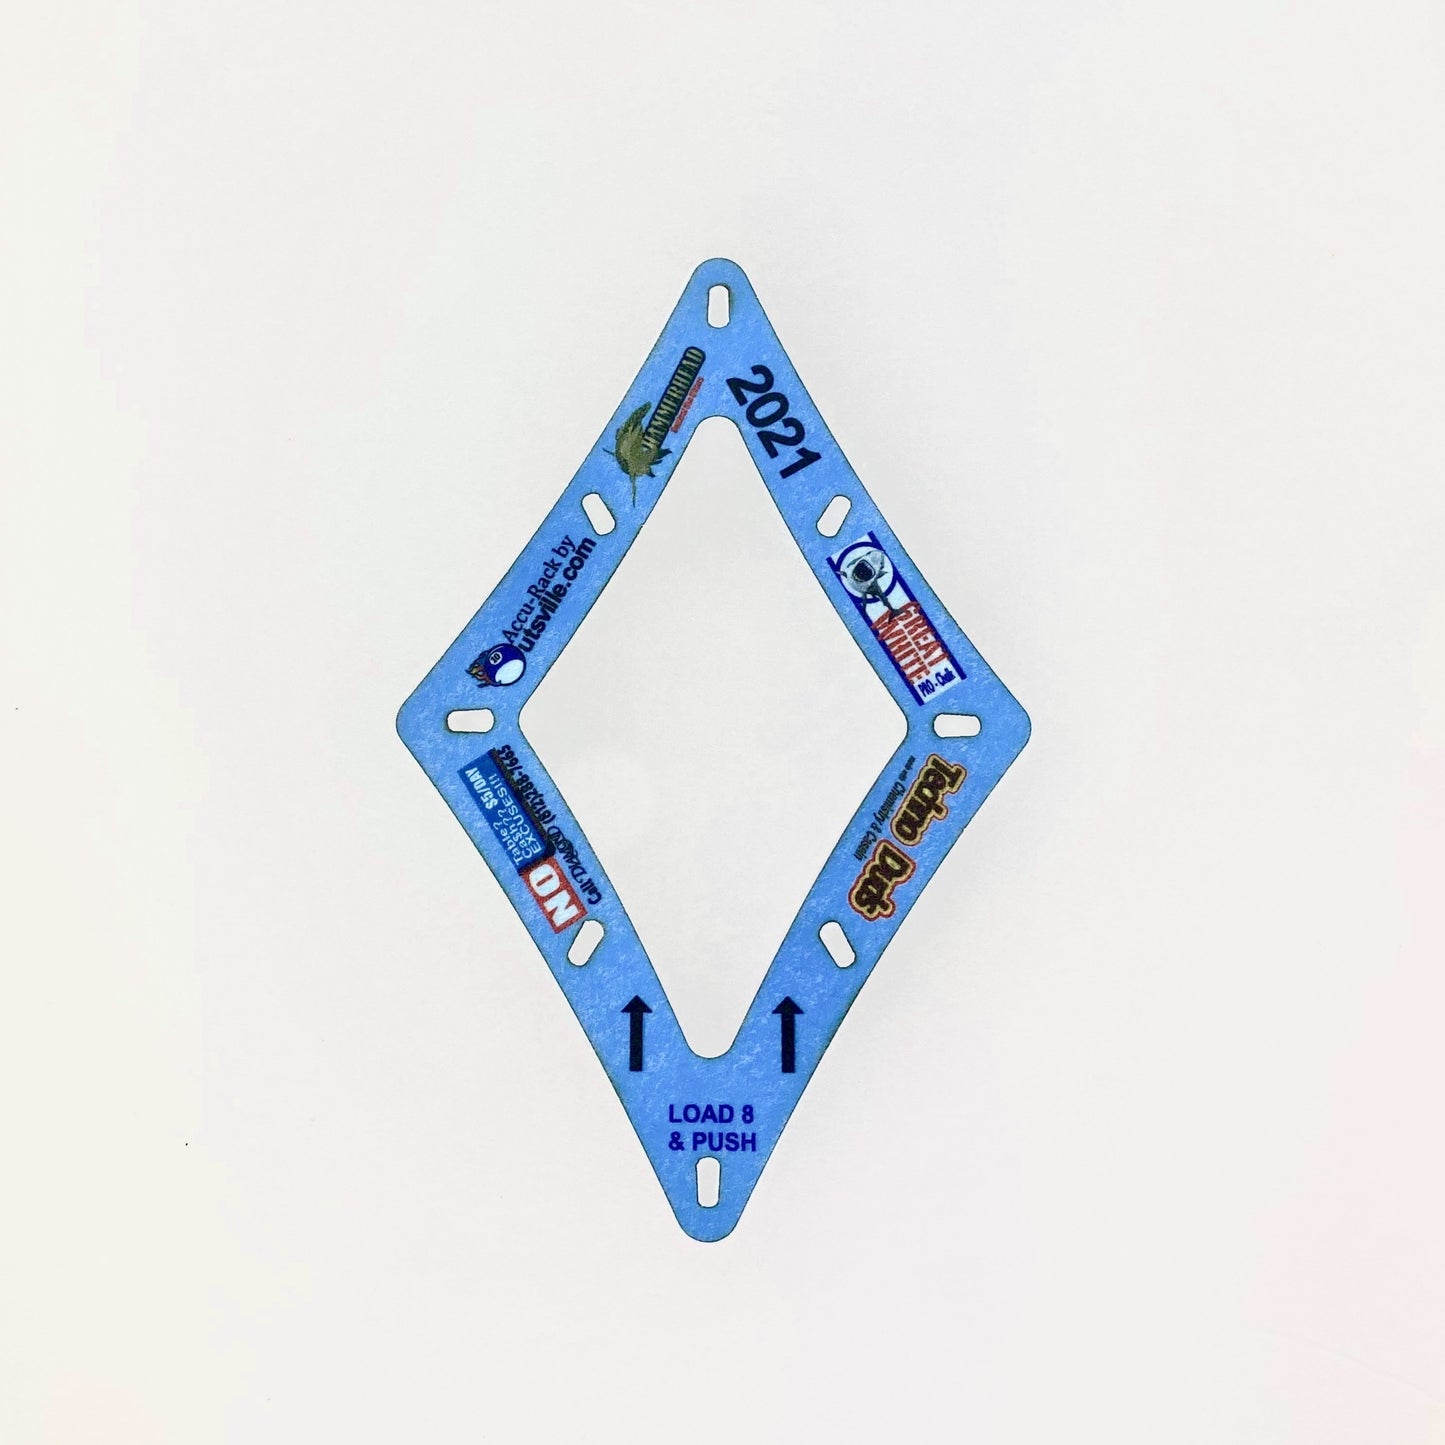
For tournament-level consistency, use a racking template.
Apply Plastic Template Under the Rack
Place a thin plastic or paper template with pre-cut holes over the foot spot. Insert balls from front to back, rotating each to ensure contact. The template stays under the balls during the break. Templates guarantee zero gaps and are commonly used in 9-ball and 10-ball competitions.
Troubleshoot Common Racking Problems
Even experienced players face racking issues. Here is how to fix them fast.
Apex Ball Sticks to Rack
The cause is dirt inside the triangle or dragging motion. Wipe the rack interior. When lifting, tilt the back upward first, then push slightly forward before lifting straight up. Avoid pulling backward.
Gaps Appear After Lifting
The cause is loose packing or dirty cloth. Re-rack and use the shimmy technique. Rotate outer balls inward. Vacuum the area if dust is visible.
Break Feels Weak
The cause is misaligned apex or loose rack. Recheck foot spot alignment. Perform the nudge test. If balls move, re-compress.
Balls Will Not Settle
The cause is high friction or worn cloth. Rub the cloth under the ball. Tap it gently with another ball while holding neighbors.
Adapt Setup to Your Environment
Your setting affects how strictly you should follow racking rules.
Home Play
Focus on cleanliness. Vacuum regularly and use basic compression. Random racking is fine for 8-ball, but alternating solids and stripes promotes fairness.
Bar or Pool Hall
Protect the cloth by always using a rack cloth protector. Be ready for worn balls. Place smaller ones in back corners. Confirm local house rules, especially for 8-ball corner placement.
Tournament Play
Follow BCA or WPA rules exactly. Use templates if allowed. The apex must be exactly on the foot spot. Center placements for 8-ball, 9-ball, and 10-ball must be flawless. Any deviation can result in a re-rack or penalty.
Frequently Asked Questions About Setting Up Pool Table Balls
What is the foot spot on a pool table?
The foot spot is a marked point at the foot end of the table where the apex ball must be centered. It serves as the anchor point for all racking configurations.
Why do gaps appear between balls in the rack?
Gaps appear because of dust on the cloth, loose packing, or worn balls with size variations. Use the shimmy technique, rotate outer balls inward, and ensure the playing surface is clean.
Can I use any ball as the apex in 8-ball?
Yes, any ball except the 8-ball can be the apex in American 8-ball. Most players prefer the 1-ball, but it is optional unless tournament rules specify otherwise.
What happens if the 8-ball goes in on the break?
In most rules, pocketing the 8-ball on the break results in an immediate loss or a re-rack. That is why proper placement in the center of the rack is critical.
How do I know if my rack is tight enough?
Perform the nudge test. Push the rack forward about 1/16th to 1/4 inch. If any ball moves, the rack is not tight enough. A perfect rack shows zero movement.
Do I need a special rack for 9-ball?
Yes, 9-ball uses a diamond rack or the front portion of a standard triangle. The diamond shape allows the 9-ball to sit in the geometric center.
Key Takeaways for Setting Up Pool Table Balls
Knowing how to set up pool table balls correctly transforms your game. A clean surface, precise alignment, and tight compression ensure strong breaks and fair play. Always start by cleaning the table and checking your equipment. The foot spot is your anchor, and the apex ball must sit directly on it for every game. Use the shimmy technique and nudge test to eliminate gaps. Whether you are playing American 8-ball, English Blackball, 9-ball, 10-ball, straight pool, or snooker, following the exact racking rules for each game prevents disputes and improves consistency. Make racking a ritual: clean, align, compress, verify. With these steps, you will master the foundation of every great game.