How to Refinish a Table Without Sanding
You love your wooden table, but its finish is tired, scratched, or stuck in the past with an orange-stained 1980s vibe. The thought of sanding it down—dusty, exhausting, and risky on delicate details—makes you want to give up and buy new. Good news: you don’t have to. Refinishing a table without sanding is not only possible—it’s fast, clean, and highly effective when done right.
This method skips the elbow grease but doesn’t cut corners. Instead of stripping to bare wood, you’ll use smart chemistry—gel stains, bonding primers, and restorative finishes—that adhere to existing sealed surfaces. Whether you want to deepen a faded tone, hide water rings, or transform pine into a modern walnut look, this guide delivers real results without the mess.
Clean the Surface Thoroughly
Before any product goes on, the surface must be clean. Oil, wax, polish, and grime are the enemies of adhesion. Even the best gel stain or paint will peel or streak if applied over years of buildup.
Start by removing all debris with a dry microfiber cloth. Then, mix a degreasing solution using Krud Kutter or an all-purpose cleaner. Spray it directly onto the table, let it sit for 1–2 minutes, and scrub gently with a non-abrasive sponge. Focus on high-contact areas like edges, corners, and around hardware.
Wipe dry immediately with a lint-free cloth. Repeat if needed, especially on tables that have been regularly polished. Rinse with clean water if using a heavy-duty cleaner, then dry completely. This step cannot be rushed—skip it, and your finish fails.
Test for Wax or Silicone Buildup
Some furniture polishes leave behind silicone or wax layers that repel new finishes. To check, apply a small amount of denatured alcohol to a cotton ball and rub a hidden spot. If the surface feels sticky or the ball picks up residue, use a dedicated wax remover or TSP solution.
Remove Hardware (Optional)
Most no-sand methods allow you to leave knobs and pulls in place, saving time and avoiding mismatched screw holes. However, if they are loose, corroded, or you plan to replace them, now is the time. Store screws in a labeled bag.
Apply Gel Stain for Color Change

If your goal is to change the wood tone—say, from orange pine to rich walnut—gel stain is your best tool. Unlike liquid stains that need bare wood to penetrate, gel stains sit on top of the existing finish, making them perfect for no-sand refinishing.
Choose a thick, oil-based gel stain like General Finishes Antique Walnut or Behr Jacobean. These build color gradually and will not drip or run, even on vertical surfaces.
Work in Small Sections
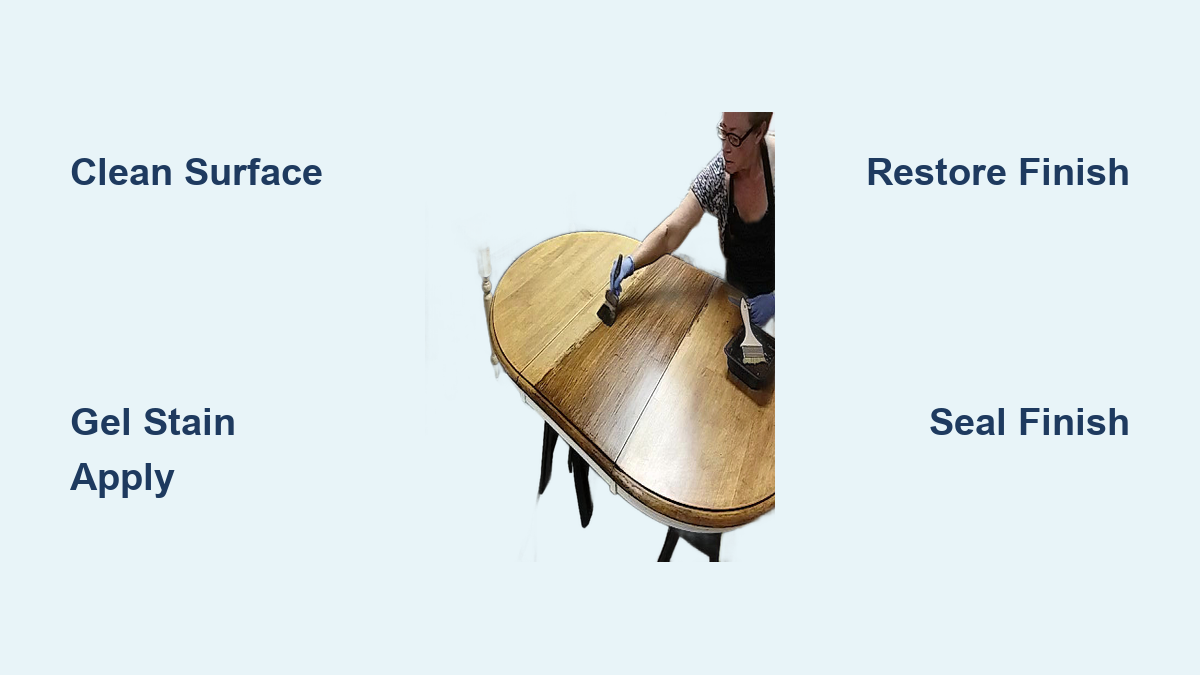
Pour a small amount of gel stain onto a foam brush or 4-inch chip brush. Apply it evenly in one section—start with the tabletop, then move to legs and aprons. Do not cover the whole table at once; maintain a wet edge to avoid lap marks.
Let the stain sit for 3–5 minutes, then wipe off the excess with a clean, lint-free cloth. Wipe in the direction of the grain. The longer you leave it before wiping, the darker the result.
Build Layers Gradually
One coat rarely gives full coverage, especially on orange-toned wood. Wait 30–60 minutes between coats for drying. Apply 2–4 coats to neutralize undertones and achieve depth. Each layer should feel dry to the touch before the next.
Avoid rushing—applying a second coat too soon can lift the first. If streaks appear, go back with a damp cloth and gently blend while the stain is still workable.
Create Faux Wood Grain (Optional)
A flat, solid stain can look painted on. To mimic natural wood grain and add realism, use a faux grain technique during your second or third coat.
Drag and Soften for Realism
After applying gel stain with a chip brush, drag a clean, dry brush lightly over the wet surface in long, straight lines parallel to the grain. This creates subtle streaks that resemble wood fibers.
Then, use a softening brush to gently sweep across the lines, blurring them slightly. The goal is not perfect lines—it is organic variation. Think of it like smudging charcoal for a natural effect.
Mix Colors for Depth
For extra realism, blend two gel stain colors. Start with a base like Nutmeg for warmth, then layer Antique Walnut or Gray over it. Apply the second color lightly, wipe quickly, and use the drag-and-soften method to integrate it.
This technique works especially well on large, flat surfaces like table tops, where uniform color can look artificial.
Use Restore Finish for Scratches
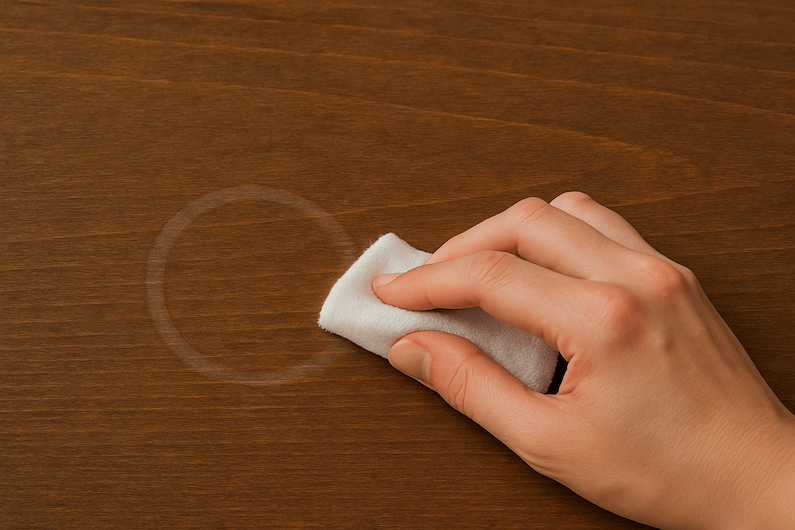
If your table has minor wear—scratches, water rings, or dull spots—but the overall color is fine, a restore finish is faster and more natural-looking than full refinishing.
These products are like makeup for wood. They deposit pigment into imperfections, blending them into the surrounding grain. Best of all, they dry fast and require no sanding.
Target Damaged Areas Only
Pour a small amount of restore finish onto a stainless steel applicator pad. Work in small circles directly on scratches or white rings. Do not flood the surface—apply just enough to cover the flaw.
Wipe off excess immediately with a lint-free cloth. The finish dries to a matte or satin sheen, which helps hide flaws better than glossy options.
Let It Cure Fully
While the surface may feel dry in minutes, allow 48–72 hours for full cure. During this time, avoid placing objects on the table. The color deepens slightly as it sets.
This method will not fix deep gouges or structural damage, but it is ideal for vintage pieces where a perfect look is not the goal—authentic character is.
Paint Without Sanding (For Solid Color)

Want to go bold? Swap wood grain for a solid color using chalk paint or milk paint. These formulas bond to sealed finishes without sanding or priming, making them perfect for no-prep updates.
Choose the Right Paint
Chalk Paint (Annie Sloan, Rust-Oleum Chalked): Matte, vintage look. Covers in 1–2 coats. Can be distressed for shabby-chic style.
Milk Paint (Miss Mustard Seed): Eco-friendly, self-adhering. Gives an authentic, aged appearance. Requires mixing from powder.
Latex Paint + Bonding Primer: If using regular latex, apply a bonding primer like Rust-Oleum Universal first. This creates a grip on slick surfaces.
Apply Thin, Even Coats
Use a high-quality synthetic brush or foam roller. Apply paint in thin layers—thick coats crack or peel. Let each coat dry completely (2–4 hours) before adding the next.
For a smoother finish, lightly buff between coats with 400-grit sandpaper, but avoid sanding through to bare wood. Two coats are usually sufficient.
Seal for Durability
No matter which method you used—gel stain, restore finish, or paint—a protective top coat is essential. Tables take heavy use: heat, moisture, scratches. Without sealing, your work will not last.
Choose the Right Sealer
Oil-Based (Minwax Tung Oil, General Finishes Arm-R-Seal): Durable, warm tone, enhances grain. Best for dining tables. Dries slowly (12–24 hours between coats).
Water-Based (Behr Water-Based Poly, General Finishes High Performance): Fast-drying, low odor, non-yellowing. Ideal for indoor use. Can be sprayed or brushed.
Wait for Proper Cure Time
If using oil-based gel stain, wait 72 hours before applying a water-based top coat. Oil needs time to fully cure, or the sealer may bubble or fail. Oil-based sealers can go on after 12–24 hours.
Apply 2–3 thin coats. Lightly sand with 600-grit paper between coats to remove dust nibs. Wipe clean before recoating.
Spray for a Smooth Finish
For a flawless, brush-mark-free result, use a HVLP sprayer like the HomeRight Finish Max. No thinning needed for most water-based polys. Spray in even passes, overlapping slightly. Protect nearby surfaces with drop cloths.
Refinish Only the Table Top (Partial Update)
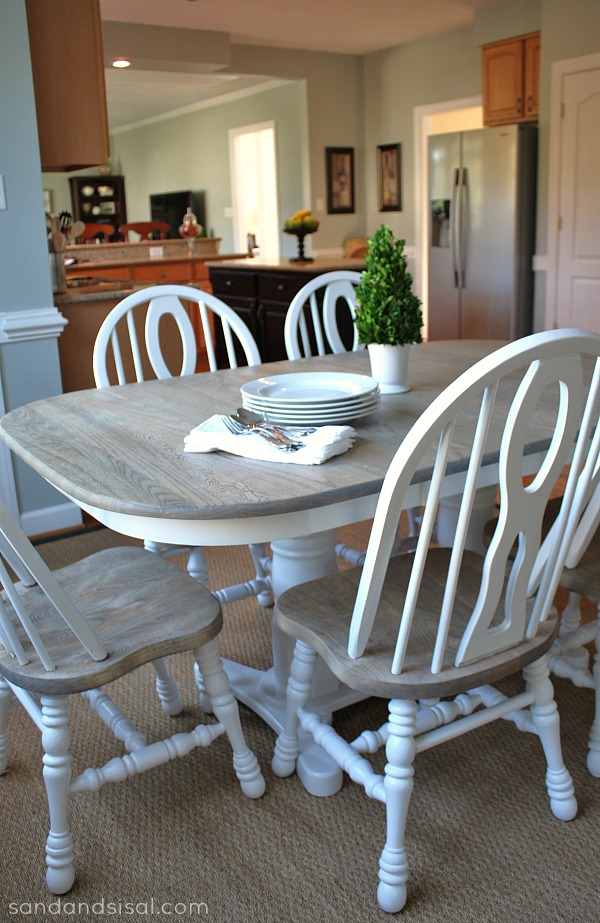
Sometimes the base is beautiful—aged to perfection—while only the top is worn. Refinishing the entire piece risks mismatch. The solution: refinish only the top.
Focus Prep on the Surface
Clean and degloss only the tabletop. If the existing finish is thick or damaged, use a chemical stripper like QCS by Stripwell. Apply for 45 minutes, then scrape gently with a plastic or metal scraper. Wipe clean with mineral spirits.
If the top is solid wood (not veneer), light sanding (80–220 grit) is acceptable only on the top. Avoid the legs and base.
Match the Aged Base
A freshly stained top will look too warm or vibrant next to the aged base. To blend them:
- Apply a warm base coat (e.g., General Finishes Nutmeg).
- While wet, lightly wipe on a translucent gray wash (e.g., Varathane Weathered Gray) to cool down the tone.
- Let sit 5–10 seconds, then wipe off. This creates a hazy, aged effect.
The goal is harmony, not exact match. Slight variation adds character.
Prevent Common Mistakes
Even simple projects can go wrong without attention to detail. Avoid these frequent pitfalls:
Streaking and Lap Marks: Caused by working too large an area or not maintaining a wet edge. Solution: Work in 2×2 foot sections. Always overlap into the previous wet area.
Poor Adhesion: Usually due to inadequate cleaning. Solution: Degrease thoroughly. Test adhesion by applying a small patch first.
Color Mismatch (Top vs. Base): A new top can look too perfect. Solution: Use layered staining—add gray or weathered tones to mute brightness.
Lifting Between Coats: Applying a second coat too soon softens the first. Solution: Wait 30–60 minutes for gel stain, 2–4 hours for paint.
Maintain the New Finish
Your table looks great now keep it that way.
Clean Gently
Use mild soap and water. Avoid abrasive cleaners or scrub pads. Wipe spills immediately.
Protect from Heat and Scratches
Use placemats, coasters, and table runners, especially during the first 20 days of curing. Oil-based finishes take up to three weeks to fully harden.
Touch Up When Needed
Minor scratches? Use a stain marker (dark walnut, cherry) or a dab of restore finish. Blot lightly with a cloth.
Avoid placing hot dishes directly on the surface. White rings from heat mean moisture trapped under the finish—preventable with proper sealing.
Key Takeaways for Refinishing Your Table Without Sanding
Refinishing a table without sanding is a game-changer for DIYers, renters, vintage lovers, and anyone who values time and simplicity. You do not need a workshop or a mask to survive the dust. With the right prep, products, and patience, you can transform worn furniture into a statement piece—preserving its history while giving it a modern second life.
The three most critical success factors are: clean thoroughly before applying any product, choose the right method for your specific goal (gel stain for color change, restore finish for quick fixes, chalk paint for solid color), and seal completely with a quality top coat. Respect curing times—distinguish between dry-to-touch and fully cured to ensure durability.
Your table is not trash. It is a canvas. And now, you have got the tools to repaint it—without sanding a single inch.
Frequently Asked Questions About Refinishing a Table Without Sanding
Can you really refinish a table without sanding it?
Yes, you can refinish a table without sanding by using gel stains, restore finishes, or chalk paints that bond to existing sealed surfaces. These products are designed to adhere to finishes without requiring bare wood preparation.
What is the best product for changing table color without sanding?
Gel stain is the best product for changing wood color without sanding. Brands like General Finishes Antique Walnut and Behr Jacobean sit on top of existing finishes and allow you to transform orange pine into dark walnut or other modern tones.
How long does no-sand refinishing take?
Active work takes 2–4 hours for gel stain application, but you must wait 30–60 minutes between coats and 72 hours for full cure before applying a top coat. The entire project spans 3–5 days from start to finish.
Will the finish be durable without sanding?
Yes, when properly sealed with a quality top coat like Minwax Tung Oil or General Finishes Arm-R-Seal, no-sand finishes are highly durable and resist scratches and wear comparably to factory finishes.
Can you use chalk paint on a table without sanding?
Yes, chalk paint and milk paint adhere to sealed surfaces without sanding or priming. Apply 1–2 thin coats and seal with wax or polyurethane for durability.