How to Clean an Air Hockey Table
Nothing kills the fun of a fast-paced air hockey match like a sluggish puck or a grimy playing surface. Over time, dust, grime, and even spilled drinks can clog the thousands of tiny air holes that keep the puck floating smoothly. If your air hockey table isn’t performing like it used to, it’s likely due for a proper cleaning.
Cleaning your air hockey table isn’t just about looks. It’s essential for performance and longevity. A well-maintained surface ensures consistent airflow, faster gameplay, and fewer mechanical issues. Whether you’re a casual player or run a game room, knowing how to clean an air hockey table properly makes all the difference.
Prepare the Table Safely

Before cleaning, take the right safety steps to protect both you and the table.
Keep the Blower Running During Cleaning
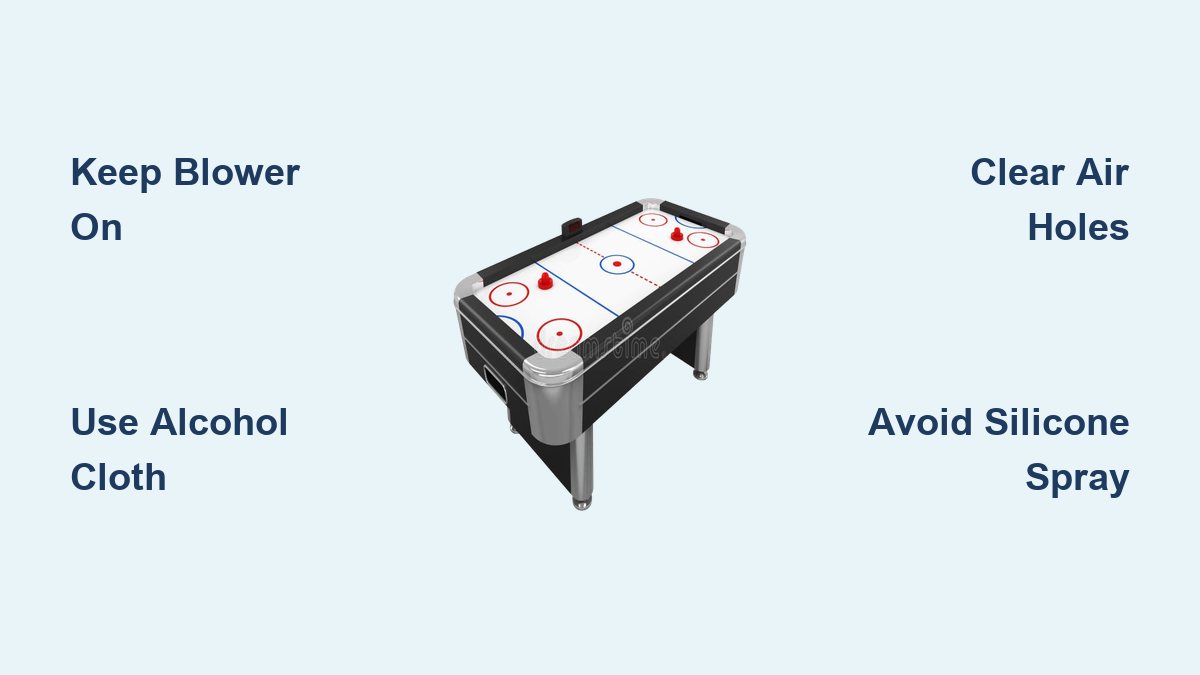
For routine wipe-downs, keep the blower turned on. This prevents dirt and cleaning liquids from being sucked into the air channels. Most professional maintenance guides recommend this method as the gold standard.
Only power down the table if you’re removing goals, using water-based cleaners, or performing deep repairs. Otherwise, leave it running to protect the airflow system.
Remove Goals to Access Hidden Debris
Take off the upper and lower goal housings if they’re detachable. This gives you access to trapped dust, broken puck fragments, or foreign objects stuck in the scoring mechanism. Clean inside the goal boxes with a small brush or vacuum nozzle.
Remove Surface Debris First
Start with dry cleaning to eliminate loose particles before applying any liquid.
Vacuum the Playing Surface Gently
Use a vacuum cleaner with a soft brush attachment to gently remove dust from the entire playing surface. Focus on edges, corners, and around the goal openings, which are common spots for buildup.
If you don’t have a brush attachment, hold the vacuum hose slightly above the surface to avoid scratching the laminate.
Check for Visible Contaminants
Look for sticky spots, fingerprints, or dried spills, especially near the rails or center line. These areas collect oils from hands and drinks. Address them during the deep cleaning phase.
Deep Clean the Playing Surface
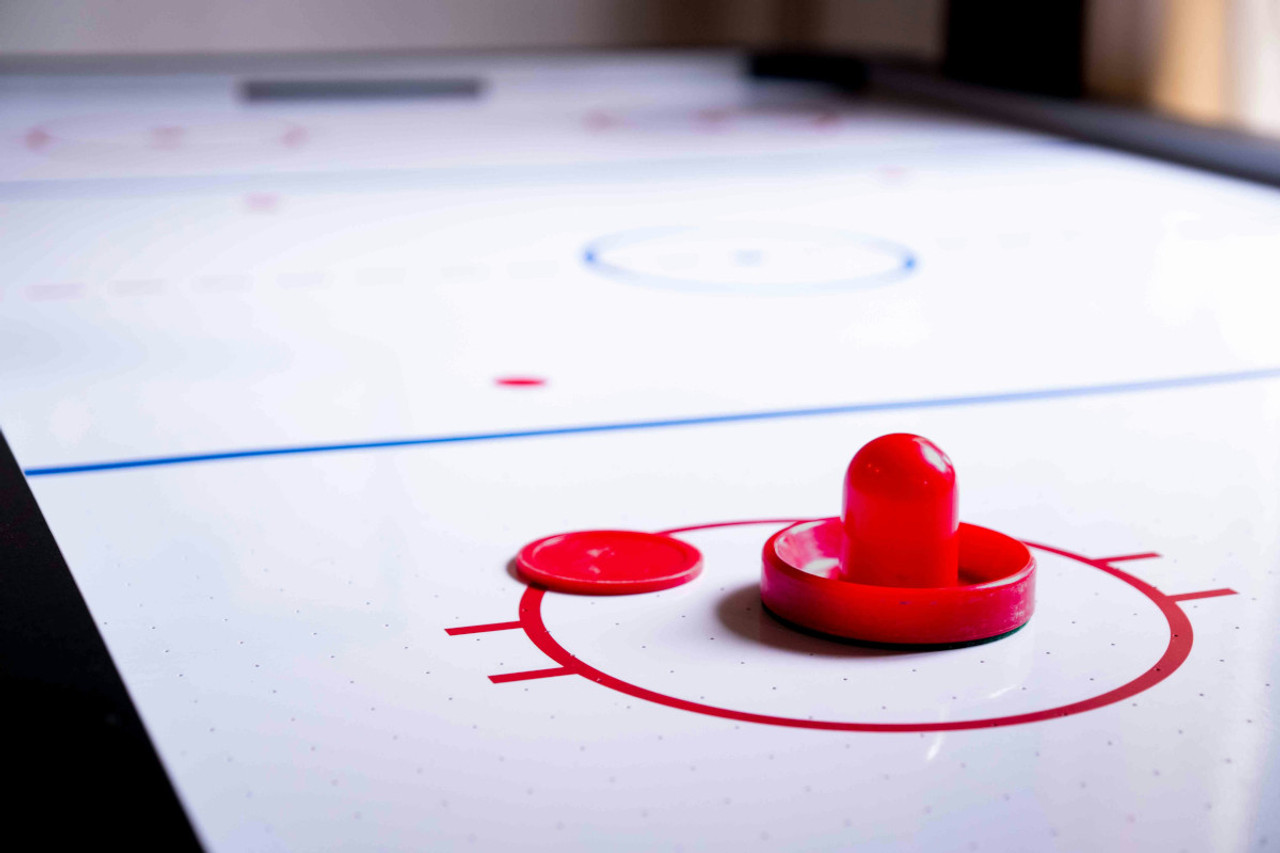
Now it’s time to sanitize and degrease the playfield for optimal performance.
Apply Alcohol to Cloth, Not the Table
Never spray liquid directly onto the table. Instead, spray isopropyl alcohol (70% or higher) or a non-ammonia window cleaner onto a lint-free microfiber cloth. This prevents excess liquid from seeping into air holes and damaging internal components.
Wipe in Circular Motions
Gently wipe the entire surface using circular motions to lift grime without scratching. Work section by section until the whole field is covered. Pay extra attention to high-traffic zones near the goals and center.
Avoid scrubbing the side rails. A light layer of dust actually improves puck banking and control.
Dry and Inspect for Residue
Let the surface air dry or buff lightly with a second clean cloth. Check for streaks or stickiness. If the table still feels slow, consider applying a specialized air hockey polish in the next step.
Polish Only When Necessary

Polishing is not routine. It’s a fix for specific issues.
Use Air Hockey-Specific Polish
If the surface feels tacky or the puck drags after cleaning, apply a table-specific protectant. These products clean, protect, and enhance glide without clogging air holes.
Apply a thin, even layer with a microfiber cloth, then let it dry completely before buffing.
Never Use Furniture Polish or Wax
Standard polishes, waxes, and silicone sprays destroy airflow by coating and blocking the microscopic air holes. They may make the surface shiny, but they ruin gameplay. Stick only to products designed for air hockey tables.
Unclog Air Holes as Needed
When the puck wobbles or won’t float, blocked air holes are likely the culprit.
Test Puck Floatation First
Turn the blower on and place the puck near the center. It should hover smoothly. If it drags in certain spots, those areas may have clogged holes.
Use a Pin or Drill Bit to Clear Blockages
Grab a 1/32-inch drill bit, Dremel tool, or stickpin. Gently insert it into the blocked hole and lift debris up and out. Rotate the tool slightly if needed to catch lint or fibers.
Do not force the tool or drill too deep. This can damage internal channels.
Clean Air Holes Only Once or Twice Per Year
Over-cleaning can wear down the laminate. Only perform this step when airflow is noticeably impaired. Regular vacuuming and wiping prevent most clogs.
Restore Pucks and Mallets
Worn or damaged accessories affect gameplay and can scratch the surface.
Sand Pucks With Fine-Grit Paper
Inspect pucks for nicks, scratches, or warping. Use 150 to 600 grit sandpaper to smooth the bottom and edges. Light sanding restores the flat, even surface needed for proper floatation.
Some tables have adhesive sandpaper strips mounted at the ends. Use these for quick touch-ups during play.
Choose Sanctioned Equipment
Opt for US Air Hockey Association (USAA) sanctioned yellow Lexan pucks and nylon mallets. These are balanced, durable, and designed for high-speed performance.
Avoid cheap imported mallets. They’re too light, reduce control, and can injure hands during hard strikes.
Repair Surface Dents Carefully

Dents from dropped bottles or sharp impacts can disrupt airflow and puck glide.
Plug the Air Channel Before Filling
If the dent covers an air hole, insert a small piece of drinking straw into the channel beneath to prevent epoxy from sealing it shut. Use putty underneath if needed to create a base.
Fill With Clear Epoxy
Apply clear epoxy slightly above the surface level. Let it thicken a bit first so it doesn’t run. Allow it to cure fully, following manufacturer instructions.
Sand and Re-drill the Hole
Once dry, sand the patch flush with fine-grit paper. If an air hole was covered, carefully re-drill it with a 1/32-inch bit to restore airflow.
Prevent Damage With Smart Habits
The best maintenance is avoiding problems before they start.
Cover When Not in Use
Use a fitted cover or dust sheet whenever the table is idle. This drastically reduces dust accumulation and protects against accidental spills.
Install Side Shields
Add clear plastic side shields, available from manufacturers like Gold Standard Games. These keep pucks in play and discourage people from setting drinks on the rails.
Ban Drinks on the Table
Even with shields, never allow beverages on or near the table. Liquids can seep through air holes and warp the wood core. If a spill happens, blot it immediately and run the blower to push moisture out.
Optimize Lighting and Settings

Game quality is not just about the surface. Environment matters too.
Use Overhead Drop Lighting
Proper lighting enhances visibility and player engagement. Mount lights high enough so tall players won’t hit their heads when leaning in.
For tournament-style setups, black lights make sanctioned pucks glow, improving tracking and excitement.
Keep Timer at Default Settings
Most tables default to a 7-minute timer. Stick with it. Games typically end in 3 to 4 minutes, but shorter timers frustrate players who haven’t reached 7 points. Adjust via dip switches only for official play.
Avoid Common Cleaning Mistakes
Even small errors can degrade performance or cause long-term damage.
Do Not Clean the Side Rails
Contrary to instinct, do not wipe down the side rails. A thin layer of dust helps the puck bank predictably and stay on the table. Cleaning them removes this natural friction and increases fly-offs.
Never Spray Cleaner Directly
Always apply liquid to the cloth first. Spraying the table risks flooding air holes and introducing contaminants into the blower system.
Skip Silicone and Ammonia
Silicone lubes, waxes, and ammonia-based cleaners degrade the laminate and clog airflow. They offer short-term shine but long-term damage. Stick to isopropyl alcohol or approved air hockey cleaners.
Follow a Simple Maintenance Schedule
Stay ahead of grime with a clear routine.
| Task | Frequency |
|---|---|
| Wipe surface with alcohol | Weekly |
| Vacuum edges and goals | Monthly |
| Inspect pucks and mallets | Monthly |
| Deep clean air holes | Once or twice per year |
| Sand pucks | As needed when scratched |
| Apply protectant | Only if surface feels sticky |
Frequently Asked Questions About Cleaning an Air Hockey Table
How often should I clean my air hockey table?
Wipe the surface with alcohol once a week during regular use. Vacuum edges and inspect accessories monthly. Deep clean air holes only once or twice per year.
Can I use regular glass cleaner on my air hockey table?
Avoid ammonia-based cleaners. They can damage the laminate finish. Use isopropyl alcohol (70% or higher) or a non-ammonia window cleaner applied to a cloth, never directly on the table.
Why should I keep the blower on while cleaning?
Keeping the blower on prevents dirt and cleaning liquids from being sucked into the air holes. It also helps push any spills out of the channels onto the surface where they can be wiped away.
What happens if I use silicone spray on my air hockey table?
Silicone sprays coat and block the microscopic air holes, destroying airflow. This causes the puck to drag and ruins gameplay. Only use polishes specifically designed for air hockey tables.
How do I know if my air holes are clogged?
Place the puck near the center with the blower on. It should hover smoothly. If it drags in certain spots, those areas likely have blocked air holes that need clearing.
Can I repair a dent in my air hockey table myself?
Yes. Fill shallow dents with clear epoxy. For dents over air channels, insert a small straw into the channel first to prevent epoxy from sealing it. Sand smooth and re-drill the hole once dry.
Key Takeaways for Maintaining Your Air Hockey Table
Knowing how to clean an air hockey table properly keeps the game fast, fair, and fun. Regular care with the right tools prevents buildup and maintains peak performance. Always apply cleaning solutions to a cloth rather than spraying directly on the surface.
Avoid silicone, wax, and ammonia-based cleaners at all costs. These substances clog the essential air holes and damage the laminate. Keep the blower running during routine cleaning, and never neglect the side rails, which need a thin layer of dust for proper puck banking.
By following these steps, you’ll extend your table’s lifespan, improve gameplay, and keep players coming back for more. A clean air hockey table is a winning table.