How to Use a Router Table: Quick Steps
If you’re wondering how to use a router table effectively, you’re not alone. Many woodworkers start with a handheld router but quickly realize its limitations when precision, repeatability, or safety becomes critical. Mounting that same router under a table transforms it into a stationary powerhouse capable of clean edge profiles, flawless joinery, and perfect part duplication. The shift from handheld to table-mounted routing changes everything: feed direction, control, and cutting dynamics.
Mastering a router table means understanding its unique mechanics, especially the right-to-left feed direction due to counterclockwise bit rotation. This guide walks you through setup procedures, core techniques, bit selection, and how to avoid common mistakes. You’ll learn to shape molding, cut rabbets, and replicate intricate parts with templates using proven workshop practices.
Set Up the Router Table Correctly
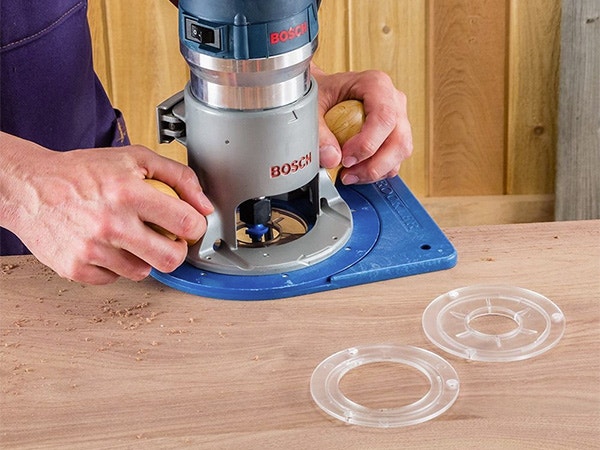
Before making any cuts, proper setup ensures accuracy, safety, and clean results. Skipping calibration leads to tear-out, burning, or inconsistent joinery that wastes material and time.
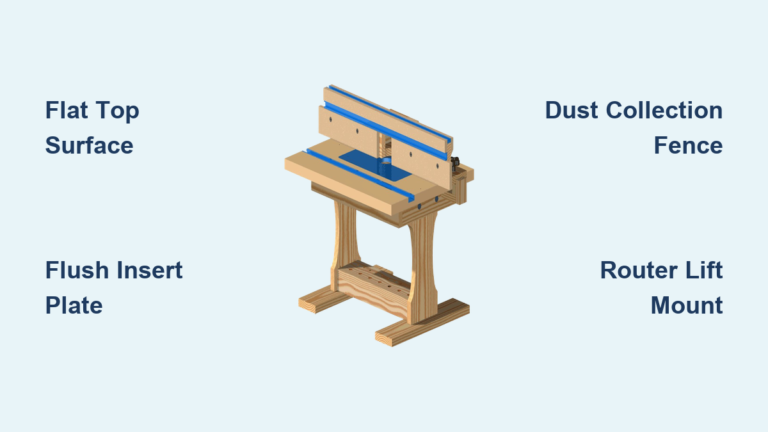
Level the Insert Plate
The insert plate holds your router and must sit perfectly flush with the tabletop. Any gap or lip will catch the workpiece and ruin the cut.
Use a straightedge across the table surface to check for alignment. If your table has leveling screws, adjust them until no light passes under the straightedge. For DIY tables without adjustment features, use metal shims or masking tape under the insert to level it. Always recheck after tightening the router.
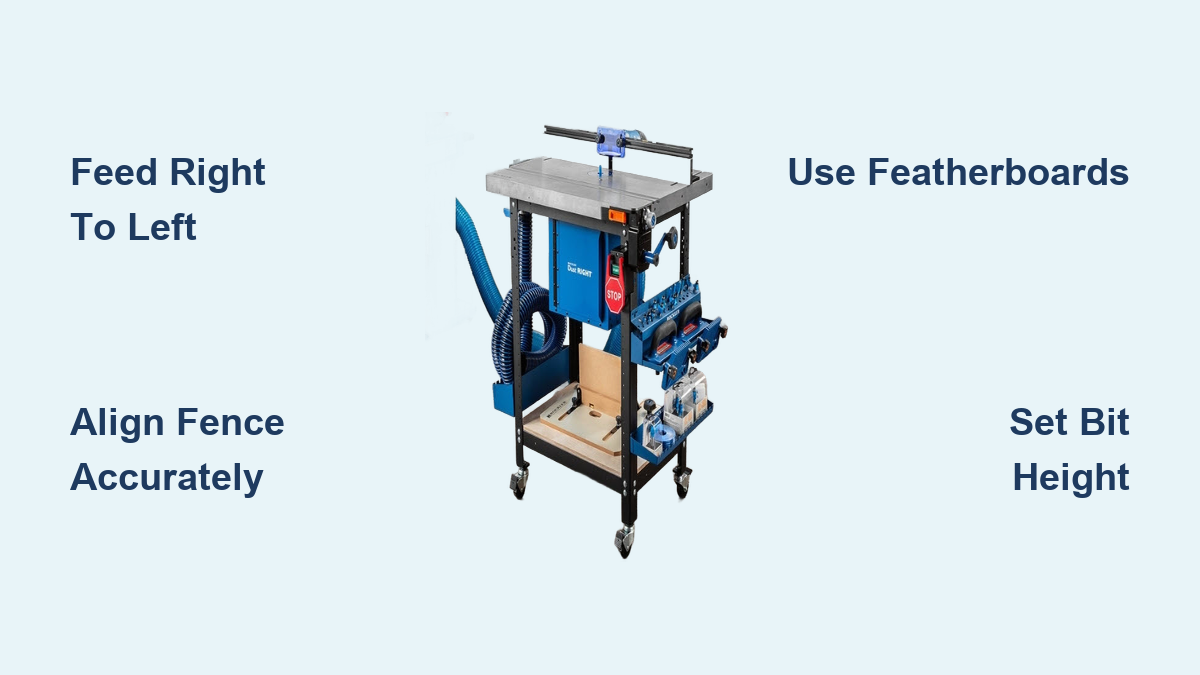
Install and Adjust Bit Height
Choose the right bit for your task, then secure it in the collet. Straight bits work for grooves, roundover bits for edges, and specialty bits for joinery.
To set height accurately, use one of these methods:
• Key block method: Stack blocks to your desired depth, place a flat top block, and raise the bit until it just touches
• Digital gauge: Tools like the Wixey Mini Height Gauge offer precise, repeatable measurements without parallax error
• Combination square: Place next to the bit and raise until it meets your desired measurement
Avoid eyeballing with rulers alone. Always verify by making test cuts on scrap wood. For deep cuts, remove material in 1/4-inch increments, reducing to 1/8 inch for hardwoods or large-diameter bits.
Align the Fence Accurately
The fence determines cut position and consistency. Misalignment causes uneven rabbets or loose joints that compromise your project.
For bearing-guided bits, align the fence face flush with the bearing. Use a straightedge to confirm both are parallel. For straight bits used for grooves or rabbets, measure from the fence to the bit’s cutting tip using a ruler along the centerline. Rotate the bit by hand to ensure consistent distance across its diameter.
Fine-tune with shims behind one end of the fence. Moving the fence 1/16 inch shifts the cut width by half that amount at the bit. Use stop blocks to lock in settings for repeatable work.
Feed Direction: Right to Left Only
This is the most critical rule when learning how to use a router table. Getting this wrong leads to dangerous kickback or ruined workpieces.
Why Counterclockwise Rotation Matters
From above, a table-mounted router bit spins counterclockwise, opposite to handheld routers. This means you must feed the workpiece from right to left.
Feeding correctly pushes the stock into the fence and uses cutting force to stabilize the workpiece. Feeding left to right, called climb cutting, lets the bit grab the wood and pull it from your hands. This can launch the workpiece across the shop and cause serious injury.
Visualize the Cut Path
Imagine the bit’s leading edge pulling the wood toward you. If you feed from the right, the bit pushes down and back, which is safe and controlled. If you feed from the left, the bit pulls forward and up, which is dangerous and unstable.
Mark your table with an arrow showing the correct feed direction. Make it a habit every time you approach the table.
Use Essential Safety Accessories
A router table demands respect. High-speed bits spinning at up to 24,000 RPM can cause serious injury if safety protocols are ignored.
Install Featherboards for Control
Featherboards apply downward and lateral pressure, keeping the workpiece flat and tight against the fence.
Place one featherboard in front of the bit on the outfeed side to hold the work down. Place another beside the fence to prevent lateral drift. Use multiple featherboards for long or narrow stock. They are essential for preventing lift and chatter during cuts.
Always Use Push Sticks and Blocks
Never let your hands near the bit. As you approach the end of a cut, switch to a push block or push stick.
For small parts, use wooden screw clamps to hold the piece. Or attach it to a carrier board with double-sided tape. Keep fingers at least 6 inches away from the spinning cutter at all times.
Add a Starter Pin for Curved Work
When routing curves or templates, a starter pin prevents the bit from grabbing the corner and causing kickback.
Insert the pin into a hole in the table just before the bit. Rest the workpiece against the pin, pivot it into the cut until the bearing contacts the template, then slide smoothly along the pattern. This technique eliminates dangerous snatching and gives you full control.
Master Key Routing Techniques
Once set up safely, apply these core techniques to unlock the router table’s full potential.
Profile Edges with Precision
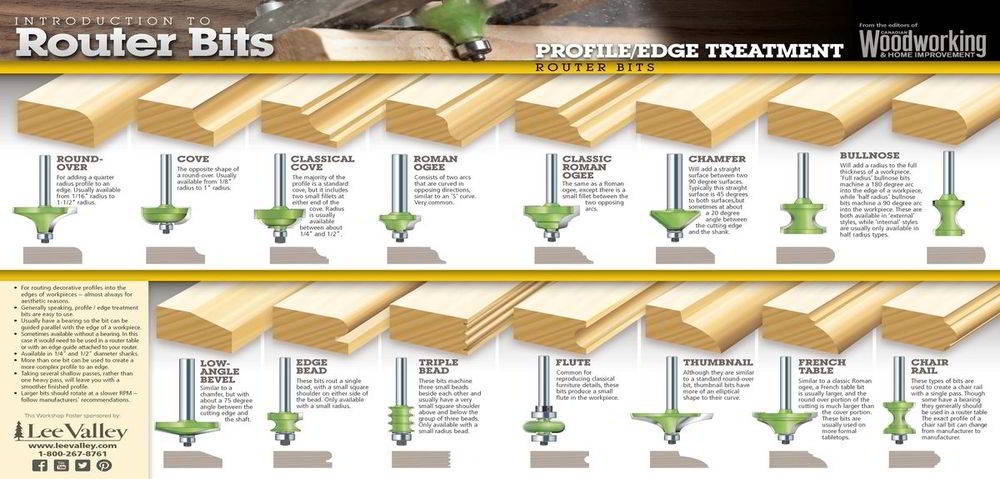
Edge profiling is where router tables shine. Roundovers, chamfers, and ogees become repeatable and consistent.
Use bearing-guided bits for consistent results. Feed from right to left, keeping the workpiece firmly against the fence and table. For wide stock, keep hands far from the bit and take multiple shallow passes if the profile is deep. Use a backer block of MDF clamped to the fence exit side to prevent end-grain tear-out.
Cut Grooves, Dadoes, and Rabbets
Unlike table saws, router bits produce flat-bottomed cuts ideal for strong joinery.
For grooves and dadoes, use a straight twin-flute bit and adjust the fence to position the groove. For wide dadoes, make multiple passes, shifting the workpiece slightly each time. For rabbets, use a standard straight bit and expose only the needed portion by offsetting the fence. The fence guides the cut for consistent width without requiring a special rabbeting bit.
Replicate Parts with Templates
:max_bytes(150000):strip_icc()/1005049-84c46fa5f440408c9bf23e8c40cf0503.jpg)
Need five identical legs or cabinet doors? Template routing produces perfect duplicates every time.
Create a master template using void-free birch plywood, MDF, or acrylic. For paper designs, tape sheets together avoiding cut lines, align under light, and glue to substrate. Cut slightly oversize on a band saw, then sand to the line.
Choose the right bit for template work:
• Bottom-bearing flush trim bit: Template on top
• Top-bearing bit: Template underneath
• Double-bearing bit: Flexible positioning
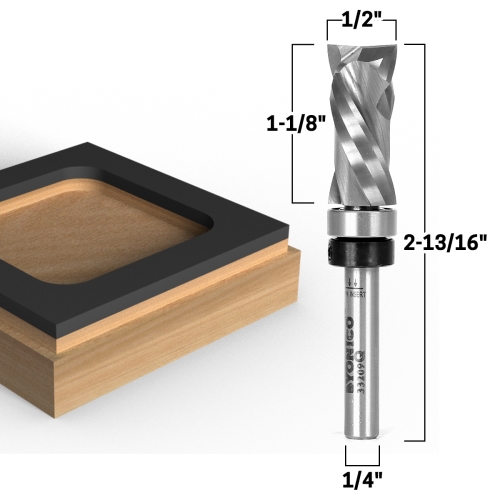
• Compression spiral bit: Best for plywood, minimizes tear-out on both surfaces
Secure the template to rough stock with double-sided carpet tape or blue tape plus CA glue mix. Feed from right to left, letting the bearing ride the template edge.
Joint Edges Without a Jointer
No jointer? No problem. Your router table can square and straighten board edges.
Install a straight bit and offset the outfeed side of the fence slightly forward using shims. Or attach a piece of Formica with a sanded radius to support the board after the cut. Feed the board along the infeed fence. The offset outfeed side supports the freshly cut edge, resulting in a flat, straight, jointed edge ready for glue-up.
Build Strong Joints
Router tables excel at precise joinery often faster and more accurate than dedicated tools.
For tenons, use a miter gauge with the fence as a depth stop. Make cheek cuts first, then shoulder cuts. A large-diameter planing bit reduces passes and improves surface finish.
For stopped cuts, mark the bit’s arc on the fence and clamp stop blocks at start and end points. Lower the workpiece onto the spinning bit between stops, slide to end stop, hold against fence, turn off router, wait for the bit to stop before removing.
For specialized joints like lock miters and dovetails, use dedicated bits and positioning jigs. These require exact setup but deliver massive gluing surface and perfect alignment.
Handle Challenging Workpieces
Different materials and shapes require special strategies to achieve clean results.
Work Safely with Small Stock
Small pieces are dangerous because fingers end up too close to the bit.
Use a sled or jig to cradle the piece. Attach it to a larger carrier board with double-sided tape. Use featherboards to prevent lifting. Never use gloves near the bit, as they can catch and pull your hand into the cutter.
Prevent End-Grain Tear-Out
Routing end grain often splinters as the bit exits the workpiece.
Fix this with a backer block. Clamp a scrap piece of MDF to the front of the fence or hold a sacrificial board tightly against the exit side. This supports fibers during cut exit.
Also use compression spiral bits. They shear both top and bottom surfaces cleanly, making them ideal for plywood and end grain.
Control Large Panels
Big doors or wide panels can tip or wobble during routing.
Use a tall auxiliary fence for vertical support. Add an anti-tip rail to prevent tipping. Use roller stands for long overhangs.
For raised panel doors, use multiple shallow passes. Let the router table handle bulk material removal. Never force a deep cut, which risks burning or kickback.
Guide Curved Shapes Safely
When no fence can be used, rely on a bearing or bushing guide.
Install a starter pin. Rest the workpiece against the pin, pivot into the spinning bit until the bearing contacts the template, then slide along the edge. This avoids grabbing and gives smooth control.
Choose and Maintain the Right Bits
Your results depend on bit quality and condition. Using the wrong bit leads to tear-out, burning, or poor finish.
Match Bit Type to Task
Select bits based on your specific application:
• Straight bits: Grooves, dados, rabbets. Single or double flute; carbide lasts longer
• Up-cut spiral: Deep grooves, chip removal. Can tear top surface
• Down-cut spiral: Clean top edges, veneer. Pushes chips down; risk of burning
• Compression spiral: Plywood, sheet goods. Clean cut on both sides; ideal for visible edges
• Flush trim bits: Template work. Bearing location determines template position
• Specialty bits: Lock miters, dovetails, raised panels. Require precise setup; often need 2+ HP router
Keep Bits Sharp and Clean
Dull bits cause burning, tear-out, increased feed resistance, and kickback risk.
Inspect regularly. Sharpen or replace when edges look rounded. Clean pitch buildup with commercial bit cleaner or denatured alcohol. Store in a dedicated case to protect cutting edges.
Troubleshoot Common Problems

Even experienced users face issues. Here is how to fix them fast.
Stop Burning
Burning results from feeding too slowly, a dull bit, or taking too deep a cut.
Fix it by increasing feed speed. Sharpen or replace the bit. Reduce depth per pass to 1/8 inch or less.
Eliminate Tear-Out
Tear-out especially happens on plywood and end grain.
Fix it by using a compression bit. Add a backer block. Reduce final pass depth. Apply masking tape over the cut line to help with veneer.
Reduce Chatter and Vibration
Symptoms include wavy cuts, noise, and poor finish.
Causes include loose fence, unsecured workpiece, excessive bit protrusion, or worn collet.
Fix by tightening all locks. Use featherboards. Minimize bit height above table. Check collet for wear.
Prevent Snagging
Wood catches in the gap around the bit.
Fix by installing a zero-clearance insert. Use close-fitting ring. Add an auxiliary fence face raised through with the bit.
Frequently Asked Questions About Using a Router Table
What is the correct feed direction on a router table?
You must always feed the workpiece from right to left. This is because the router bit spins counterclockwise when viewed from above. Feeding in the correct direction pushes the wood against the fence, providing stability and preventing dangerous kickback.
Can I use a router table without a fence?
While possible for curved work using a starter pin and template, a fence provides the most control and consistency. For straight cuts, the fence is essential for accurate, repeatable results.
How deep should I set the bit for each pass?
For standard materials, remove a maximum of 1/4 inch per pass. Reduce to 1/8 inch or less for hardwoods or large-diameter bits. Taking multiple shallow passes prevents burning, motor strain, and tear-out.
What bits do I need to get started with a router table?
Start with a straight bit for grooves and rabbets, a roundover bit for edge profiling, and a flush trim bit for template work. These three cover the most common beginner projects and provide the foundation for learning.
How do I prevent tear-out when routing plywood?
Use compression spiral bits, which cut cleanly on both top and bottom surfaces. Add a backer block against the exit side of the cut. Take lighter final passes to minimize fiber lifting.
Can a router table replace a jointer for edge jointing?
Yes. Offset the outfeed side of the fence slightly forward using shims. Run the board along the infeed fence, and the outfeed support prevents tipping, producing a straight, jointed edge.
Key Takeaways for Using Your Router Table
Learning how to use a router table unlocks a new level of precision, safety, and versatility in your shop. You can replicate complex shapes perfectly with templates, cut strong accurate joints without specialty tools, joint edges and flatten panels like a pro, shape custom moldings and trim safely, and work with small, narrow, or large stock confidently.
Success comes from respecting the machine. Always feed right to left, use push tools, align the fence precisely, and maintain sharp bits. With practice, your router table becomes the most dependable station in your workshop, delivering repeatable professional-quality results every time. Start with simple projects, master the fundamentals, and gradually tackle more complex joinery as your skills develop.